

Minecraft How to Make a 2×2 Hidden Piston Door
A truly hidden entrance in Minecraft isn’t just about camouflaging a door; it’s about making the door disappear entirely, leaving no trace of its presence. The 2×2 hidden piston door is a classic redstone contraption that achieves exactly this, allowing you to create secret bases, hidden passages, or simply add a touch of sophistication to your builds. Mastering this design requires an understanding of several core redstone mechanics, but the reward is a seamless, undetectable entrance that blends perfectly with its surroundings.
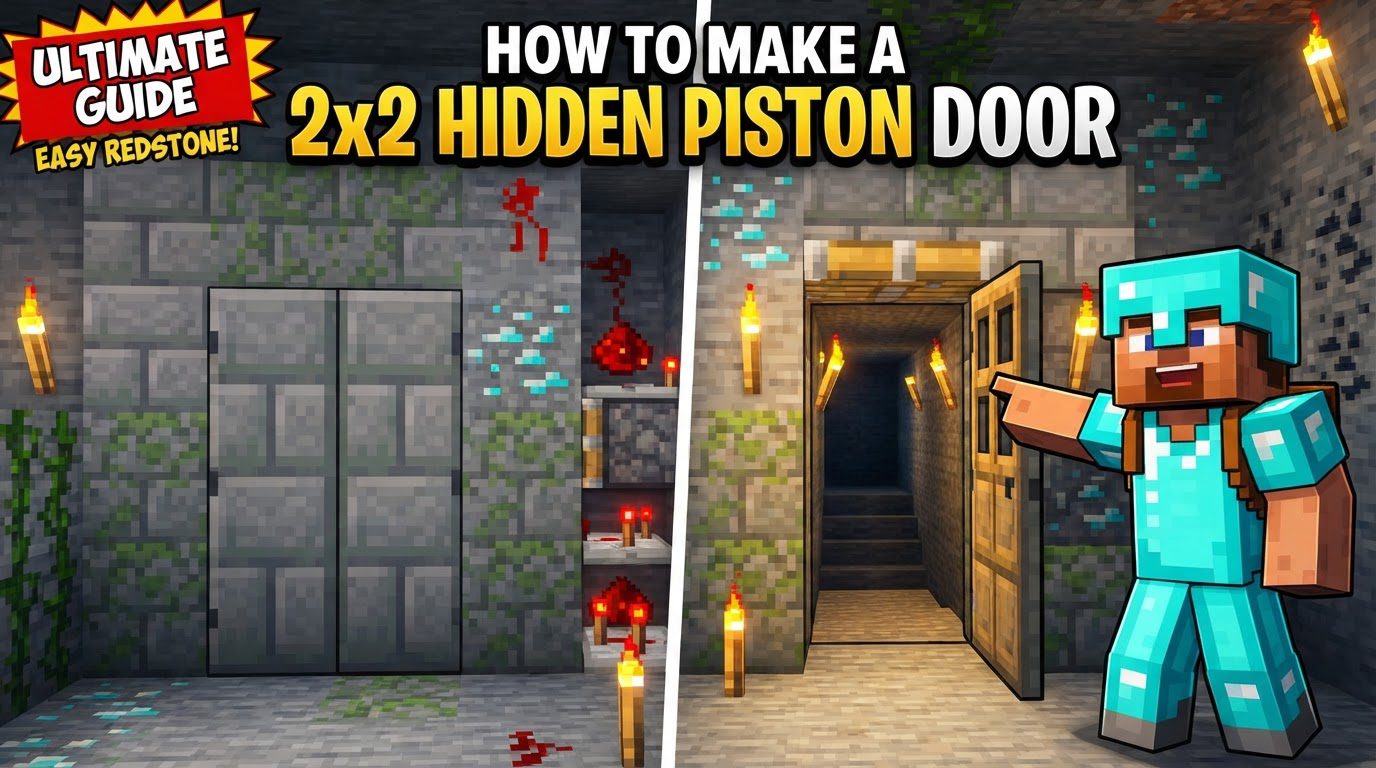
This guide will walk you through the comprehensive process of constructing a functional and flush 2×2 hidden piston door, often referred to as a “Jeb Door” due to its perfectly flush design. We’ll delve into the essential components, outline the construction steps, and provide expert tips to troubleshoot common issues, ensuring your secret entrance operates flawlessly.
Understanding the Core Components
Before diving into construction, it’s crucial to grasp the function of each redstone component involved. These are the building blocks of any hidden door mechanism:
- Sticky Pistons: These are the workhorses of your hidden door. Unlike regular pistons, sticky pistons retract the block they push when depowered. A 2×2 hidden door relies heavily on multiple sticky pistons to not only push the door blocks into place but also pull them completely out of sight, often two blocks deep into a wall.
- Redstone Dust: The fundamental wiring of any redstone circuit, redstone dust transmits power from an input mechanism to your components. It acts as the nervous system, connecting all parts of your door.
- Redstone Repeaters: Repeaters serve three critical functions in a hidden door. First, they extend redstone signals that would otherwise fade over distance. Second, and most importantly for hidden doors, they introduce delays, allowing you to control the timing of piston movements. This precise timing is essential for blocks to retract and extend smoothly and without getting stuck. Third, they can direct power, ensuring signals flow in the desired direction.
- Door Blocks: These are the blocks that physically form your door. For a truly hidden effect, choose blocks that match the surrounding environment perfectly. When closed, these blocks should be indistinguishable from the rest of the wall.
- Flush Design (Jeb Door): The ultimate goal for a hidden door. A flush design means that when the door is closed, the door blocks sit perfectly even with the surrounding wall, making the entrance virtually undetectable to the casual observer. This requires the door blocks to be retracted two blocks deep.
- Double Piston Extender: This advanced but common mechanism is key to achieving a flush design. It involves one sticky piston pushing a block, and then a second sticky piston pushing that *first* piston (and the block it holds) even further. This allows the door blocks to be pulled two blocks deep into the wall, creating the flush effect. You will typically need multiple double piston extenders for a 2×2 door.
The Blueprint: Step-by-Step Construction
While specific designs can vary between Minecraft’s Java and Bedrock editions, the fundamental steps and principles remain largely consistent. Here’s a general outline to guide your build:
1. Prepare the Opening
Begin by creating the physical space for your door. In your wall, dig out a 2-block wide by 2-block high opening. This is where your door blocks will eventually sit when closed, and where the mechanism will be built around.
2. Place Pistons
This is the most intricate part. You will typically need to place a total of eight sticky pistons, four on each side of the doorway.
- Front Layer: Place two sticky pistons on each side of the opening, facing inward. One at the bottom, and one directly above it. These are your “innermost” pistons.
- Back Layer (Double Extenders): Behind each of these innermost pistons, place another sticky piston. These “outer” pistons will push the innermost pistons. Ensure they are also facing towards the opening, but one block further back. This setup forms your double piston extenders, allowing the door blocks to retract two blocks deep.
3. Place Door Blocks
Once your pistons are in place, position the blocks that will form the actual door onto the faces of the innermost sticky pistons. These are the blocks that will move to open and close your hidden entrance. Choose blocks that match your surrounding wall for maximum stealth.
4. Wire with Redstone
Now, connect everything with redstone. This will involve running redstone dust, often along the top and sides of your piston setup.
- Powering Pistons: Lay redstone dust to transmit power to all your pistons. This usually involves creating a circuit that runs along the back and sides of the piston arrays.
- Incorporating Repeaters: Strategic placement of redstone repeaters is paramount. Use them to maintain signal strength over longer distances and, critically, to introduce delays. The delays ensure that the outer pistons fire before the inner pistons when retracting (pulling the inner piston first, then the block) and vice-versa when extending (pushing the block first, then the inner piston). Experimentation with repeater tick settings (1 to 4 ticks) will be necessary to achieve smooth, jam-free operation.
- Connecting Input: Finally, connect your redstone circuit to an input mechanism. A simple lever is a good starting point, but you can upgrade to buttons or more advanced hidden inputs later.
5. Conceal Redstone
Once your door is fully functional, the last step is to hide all the redstone components. Carefully place decorative blocks around the redstone dust, repeaters, and pistons. The goal is to make the entire mechanism invisible from the exterior, leaving only your perfectly flush wall.
Refining Your Design: Expert Tips
To elevate your hidden door from functional to flawless, consider these expert tips:
- Repeater Delays are Key: This cannot be stressed enough. Incorrect repeater delays are the leading cause of sticky pistons leaving blocks behind or getting jammed. Different designs and piston arrangements will require unique delay settings. Take the time to experiment with each repeater’s tick setting (right-click to adjust) until your door opens and closes with perfect fluidity.
- Input Options Beyond the Lever: While a lever is simple, it stays “on” or “off.” For a more user-friendly experience, consider using a button connected to a T-flip-flop circuit. A T-flip-flop converts a momentary button pulse into a sustained “on” or “off” state, allowing the door to toggle open or closed with each press.
- Hidden Inputs: A hidden door isn’t truly hidden if its activation switch is obvious. Integrate your lever or button cleverly into the surrounding environment. For advanced concealment, explore methods like a redstone torch key, a pressure plate hidden under a carpet, or even a specific block placement that triggers the door.
- Compact Designs: Always strive for the most compact design possible. Smaller redstone footprints are easier to conceal and require less space within your build. Many online tutorials showcase highly optimized, compact 2×2 hidden door designs.
- Version Compatibility: Be mindful that redstone behavior can differ between Minecraft Java and Bedrock editions, particularly regarding block updates and quasi-connectivity. If you’re following a tutorial, always check if it specifies which version it’s designed for to avoid unexpected issues.
Troubleshooting: Avoiding Common Mistakes
Even seasoned redstone engineers encounter issues. Here are common pitfalls and how to avoid them:
- Incorrect Piston Placement: Ensure all pistons are sticky pistons and are oriented correctly, facing the blocks they are meant to push or pull. Using a regular piston by mistake or placing a sticky piston facing the wrong direction will break the mechanism.
- Insufficient Power: Redstone signals lose strength after 15 blocks. If parts of your circuit aren’t activating, you likely need to add more redstone repeaters to extend the signal. Ensure repeaters are facing the correct direction to transmit power.
- Incorrect Repeater Delays: As mentioned, this is critical. If blocks are left behind, pushed out of sequence, or get stuck, your repeater timings are almost certainly off. Adjust them incrementally until the movement is smooth.
- Redstone Connectivity Issues: Double-check that all redstone dust is properly connected to components and other dust. Ensure redstone lines aren’t crossing or interfering with each other unless intended (e.g., using torches or repeaters to bridge gaps or change signal direction).
- Block Updates (Bedrock Specific): In Bedrock Edition, the order in which blocks are updated can sometimes lead to unexpected redstone behavior. If you’re experiencing intermittent issues that seem unexplainable by power or timing, this might be a factor.
- Lever/Button Connection: A basic but often overlooked mistake. Ensure your input mechanism is directly connected to the main redstone circuit that controls the piston door. If the lever isn’t powering any redstone dust, the door won’t activate.
Building a 2×2 hidden piston door is a rewarding redstone project that significantly enhances your Minecraft experience. With patience, careful planning, and a keen eye for detail, you’ll soon have a perfectly concealed entrance that will impress your friends and safeguard your valuables.
Tags:
YOU MAY ALSO LIKE...


