

Minecraft How to Make Kelp Elevator
Transforming a chaotic waterfall into a perfect aquatic highway in Minecraft is simpler than you might think, all thanks to a common underwater plant: kelp. While the concept of a water elevator has existed for a long time in the game, the introduction of kelp revolutionized its construction, making the process significantly faster and more foolproof. This guide will walk you through the essential mechanics and detailed steps to construct your very own efficient kelp-powered vertical transport system, allowing you to ascend or descend great heights with ease.
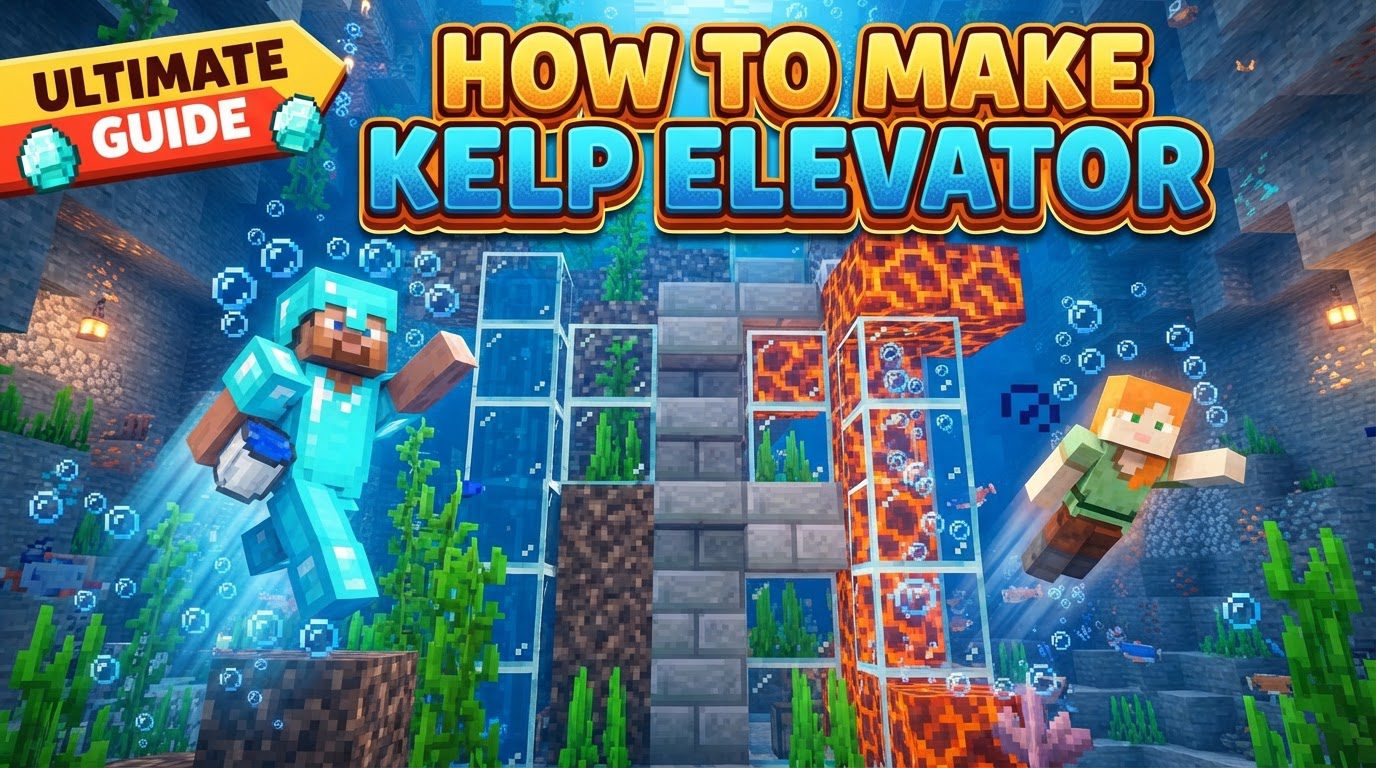
Understanding the Aquatic Fundamentals
Before diving into construction, it’s crucial to grasp the core principles that make a kelp elevator function. These mechanics are the bedrock of any successful water-based transport in Minecraft.
- Water Source Blocks:
The fundamental requirement for any functional water elevator is that every single block within its vertical shaft must be a water source block. Unlike flowing water, which streams downwards from a single source, a source block occupies its entire block space and remains static. Bubble columns, which are the propulsion mechanism for elevators, can only form within a column entirely composed of these source blocks. Failing to ensure this is the most common reason an elevator won’t work.
- Kelp’s Transformative Power:
This is where kelp truly shines. Normally, filling a tall shaft with individual water source blocks can be tedious and prone to error. However, when kelp grows or is placed through a column of water, it automatically converts every water block it occupies into a source block. This simplifies the process immensely, turning a complex task into a straightforward one, as you only need to pour water once at the top and then place kelp.
- Soul Sand: The Upward Current:
To create an upward-moving elevator, a Soul Sand block is indispensable. When placed at the very bottom of a water column that consists solely of source blocks, the Soul Sand generates powerful upward-pushing bubble columns. These bubbles will rapidly propel players and items from the bottom of the shaft to the very top, offering swift vertical ascent.
- Magma Block: The Downward Pull:
Conversely, for a downward-pulling elevator, a Magma Block is required. Placed at the base of a water source block column, the Magma Block creates downward-pulling bubble columns. These currents gently pull players and items towards the bottom, providing a safe and controlled descent without taking fall damage. Be aware that standing directly on a Magma Block will cause damage, so a strategic exit point is important.
- Sealing the Flow:
For the water to remain contained and function as a proper elevator, the vertical shaft must be completely enclosed on all sides. Any gaps or openings will cause the water to flow out, disrupting the source block integrity and preventing the bubble columns from forming. This means using solid blocks to create a watertight column around your elevator’s internal space.
- Signs: Ingenious Water Barriers:
Signs play a crucial role at the entrance and exit points of your elevator. They are unique in that they count as full blocks for the purpose of retaining water, preventing it from flowing out of the shaft. However, unlike solid blocks, players can walk right through them. This makes them perfect for creating a water-tight seal at the bottom of your elevator while still allowing easy entry and exit.
Gathering Your Essential Supplies
Before embarking on construction, ensure you have the following materials readily available. The right tools and resources will make the building process smooth and efficient.
- Building Blocks:
You’ll need a substantial quantity of any solid block to construct the shaft walls. Glass is a popular choice for its transparency, allowing you to observe the bubble columns and the surrounding environment, but stone, cobblestone, or even dirt will work perfectly fine. The amount needed depends on the height of your elevator.
- Water Bucket:
At least one water bucket is essential. This will be used to place the initial water source at the top of your shaft, allowing it to flow downwards and set the stage for kelp placement.
- Kelp:
Gather plenty of kelp. The exact amount will depend on the height of your elevator, as you’ll need to place kelp blocks all the way from the bottom to the top of the water column. It’s always better to have more than you think you’ll need, as it’s easily found in ocean biomes.
- Signs:
You’ll need at least two signs for the entrance of your elevator. These will prevent the water from spilling out while still allowing players to pass through.
- Soul Sand or Magma Block:
Crucially, you’ll need one block of either Soul Sand (found in the Nether) for an upward elevator, or one Magma Block (found in the Nether or underwater in oceans) for a downward elevator. Make sure you choose the correct one for your desired direction of travel.
Constructing Your Kelp Elevator: A Step-by-Step Guide
Follow these precise steps to build a fully functional and reliable kelp elevator in your Minecraft world.
- Step 1: Build the Shaft.
Begin by constructing a vertical, enclosed shaft to your desired height. The internal space of the elevator should be 1×1 block wide, allowing just enough room for a player. Create a two-block-high entrance at the bottom of the shaft, which will be where you enter and exit. Ensure the walls are completely sealed to prevent water leakage.
- Step 2: Place the Entrance Signs.
At the bottom entrance of your shaft, place two signs. These signs should be positioned on the side blocks of the entrance, effectively blocking the water flow from escaping while allowing you to walk through the opening they create.
- Step 3: Introduce the Water.
Climb to the very top of your newly built shaft. Pour a single water bucket into the 1×1 opening. The water will flow downwards, filling the entire shaft with flowing water. Do not pour water at multiple levels, as this can create issues with the source block conversion later.
- Step 4: The Kelp Transformation.
Now, enter the water column from the bottom entrance. While submerged, continuously place kelp blocks directly in front of you, moving upwards. Place kelp all the way up until you reach the very top of the water column. As you place kelp, observe how the flowing water transforms into static water source blocks, one by one.
- Step 5: Clear the Kelp.
Once all the water blocks have been converted into source blocks by the kelp, you need to remove the kelp itself. The easiest way to do this is to break the very bottom kelp block. This action will cause all the kelp blocks above it in the same column to break and float away, leaving behind a perfectly formed column of water source blocks.
- Step 6: Install the Bubble Generator.
Replace the bottom block of the elevator (the one where the kelp was originally rooted and subsequently broken) with your chosen bubble-generating block. If you want an upward elevator, place a Soul Sand block. If you desire a downward elevator, place a Magma Block. You should immediately see bubble columns forming and rising or falling.
- Step 7: Test Your Creation.
Step into your newly constructed elevator. If you placed Soul Sand, you should be swiftly propelled upwards by the bubbles. If you placed a Magma Block, you will be gently pulled downwards. Confirm that the bubble columns are consistent and that there are no gaps in the water source blocks or leaks in the shaft.
Advanced Techniques and Handy Tips
Enhance your kelp elevator experience with these helpful tricks and considerations.
- Accelerated Kelp Growth with Bone Meal:
Instead of manually placing kelp all the way up, you can expedite the process. Place just one kelp block at the very bottom of the water column, then use bone meal on it. This will rapidly grow the kelp upwards, filling the entire column and converting all the water to source blocks much faster.
- Preventing Drowning:
When manually placing kelp or performing other underwater tasks, it’s easy to drown, especially in tall shafts. Continuously spam-clicking to place kelp will often keep your head above water just enough to breathe, or you can use a water breathing potion for extended underwater work.
- Visibility with Glass:
Using glass blocks for the walls of your elevator shaft offers excellent visibility. Not only does it allow you to see the mesmerizing bubble columns in action, but it also provides a clear view of your surroundings as you travel, making the journey more engaging.
- Smooth Exits with Slabs:
For downward elevators, exiting can sometimes be tricky, especially if the Magma Block is causing damage. Placing a slab at the bottom entrance, directly above the Magma Block, allows for a smooth exit while still preventing fall damage from the water. Players can stand on the slab without taking damage from the Magma Block below.
- Dual-Directional Elevators:
For ultimate convenience, consider building both an upward (Soul Sand) and a downward (Magma Block) elevator side-by-side. This setup provides efficient two-way vertical transport, perfect for multi-story bases or mineshafts.
Common Mistakes and How to Avoid Them
Even with clear instructions, some errors are common. Being aware of these pitfalls can save you time and frustration.
- Incomplete Water Source Blocks:
The most frequent error is not ensuring every single water block in the column is a source block. If even one block is flowing water, the bubble columns will not form correctly, or they will stop at that point. Kelp placement is designed to prevent this, but if you’re not using kelp or if it’s removed prematurely, this can happen.
- Unsealed Shafts:
Any gap, no matter how small, in the walls of your elevator shaft will cause water to flow out. This breaks the integrity of the water column and prevents bubble columns from forming. Always double-check your construction for any missing blocks or unintended openings.
- Incorrect Base Block Choice:
Using Soul Sand when you intended a downward elevator, or a Magma Block for an upward one, is a simple but common mistake. Always confirm you’ve placed the correct block (Soul Sand for up, Magma Block for down) at the very bottom of your elevator before testing.
Mastering the kelp elevator in Minecraft is a valuable skill that significantly improves base navigation and resource transport. By understanding the core mechanics and following these detailed steps, you can effortlessly construct a reliable and efficient vertical travel system, making your Minecraft adventures smoother and more enjoyable.
Tags:
YOU MAY ALSO LIKE...


