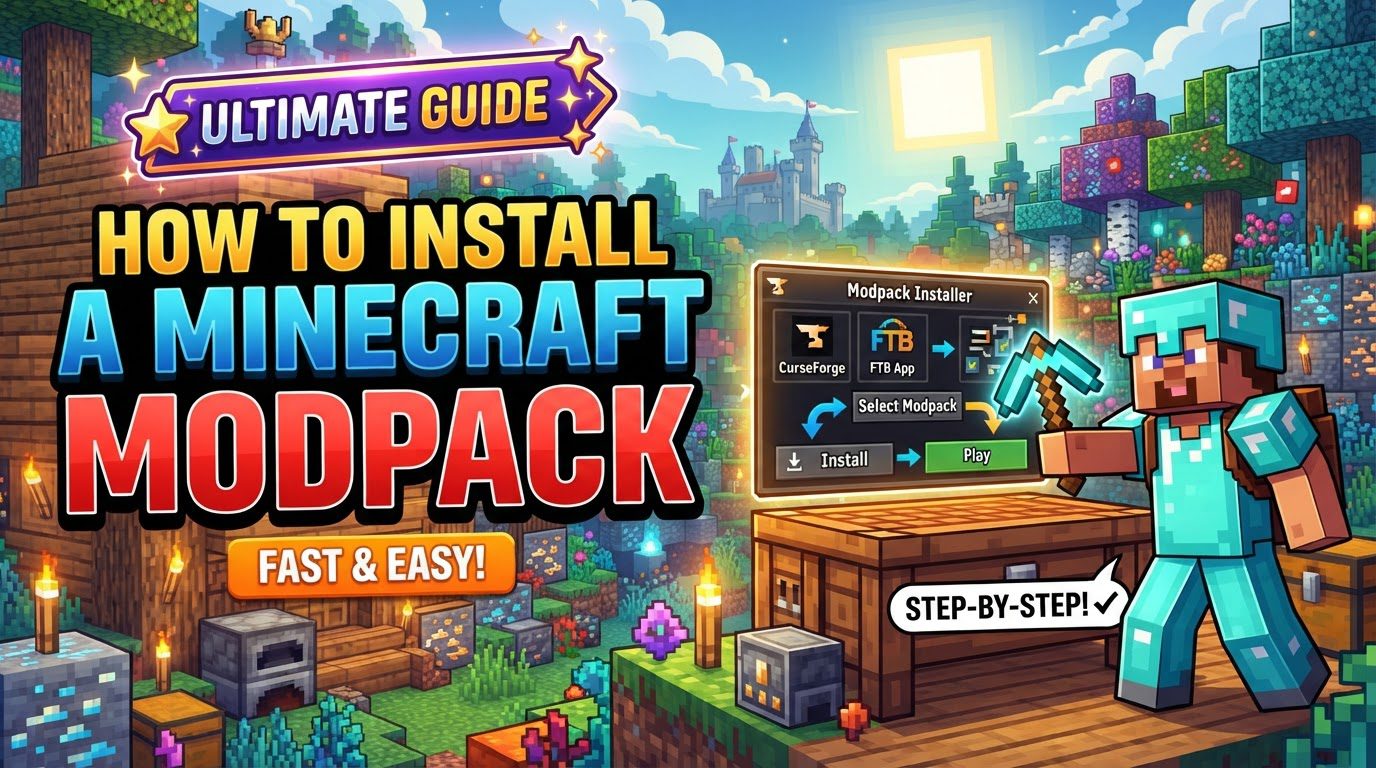
How to Install a Minecraft Modpack
Attempting to manually install a Minecraft modpack without the aid of a dedicated launcher is arguably the most common and frustrating mistake new players make. While the allure of transforming your blocky world with hundreds of new features is strong, the underlying complexity of managing dependencies, mod loaders, and configuration files can quickly overwhelm even seasoned players. Fortunately, the process has been streamlined significantly, making the vast universe of modded Minecraft more accessible than ever before.
Minecraft modpacks are meticulously curated collections of mods, custom configurations, and sometimes even bespoke resource packs, all bundled together to deliver a cohesive and often dramatically different gameplay experience. From technological advancements and magical systems to challenging survival overhauls and expansive questlines, modpacks unlock an entirely new dimension of creativity and adventure within Minecraft. This guide focuses exclusively on modpacks for Minecraft: Java Edition, as the Bedrock Edition does not typically support this level of modding.
The Modpack Advantage: Why Dedicated Launchers Are Your Best Friend
The secret to effortless modpack installation lies in utilizing dedicated modpack launchers. These applications are specifically designed to automate the complex procedures involved in setting up a modded Minecraft environment. Think of them as intelligent assistants that handle all the heavy lifting for you, from downloading the correct mod files to ensuring compatibility and configuring the necessary mod loaders like Forge, Fabric, or NeoForge.
- Curated Collections: Modpacks are not just random assortments of mods; they are carefully assembled to work together, often with custom recipes, progression systems, and world generation. Launchers provide easy access to these pre-packaged experiences.
- Launcher Dependence: Modpacks are built with the expectation that a launcher will interpret their manifest files and assemble the game instance correctly. Without a launcher, you’d be left sifting through countless individual mod files and attempting manual configuration, a task prone to errors and version mismatches.
- Simplified Management: These launchers don’t just install; they also facilitate updates, profile management, and even server compatibility checks, ensuring a smooth experience from start to finish.
Your Modpack Installation Journey: A Step-by-Step Guide
Installing a modpack is a straightforward process when you leverage the right tools. Here’s how to get started, typically using popular launchers like CurseForge or Modrinth, which are excellent choices for beginners due to their user-friendly interfaces and extensive modpack libraries.
Step 1: Selecting Your Preferred Modpack Launcher
The first decision is choosing which dedicated modpack launcher to use. Popular options include CurseForge, Modrinth, ATLauncher, Prism Launcher, and the FTB App. For newcomers, CurseForge and Modrinth are highly recommended due to their vast repositories and ease of use. Each launcher offers a slightly different interface and selection, but the core functionality remains consistent.
Step 2: Downloading and Installing the Launcher Application
Once you’ve chosen a launcher, navigate to its official website. Be sure to download the correct version for your operating system (Windows, macOS, or Linux). Always download from the official source to ensure security and prevent malware. Run the downloaded installer and follow the on-screen prompts to complete the setup process, just like you would with any other software application.
Step 3: Launching the Application and Logging In
After installation, open the launcher application. Many launchers, especially CurseForge, will require you to log in or create an account. This account often links to your Minecraft profile or allows you to save your modpack preferences and installations across devices. Complete any necessary login procedures to gain full access to the launcher’s features.
Step 4: Specifying Minecraft within the Launcher
Within the launcher interface, you’ll typically find an option to select which game you wish to manage. Choose Minecraft from the list. This step ensures the launcher knows which game’s modpacks and profiles it needs to display and manage.
Step 5: Discovering and Choosing Your Modpack
Now comes the exciting part: finding your modpack. Look for a section labeled “Browse Modpacks,” “Discover,” or similar. Here, you can explore a vast library of modpacks. Use the search bar to look for specific packs, or apply filters based on Minecraft version, mod loader (Forge, Fabric, NeoForge), genre, or popularity. Read the modpack descriptions to understand what kind of experience they offer and check their system requirements.
Step 6: Initiating the Modpack Installation
Once you’ve found a modpack that piques your interest, click on its entry. You’ll usually see a detailed page with information, screenshots, and an “Install” button. Click this button. The launcher will then automatically begin downloading all the necessary mod files, configuration settings, and the correct mod loader. This process can take some time, depending on the size of the modpack and your internet connection speed, as some modpacks contain hundreds of individual mods.
Step 7: Launching Your Enhanced Minecraft Experience
After the installation is complete, the launcher will create a new game profile specifically for that modpack. Navigate to your “My Modpacks” or “Installed Modpacks” section. Select the newly installed modpack and click the “Play” or “Launch” button. The launcher will then start Minecraft with all the modpack’s content loaded, ready for you to explore its transformed world.
Essential Advice for a Seamless Modded Experience
To ensure your modded Minecraft journey is as smooth and enjoyable as possible, keep these crucial tips in mind:
- Utilize Dedicated Launchers: Reiterate this point – always use dedicated modpack launchers. They are designed to automate complex steps like dependency management and version control, saving you countless hours of troubleshooting.
- Match Server and Client: If you plan to play on a multiplayer server, it is absolutely critical that your installed modpack version precisely matches the version running on the server. Even minor discrepancies can prevent you from connecting or lead to crashes. Communicate with the server administrator to confirm the exact modpack and its version.
- Backup Your Worlds: Before installing any new mods or modpacks, always back up your existing Minecraft worlds. Modding, while generally stable with launchers, can sometimes introduce unforeseen issues. A backup ensures you can always revert to a working state if something goes wrong, preventing the heartbreaking loss of your progress.
- Check System Requirements: Some modpacks, especially those with many large or complex mods, can be incredibly resource-intensive. Always review the modpack’s recommended system specifications, particularly for RAM. Running a heavy modpack on insufficient hardware can lead to poor performance, crashes, and a generally frustrating experience.
Avoiding Common Pitfalls with Modpacks
Even with dedicated launchers, certain mistakes can lead to issues. Being aware of these common pitfalls can help you troubleshoot or prevent problems altogether:
- Manual Installation: As mentioned, attempting to manually install modpacks is a recipe for disaster. Modpacks typically consist of a manifest file that a launcher interprets to assemble the hundreds of individual mods, configurations, and libraries. Trying to do this by hand is significantly more complex and prone to errors than simply using a launcher.
- Version Mismatches: This is a frequent cause of frustration. Using a modpack that doesn’t match your Minecraft version (e.g., a 1.16.5 modpack with a 1.18.2 Minecraft installation) or trying to join a server with a different modpack version will inevitably lead to connection issues, crashes, or an unplayable game. Always double-check the versions.
- Insufficient RAM Allocation: Vanilla Minecraft runs fine on a few gigabytes of RAM. Modpacks, however, often demand significantly more. If your game crashes during loading, runs incredibly slowly, or exhibits frequent lag spikes, it’s highly likely you haven’t allocated enough RAM. Most launchers allow you to increase the allocated RAM in their settings for each modpack profile. A good starting point for many modpacks is 6-8 GB, but some heavier packs might require 10-12 GB or more.
- Not Backing Up: Failing to back up your saves before introducing new mods is a risk you shouldn’t take. While modpacks are designed to be stable, conflicts or unexpected issues can corrupt world data. A simple backup can save hours of progress and prevent significant disappointment.
Conclusion: Embrace the Modded World
Installing a Minecraft modpack, when approached with the right tools and knowledge, is a surprisingly simple process. Dedicated launchers have demystified modding, transforming what was once a complex endeavor into a few clicks of a button. By understanding the advantages of these launchers, following the step-by-step guide, and heeding the advice on avoiding common pitfalls, you’re well on your way to unlocking countless hours of new and exciting adventures within the endlessly creative world of Minecraft.
Tags:
YOU MAY ALSO LIKE...