Biomes O Plenty Biome Names
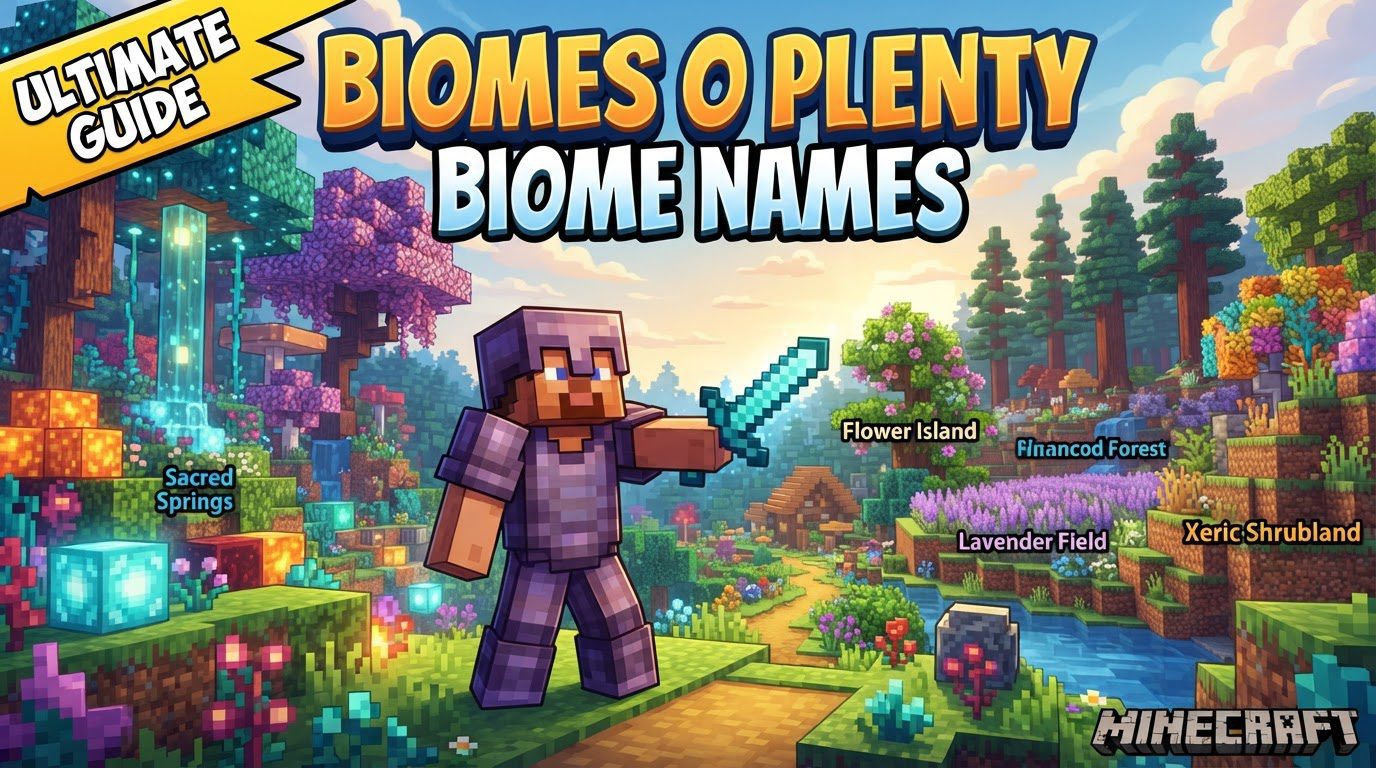
Over 80 new biomes and 12 distinct sub-biomes fundamentally redefine Minecraft’s world generation, transforming familiar landscapes into a tapestry of unparalleled environmental diversity. This expansive mod, Biomes O’ Plenty (BoP), introduces environments that range from lush, verdant forests to eerie, desolate wastes, each with its own unique characteristics. Understanding the specific names associated with these biomes is not merely a detail; it’s the core skill for navigating, exploring, and ultimately mastering the rich new worlds BoP creates.
The Foundation: Enabling Biomes O’ Plenty World Generation
The journey into a Biomes O’ Plenty world begins before you even place your first block. A critical initial step that often trips up new explorers is the world generation setting. To experience the rich variety that BoP provides, players must select the “Biomes O’ Plenty” world type during world creation. Failing to do so will result in a standard vanilla Minecraft world, devoid of the mod’s unique biomes, regardless of whether the mod is installed. This selection is a non-negotiable prerequisite, ensuring that the game’s generation algorithms incorporate BoP’s extensive biome data, scattering its unique environments across your new world.
Beyond the Overworld: Dimensional Integration
Biomes O’ Plenty’s influence isn’t confined to the familiar Overworld. The mod thoughtfully extends its reach into Minecraft’s other dimensions, offering unique environmental twists in both the Nether and the End. This dimensional integration means that even the most experienced explorers will find new landscapes and challenges awaiting them beyond the Overworld’s boundaries. The Nether, typically a uniform expanse of hellish terrain, can become home to strange and dangerous BoP biomes, while the End, often a barren void, might host peculiar, alien landscapes. This comprehensive approach ensures that every corner of your Minecraft experience feels fresh and unpredictable.
The Registry System: Identifying Biomes by Name
Every single biome introduced by Biomes O’ Plenty possesses a distinct registry name, which is its internal identifier within the game’s code. This internal name is crucial, especially when interacting with commands. When using commands like /locate biome, these registry names are always prefixed with biomesoplenty:. For instance, the common ‘Redwood Forest’ biome is internally recognized as biomesoplenty:redwood_forest. A vital formatting rule to remember is that any spaces present in the common, human-readable biome name are replaced with underscores in its registry counterpart. This consistent biomesoplenty:biome_name_with_underscores structure is fundamental for precise in-game interactions and troubleshooting.
Locating Biomes by Name: A Step-by-Step Guide
One of the most powerful tools for navigating the vastness of a Biomes O’ Plenty world is the /locate biome command. This command, when used correctly with the mod’s specific naming conventions, allows players to pinpoint the exact coordinates of any desired biome. This is an invaluable resource for adventurers seeking specific resources, builders looking for unique aesthetic backdrops, or anyone simply wishing to explore a particular environment without endless searching.
- Open Chat: The first step is to open your chat window within Minecraft. This is typically done by pressing the “T” key, although it can be configured to a different key in your game settings.
- Enter Command: Next, type the
/locate biomecommand. Immediately following this, you must specify the Biomes O’ Plenty biome you are searching for. Remember to include thebiomesoplenty:prefix, followed by the biome’s registry name, where spaces are replaced by underscores. For example, to find a Redwood Forest, the command would be/locate biome biomesoplenty:redwood_forest. If you’re looking for a Mystical Grove, it would be/locate biome biomesoplenty:mystical_grove. Precision in spelling and formatting here is absolutely key to success. - Teleport (Optional): Upon successful execution of the command, the game will display coordinates in your chat window, indicating the nearest instance of that biome within a 10,000-block radius. A convenient feature is that these coordinates are clickable. Clicking on them will instantly teleport your character to that precise location, allowing for immediate exploration or resource gathering. This shortcut saves immense time and effort, transforming arduous journeys into instantaneous jumps.
Mastering Biome Discovery and Configuration
Beyond simply finding biomes, Biomes O’ Plenty offers tools for tracking your discoveries and even customizing world generation.
- Tracking Your Journey: For the completionist or the dedicated explorer, Biomes O’ Plenty offers a built-in tracking system through its “Wanderer” advancement. This specific advancement serves as a comprehensive log, recording every unique Biomes O’ Plenty biome you have encountered and discovered during your gameplay. It’s an excellent way to monitor your progress in uncovering the mod’s full environmental scope and provides a clear objective for those who wish to experience every unique landscape the mod has to offer. Regularly checking this advancement can guide your future explorations, highlighting which biomes remain elusive.
- Fine-Tuning Your World: Biomes O’ Plenty grants players a degree of control over their world generation through configuration files. Located within your
.minecraft/config/biomesoplenty/directory, files likebiome_weights.jsonallow users to modify the spawn frequencies of various biomes. This means if you have a particular favorite biome you wish to see more often, or a less favored one you’d prefer to encounter rarely, you can adjust its weight accordingly. This advanced option caters to players who desire a more customized and personalized world generation experience, offering a powerful way to shape the rarity and distribution of BoP’s diverse environments.
Common Pitfalls and How to Avoid Them
Even with the best intentions, players can encounter issues when interacting with Biomes O’ Plenty’s extensive biome system. Awareness of these common mistakes can save significant frustration and ensure a smoother gameplay experience.
- Incorrect World Type: This is arguably the most frequent error. Generating a new world without explicitly selecting the “Biomes O’ Plenty” world type in the world creation menu will result in a standard vanilla Minecraft world. No BoP biomes will generate, making all subsequent attempts to locate them futile. Always double-check this critical setting before creating your world.
- Missing Prefix: When using the
/locate biomecommand for a BoP-specific biome, forgetting to include the essentialbiomesoplenty:prefix before the biome’s registry name will cause the command to fail. The game will interpret your request as a search for a vanilla biome, which will not yield the desired results for BoP environments. - Name Formatting: The registry names for Biomes O’ Plenty biomes strictly adhere to a
snake_caseformat. This means any spaces in the common name (e.g., ‘Redwood Forest’) must be replaced with underscores (redwood_forest) when used in commands. Using spaces instead of underscores (e.g.,/locate biome biomesoplenty:Redwood Forest) will result in a “Could Not Find Biome Undefined!” error, as the command parser won’t recognize the name. - Command Errors: If the
/locate biomecommand returns “Could Not Find Biome [biomename]!”, it indicates that while the biome name was recognized, no instance of it was found within the default 10,000-block search radius from your current location. This doesn’t mean the biome doesn’t exist in your world, just that it’s further away. If the error is “Could Not Find Biome Undefined!”, it almost always points to an incorrect or non-existent biome name being entered, often due to a typo or incorrect formatting.
Pro Tips for Biome Hunters
To further enhance your Biomes O’ Plenty exploration and command usage, consider these helpful tips:
- Reference Biome Lists: The Biomes O’ Plenty Wiki and various community resources offer comprehensive lists of all biomes, complete with their common names, registry names, and often detailed descriptions. Consulting these lists is invaluable for identifying the exact biome you wish to find and ensuring you have its correct, command-ready name.
- Explore Advancements: As mentioned, the “Wanderer” advancement acts as a built-in checklist. Regularly reviewing it will show you which Biomes O’ Plenty biomes you’ve already discovered and, more importantly, which ones are still waiting to be found. This can provide clear goals for your next exploration ventures.
- Use Tab Completion: In many versions of Minecraft, the chat interface supports tab completion. After typing
/locate biome biomesoplenty:and perhaps the first few letters of a biome, pressing theTabkey can cycle through available Biomes O’ Plenty biome names. This feature is incredibly useful for auto-correcting typos, discovering new biome names, and ensuring accurate command entry, saving time and preventing common formatting errors.
Mastering the nuances of Biomes O’ Plenty biome names is more than just learning a few commands; it’s about unlocking the full potential of an incredibly diverse and expansive Minecraft world. From the initial world type selection to the precise formatting of registry names in commands, every detail contributes to a richer, more controlled, and ultimately, more rewarding exploration experience. With over 80 new biomes waiting to be discovered across all dimensions, understanding their unique identifiers is your compass to adventure.
Tags:
YOU MAY ALSO LIKE...