

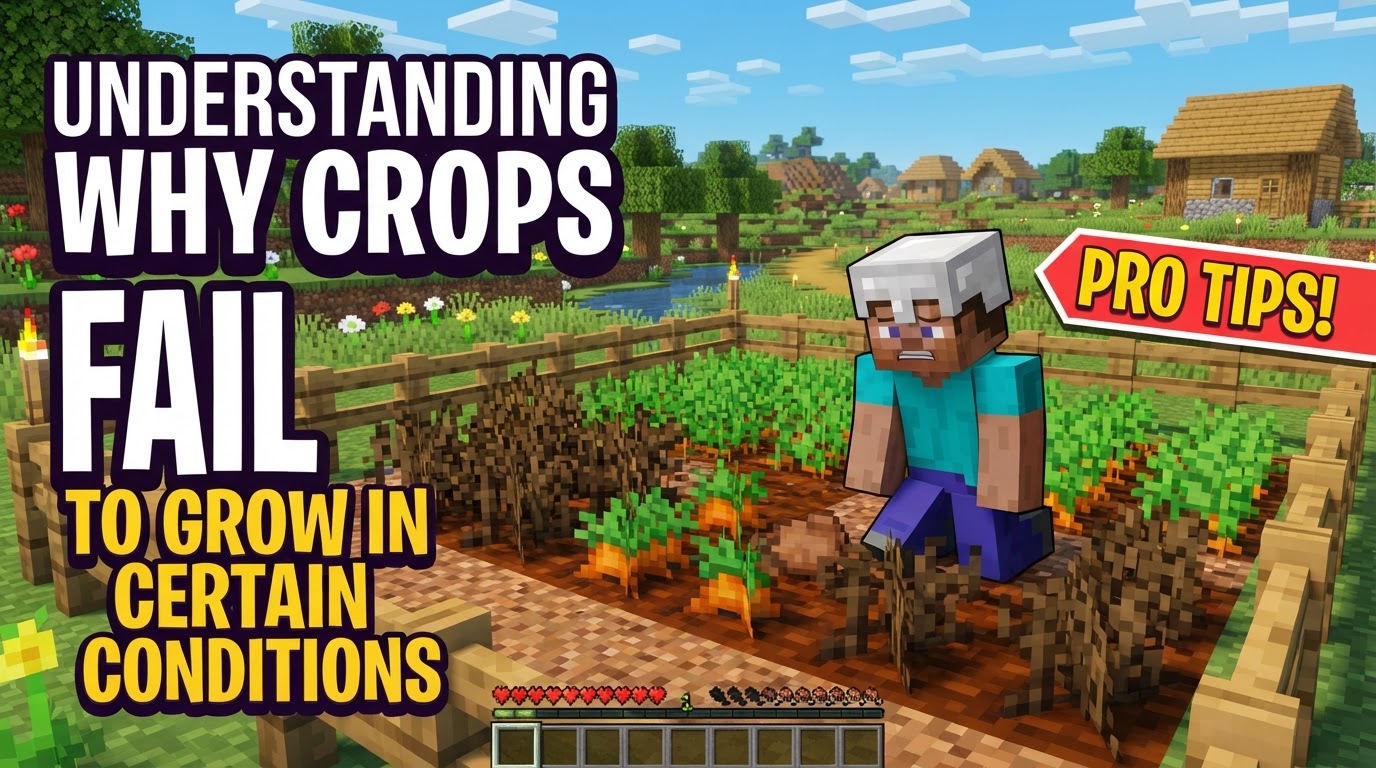
Understanding Why Crops Fail to Grow in Certain Conditions
Many a Minecraft farmer has stared in frustration at an unyielding field, wondering why their carefully planted crops refuse to grow. While farming in Minecraft might seem straightforward, it involves a surprisingly intricate set of environmental and mechanical conditions that, if not met, can bring your agricultural ambitions to a grinding halt. Understanding these underlying mechanics is not just about efficiency; it’s about preventing complete crop failure and ensuring a steady supply of resources.
The Silent Killers: Why Your Crops Aren’t Growing
Crops in Minecraft can fail to grow due to several factors related to their environment and how they are managed. Ignoring any of these crucial elements can lead to stagnant fields and wasted effort.
The Thirsty Earth: Farmland Hydration
One of the most fundamental requirements for crop growth is properly hydrated farmland. Crops must be planted on tilled farmland, which is created by using a hoe on a dirt block. However, tilled farmland itself isn’t enough; it needs a water source nearby to remain hydrated. Without water, tilled farmland will eventually revert to a normal dirt block, destroying any planted crops.
- Hydration Range: A single water block can hydrate farmland up to four blocks away in every direction. This means one water block can effectively hydrate a 9×9 square of farmland with the water block at its center.
- Visual Cue: Hydrated farmland is visibly darker than dry farmland, providing a clear indicator of its status. Ensuring this dark, moist appearance across your entire farm is crucial for consistent growth.
Basking in the Glow: Light Level Requirements
Just like plants in the real world, Minecraft crops need light to grow. This is a common oversight, especially for underground farms or during nighttime cycles. Crops generally require a minimum light level of at least 9, though some sources may indicate 13 for optimal growth. Without sufficient light, crops will simply cease to progress through their growth stages.
- Light Sources: This light can come from natural sources like direct sunlight, making open-air farms ideal. For indoor or underground operations, artificial light sources such as torches, glowstone, or jack-o’-lanterns are essential. Proper placement of these light sources ensures an adequate light level across all planted areas.
The Farmer’s Shadow: Player Proximity
Perhaps one of the more counter-intuitive mechanics is the requirement for player proximity. Crops will only undergo growth updates if a player is within a certain range, ensuring the chunks where the farm resides are loaded. If you build a farm far from your base and rarely visit it, you might return to find crops that haven’t grown an inch, despite meeting all other conditions.
- Chunk Loading: Growth updates, like many other game mechanics, depend on the game world being actively processed around the player. This means absentee farming, while tempting, is not an option for automatic crop progression.
Picky Eaters: Crop-Specific Demands
Not all crops follow the exact same rules. Many have unique growth conditions or requirements that, if overlooked, will lead to specific failures. Failing to account for these nuances is a common reason for certain crops to underperform or not grow at all.
- Melons and Pumpkins: These crops need an adjacent empty dirt, grass, or moss block for their fruit to appear. The stem itself grows on farmland, but the actual melon or pumpkin block spawns next to it. Planting them without these empty spaces will result in only stems growing.
- Sugarcane: Sugarcane has a very particular placement requirement: it must be planted on dirt, sand, or similar blocks directly next to water. Planting it on dry land or without adjacent water will prevent it from being placed or growing.
- Large Trees (Dark Oak, Pale Oak): Trees like Dark Oak and Pale Oak saplings require four saplings planted in a 2×2 square to grow into their full-sized counterparts. A single sapling of these types will never grow into a tree.
Cultivating Success: A Step-by-Step Approach to Growth
To ensure your crops thrive and avoid the pitfalls of failed growth, follow these fundamental steps for setting up and maintaining your farm:
- Till Soil: Always begin by using a hoe to convert dirt blocks into fertile farmland. This is the base for all terrestrial crops.
- Provide Water: Strategically place water sources. Remember the 9×9 hydration rule: one water block can serve a large area. Design your farm layout around efficient water distribution.
- Ensure Light: Whether through natural sunlight or strategically placed torches and glowstone, guarantee a light level of at least 9 across your entire growing area.
- Plant Seeds: Equip the appropriate seeds for your desired crop and interact with the tilled, hydrated farmland.
- Maintain Proximity: Regularly visit your farm or build it close to your main activity areas to ensure growth updates occur.
- Harvest: Once crops mature, harvest them to collect your yield and clear space for new growth cycles.
Beyond the Basics: Boosting Your Bountiful Harvest
Once you’ve mastered the fundamentals, you can employ techniques to significantly increase your crop yield and growth speed.
- Alternating Crops: Planting different types of crops in alternating rows can significantly increase the growth speed of all crops in the field. This “crop diversity” bonus is a powerful, yet often overlooked, mechanic.
- Maximizing Hydrated Farmland: While a 9×9 is hydrated, ensuring every crop is surrounded by as much hydrated farmland as possible (even if it’s not planted) can subtly improve growth rates.
- The Buzzing Boost: Bees: If you have access to bees, allowing them to fly over your crops and drop pollen can provide a noticeable boost to growth speed. This natural interaction adds a layer of passive acceleration.
- Instant Gratification: Bone Meal: Bone meal is a consumable item that can be applied directly to a crop to instantly advance its growth stage. It’s an excellent way to quickly produce needed resources or kickstart a new farm.
- Room to Grow: Overhead Space: Especially for taller crops or trees, ensure there’s sufficient vertical space above the planting block. Trees, in particular, require considerable overhead clearance to mature.
- Covering Water Sources: In cold biomes, water can freeze, turning into ice and halting hydration. Placing slabs or trapdoors over water blocks prevents them from freezing. As an added bonus, these covered water sources allow you to walk over them without falling in, creating more efficient farm layouts.
Common Pitfalls and How to Avoid Them
Even seasoned players can sometimes overlook minor details that lead to crop failure. Here are some frequent mistakes:
- Lack of Light: This is arguably the most common issue for underground farms or those left unlit at night. Always double-check light levels.
- Dry Farmland: Not having a water source close enough to keep farmland hydrated is a fundamental error. The visual cue of light-colored farmland is a clear warning sign.
- Ignoring Player Distance: Building a sprawling farm across multiple chunks far from your active area means no growth updates will occur, making your efforts futile.
- Improper Crop Placement: Forgetting the specific requirements for crops like melons/pumpkins (empty adjacent block) or sugarcane (adjacent water) will hinder their growth.
- Planting a Single Crop Type: While not a “failure” per se, over-committing to one crop type in a large area without alternating crops will result in slower growth compared to a mixed farm.
- Starting Too Big: New farmers often try to create massive farms without fully understanding basic mechanics. It’s better to start with a smaller, functional farm and scale up gradually.
- Unhoed Ground: Even a small unhoed spot where you intended to plant can prevent seeds from being placed, leading to gaps in your farm.
- Overcrowding: While crops can grow right next to each other, certain layouts (especially for melons/pumpkins) or simply trying to cram too many different crop types into a tiny, unoptimized space can lead to less efficient growth.
Conclusion: The Art of Agricultural Mastery
Successful farming in Minecraft is a blend of understanding core game mechanics, strategic planning, and consistent maintenance. By paying close attention to hydration, light, player proximity, and crop-specific needs, you can transform barren land into a thriving agricultural enterprise. Remember, even the most experienced farmers learn through experimentation, so don’t be afraid to test different layouts and techniques to find what works best for your world.
Tags:
YOU MAY ALSO LIKE...


