

A Deep Dive Into Beacon Beam Rendering Logic
A Deep Dive Into Beacon Beam Rendering Logic
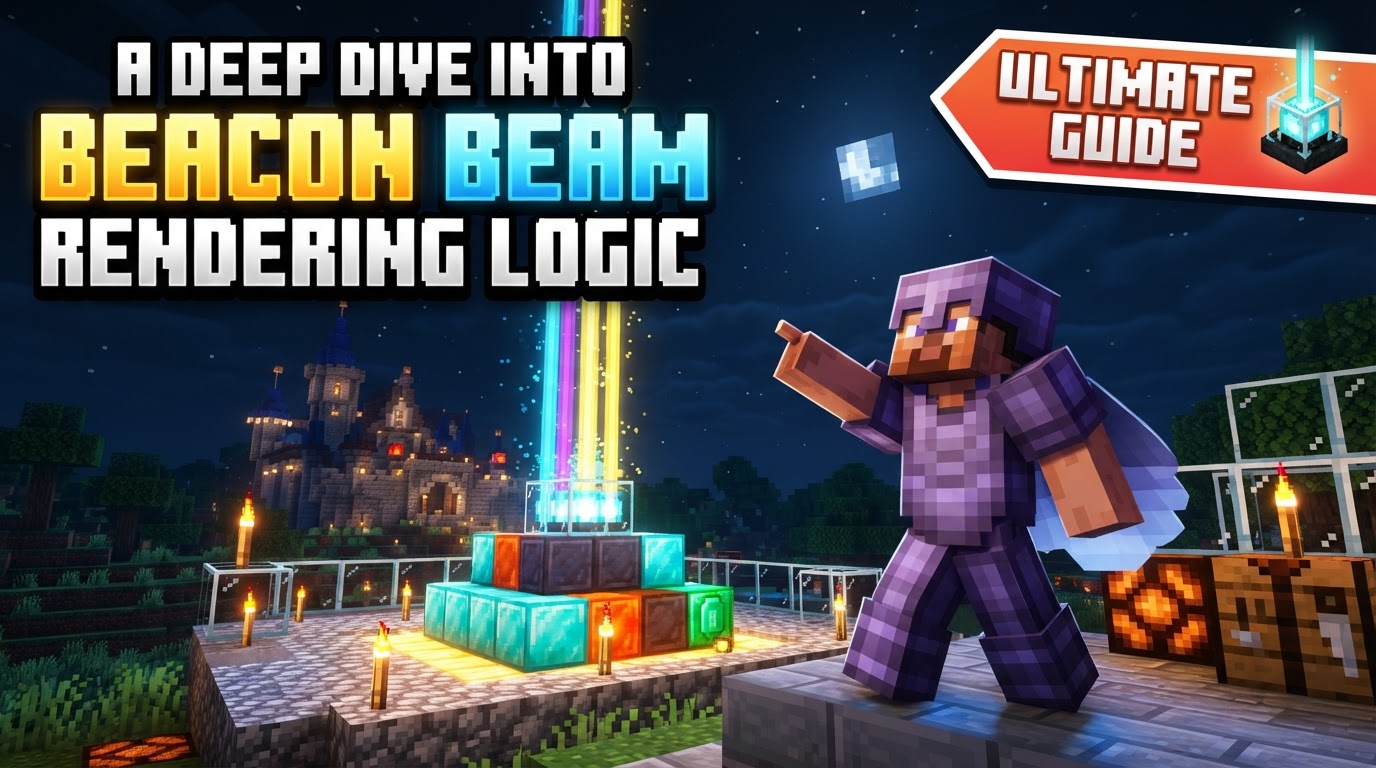
A common oversight often prevents Minecraft players from witnessing one of the game’s most iconic visual elements: the beacon beam. This striking vertical column of light, piercing the sky, is far more than just an aesthetic flourish. It’s a critical component of advanced gameplay, serving as an indispensable landmark and the conduit for powerful status effects. Understanding the precise mechanics behind its rendering is key to mastering its utility, transforming a potentially confusing block into a strategic powerhouse.
The Beacon’s Dual Role: Landmark and Power Source
At its core, a Minecraft beacon performs a dual function. Firstly, it acts as a highly visible, permanent marker. Once activated, its beam shoots straight up into the sky, often visible from distances as far as the player’s render distance allows – easily 256 blocks away at a 16-chunk render setting. This unparalleled visibility makes it invaluable for marking bases, important mining locations, or even just as a personal identifier in a multiplayer world. Secondly, and equally important, the beacon is a source of beneficial status effects, though these are distinct from the beam’s rendering mechanics.
Beyond its visual prominence, the beacon beam also generates a significant amount of light. Emitting a light level of 15, the maximum in Minecraft, the beam itself can prevent hostile mob spawning in its immediate vicinity, contribute to faster crop growth, and generally illuminate the surrounding environment. This secondary light source adds another layer of utility, making a properly deployed beacon a multi-faceted asset.
Establishing the Foundation: Pyramid Construction
The journey to an active beacon beam begins not with the beacon itself, but with its foundation. A beacon activates and renders its beam exclusively when placed atop a meticulously constructed pyramid. This pyramid must be composed entirely of specific, valuable mineral blocks: iron blocks, gold blocks, diamond blocks, emerald blocks, or netherite blocks. Mixing these block types within the pyramid is permissible, but using any other block, even a single one, will invalidate the structure.
The pyramid can range from one to four layers in height. The more layers present, the more powerful and diverse the status effects the beacon can provide, as well as increasing the radius of those effects. Crucially, the beacon block itself must be placed perfectly centered on the top 3×3 layer of this mineral pyramid. Any misalignment, or an incomplete pyramid, will prevent activation or limit its potential.
Unveiling the Light: The Beam Rendering Process
Once the correct pyramid is in place and the beacon is centered, the beam’s rendering relies on one fundamental principle: an unobstructed path directly upwards to the sky. This means that no solid blocks can be positioned directly above the beacon block. The game engine continuously checks this vertical column for solid obstructions. If a solid block is detected, the beam will simply not render.
However, not all blocks are considered obstructions. Transparent blocks, such as glass, water, or even the bedrock layer at the top of the Nether, will allow the beacon beam to pass through unimpeded. This distinction is vital for creative builds, allowing players to incorporate beacons into structures without having to leave an open-air shaft directly above them, provided the covering is transparent. It’s important to note that the beam will render as soon as these conditions are met; activating the beacon’s status effects (which requires interacting with its GUI) is an entirely separate step and not a prerequisite for the beam’s visual appearance.
A Spectrum of Light: Beam Customization
The beacon beam isn’t just a static white column; it’s highly customizable through the ingenious use of stained glass. By placing stained glass blocks directly in the path of the beacon beam, players can alter its color. The beam will adopt the color of the first stained glass block it encounters in its upward trajectory. The true magic, however, lies in layering.
Placing multiple layers of different colored stained glass blocks one above the other, in the beam’s path, can create stunning gradient effects. Each subsequent stained glass block will filter the light, blending its color with the previous one. In Java Edition, the mathematical possibilities of these color combinations are vast, allowing for millions of unique hues and gradients. This feature transforms the beacon from a mere functional block into a powerful tool for aesthetic expression, letting players personalize their landmarks or create intricate visual displays.
Beyond the Visual: The Beacon’s Powers and Utility
While the beam’s rendering is a visual spectacle, the beacon’s true power lies in the beneficial status effects it can confer upon players. These effects, such as Speed, Haste, Strength, Resistance, or Regeneration, are not automatically granted by the beam’s mere presence. To activate them, a player must right-click the beacon, opening its graphical user interface (GUI). Within this interface, a valuable mineral ingot (emerald, diamond, gold, or iron ingot) must be placed into the designated slot. The player then selects their desired primary and secondary powers (the secondary power requires a three or four-layer pyramid) and confirms their choice with the green checkmark.
Once activated, these status effects are only granted to players within a defined horizontal radius around the beacon. This radius is directly proportional to the pyramid’s size, increasing with each additional layer. As long as a player remains within this active radius, the effects will refresh every four seconds, providing a continuous boost. This separation of beam rendering and effect activation is crucial: the beam provides the visual, while the GUI interaction provides the power.
Troubleshooting: Common Rendering Hurdles
Despite its straightforward mechanics, players often encounter issues with beacon beam rendering. Understanding common mistakes can quickly resolve these problems:
- Blocked Beam Path: The most frequent culprit. A solid block, even a single one, directly above the beacon will prevent the beam from rendering. Always ensure a clear path upwards to the sky, or use transparent blocks.
- Incomplete or Incorrect Pyramid: If the pyramid is missing even a single block, or if the beacon is not perfectly centered on the top layer, it will fail to activate or provide its full potential. Double-check every block and the beacon’s placement.
- Using Invalid Blocks: Only iron, gold, diamond, emerald, or netherite blocks are accepted for the pyramid. Using cobblestone, wood, or any other material will prevent activation.
- Not Activating Powers: This is a common confusion point. The beam will render perfectly fine as long as the pyramid and clear path conditions are met. However, players won’t receive status effects unless they interact with the beacon’s GUI, insert an ingot, and select a power.
Strategic Deployment and Platform Nuances
Leveraging the beacon’s rendering logic extends to strategic deployment. Its high visibility makes it an unparalleled landmark utility, guiding players across vast distances. Experimenting with creative coloring using stained glass can not only make your base stand out but also provide unique visual cues for different areas or directions. However, a word of caution: while visually impressive, rendering many multicolored beacon beams can cause a heavy FPS decrease, especially on less powerful hardware. It’s wise to be mindful of performance when designing large-scale beacon displays.
Finally, it’s worth noting some Bedrock Edition specifics regarding beam visibility. Recent updates to Bedrock Edition have improved beacon beam rendering significantly. Unlike older versions or certain edge cases, beacon beams can now be seen regardless of the player’s height or the beacon’s depth, even from bedrock level all the way up to build height. This eliminates previous issues where beams might not render if the player was too high above the beacon, ensuring consistent visibility across the vertical expanse of the world.
Mastering the intricacies of beacon beam rendering is a testament to a player’s understanding of Minecraft’s deeper mechanics. From the foundational pyramid to the clear skyward path and the vibrant customization options, each element contributes to making the beacon one of the game’s most powerful and visually captivating blocks.
Tags:
YOU MAY ALSO LIKE...


