Using JSON Files to Define Custom Item Models Metadata (Step by Step)
Minecraft offers extensive customization options, and one of the most powerful ways to personalize your game experience is through custom item models. These custom models allow you to change the appearance of existing items, creating entirely new visual assets within the game. This comprehensive guide will walk you through the process of defining custom item models using JSON files, focusing on the modern approach for Minecraft versions 1.21.4 and later.
Key Mechanics of Custom Item Models
Custom item models are primarily defined within a resource pack, which acts as an override system for the game’s default assets. These resource packs utilize JSON (JavaScript Object Notation) files to structure model definitions. JSON files organize data using name-value pairs, enclosed within curly brackets `{}` for objects and square brackets `[]` for arrays, providing a clear and hierarchical way to describe your models.
For Minecraft versions 1.21.4 and later, the item_model component has become the primary and recommended method for assigning custom models to items. This component streamlines the process of changing an item’s appearance. While the older CustomModelData property is still functional, especially for specific contexts like conditional textures, it has largely been superseded by the item_model component for simply altering an item’s visual representation.
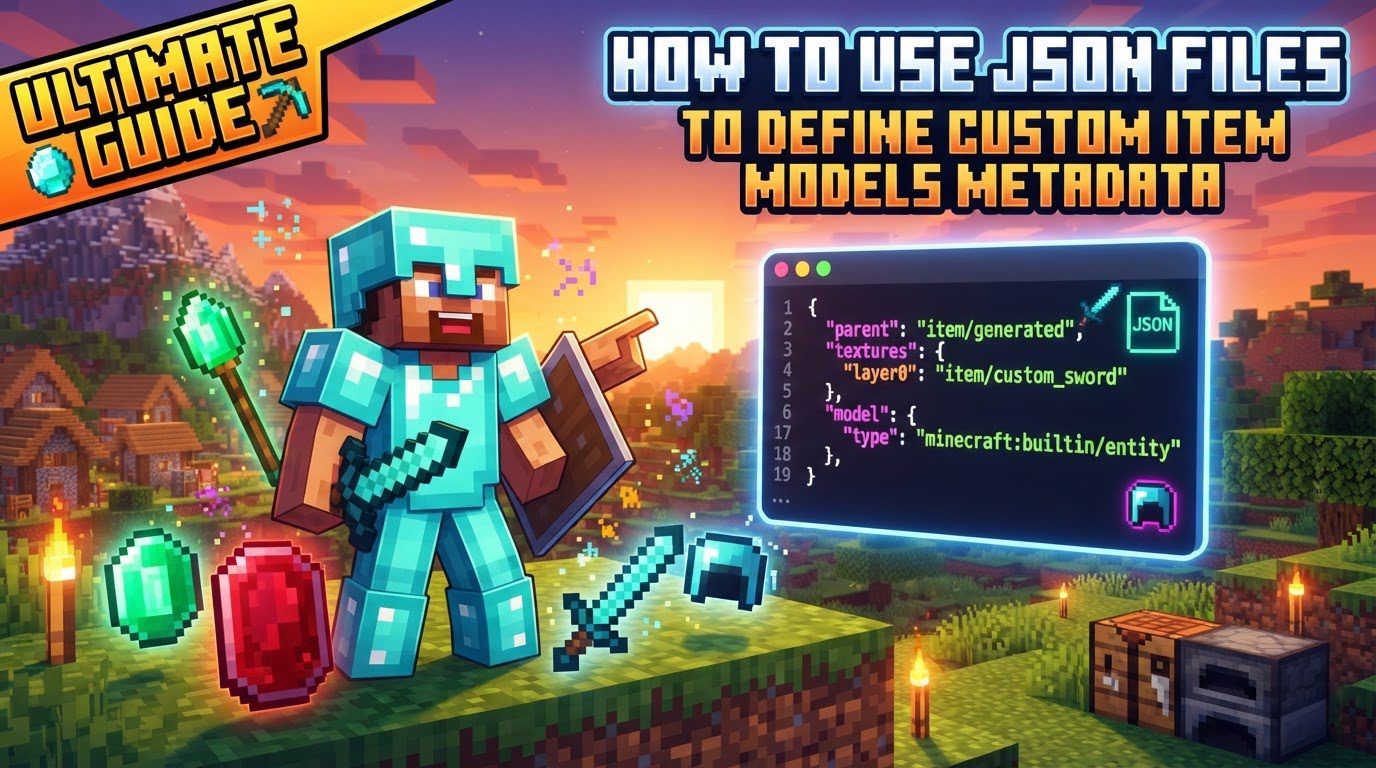
Item model JSON files are highly flexible. They can reference a parent model, which can be a pre-existing Minecraft model like item/generated (used for 2D sprite items) or a custom 3D model you’ve created. Additionally, these files define textures using properties such as layer0, layer1, and so on. These layers allow you to apply different textures to various parts of your model, enabling complex and detailed designs.
Minecraft also supports different model types, which dictate how an item renders and behaves. These types are specified using "type": "minecraft:" within your JSON definitions and include:
minecraft:model: The basic model type, often used as a parent for simple 2D or 3D models.minecraft:select: Allows for selecting different models based on certain conditions.minecraft:range_dispatch: Dispatches models based on a numerical range.minecraft:composite: Combines multiple models into a single rendered item.minecraft:condition: Renders models based on specific in-game conditions.minecraft:empty: Renders nothing, effectively making the item invisible.minecraft:special: Used for unique rendering behaviors not covered by other types.
These diverse model types provide powerful capabilities for conditional rendering and complex visual effects, going beyond simple aesthetic changes.
Step-by-step Process for Custom Item Models
To implement your custom item models, follow these steps meticulously:
-
Create a Resource Pack:
Begin by creating a new folder within your Minecraft installation’s
resourcepacksdirectory. Inside this new folder, create apack.mcmetafile. This file is crucial for identifying your resource pack to Minecraft. It must specify thepack_format(which varies with Minecraft versions) and provide adescriptionfor your pack. Next, create anassetsfolder within your resource pack directory. -
Establish Namespace and Folders:
Inside the
assetsfolder, create another folder for your custom namespace. This namespace helps prevent conflicts with other resource packs or default game assets. For example, you might name itassets/my_pack_name. Within this namespace folder, you will need to create two essential subfolders:models/item(where your custom item model JSON files will reside) andtextures/item(where your custom item textures will be stored). -
Create/Export Model and Texture:
Design your custom 3D model or 2D texture. For 3D models, Blockbench is a highly recommended and widely used tool due to its user-friendly interface and direct Minecraft export capabilities. Export your 3D models as
.jsonfiles. For 2D textures, create them as.pngimage files. -
Place Files:
- Place your item model
.jsonfile into theassets//models/item/directory. For instance, if your namespace ismy_pack_nameand your model is calledcustom_sword, the path would beassets/my_pack_name/models/item/custom_sword.json. - Place your
.pngtexture file into theassets//textures/item/directory. Following the previous example, a texture namedcustom_sword_texture.pngwould go intoassets/my_pack_name/textures/item/custom_sword_texture.png.
- Place your item model
-
Define Item JSON (1.21.4+):
This is where you link your custom model to a base Minecraft item. Inside
assets//items/, create a JSON file named after the base item you wish to modify (e.g.,stick.jsonif you want to modify the stick). This JSON file will use theitem_modelcomponent to point to your custom model. An example structure looks like this:{ "model": { "type": "minecraft:model", "model": ":item/" } }Replace
<namespace>with your custom namespace (e.g.,my_pack_name) and<your_model_name>with the name of your custom model JSON file (e.g.,custom_sword). -
Load Resource Pack:
Once all files are in place, enable your resource pack within the Minecraft game client. To obtain an item with your custom model for testing, use the following command in-game:
/give @p <item>{item_model:'<namespace>:<your_model_name>'} 1Again, replace
<item>with the base Minecraft item ID (e.g.,stick),<namespace>with your custom namespace, and<your_model_name>with your model’s name. The1indicates the quantity of the item.
Important Tips for Success
- Use Blockbench: For designing and creating custom 3D models, Blockbench is an invaluable tool. It simplifies the modeling process and ensures compatibility with Minecraft’s model format.
- JSON Validation: Always validate your JSON files using an online validator. This helps catch syntax errors such as missing commas, incorrect bracket usage, or unquoted keys/values, which can prevent your models from loading correctly.
- Texture Requirements: Textures used for your models should generally be square (e.g., 16×16, 32×32, 64×64) and have dimensions that are powers of two. Adhering to this standard helps prevent rendering issues and ensures proper mipmapping.
-
Display Context: The
displaytag within a model JSON file is used to define how the item renders in various contexts. This includes how it appears when held in the player’s hand, displayed in the inventory, or even worn on a player’s head. Properly configuring this tag ensures your model looks correct in all situations. - Namespaces: When creating namespaces, always keep their names lowercase and use underscores instead of spaces. This is a standard convention within Minecraft resource packs.
Common Mistakes to Avoid
While working with JSON files for custom models, it’s easy to encounter issues. Being aware of common mistakes can save you significant debugging time:
-
JSON Syntax Errors: The most frequent issue. Missing commas between properties, incorrect curly bracket
{}or square bracket[]usage, or failing to quote keys and string values will lead to parsing errors and prevent your models from loading. - Incorrect File Paths and Namespaces: Ensure that all model paths and texture references within your JSON files accurately reflect your resource pack’s directory structure and namespace. Pay close attention to spelling and capitalization. Notably, Forge (a popular Minecraft modding API) is case-sensitive for paths, so consistency is key.
- Non-Standard Texture Dimensions: Using textures that are not square or whose side lengths are not powers of two can result in visual glitches, rendering artifacts, or problems with mipmapping (the process of generating smaller versions of textures for objects viewed at a distance).
- Invalid Characters: Model parts, textures, and groups defined within your JSON should only contain standard English alphabet characters, numbers, and underscores. Using special characters or spaces can lead to unexpected behavior or errors.
-
Outdated
CustomModelDataUsage: For basic item model changes in Minecraft versions 1.21.4+, relying solely on theCustomModelDataproperty can be less efficient and more complex than using the newitem_modelcomponent. ReserveCustomModelDatafor conditional textures or more advanced data-driven model selections. - Invisible Models: If your custom model appears invisible in-game, it often points to a fundamental error. This could be a missing comma in your JSON, an incorrect folder name in your resource pack structure, or an incorrect path reference within your model JSON itself. Always double-check these common culprits first.
Tags:
YOU MAY ALSO LIKE...