Using a Mechanical Bearing to Build a Working Windmill
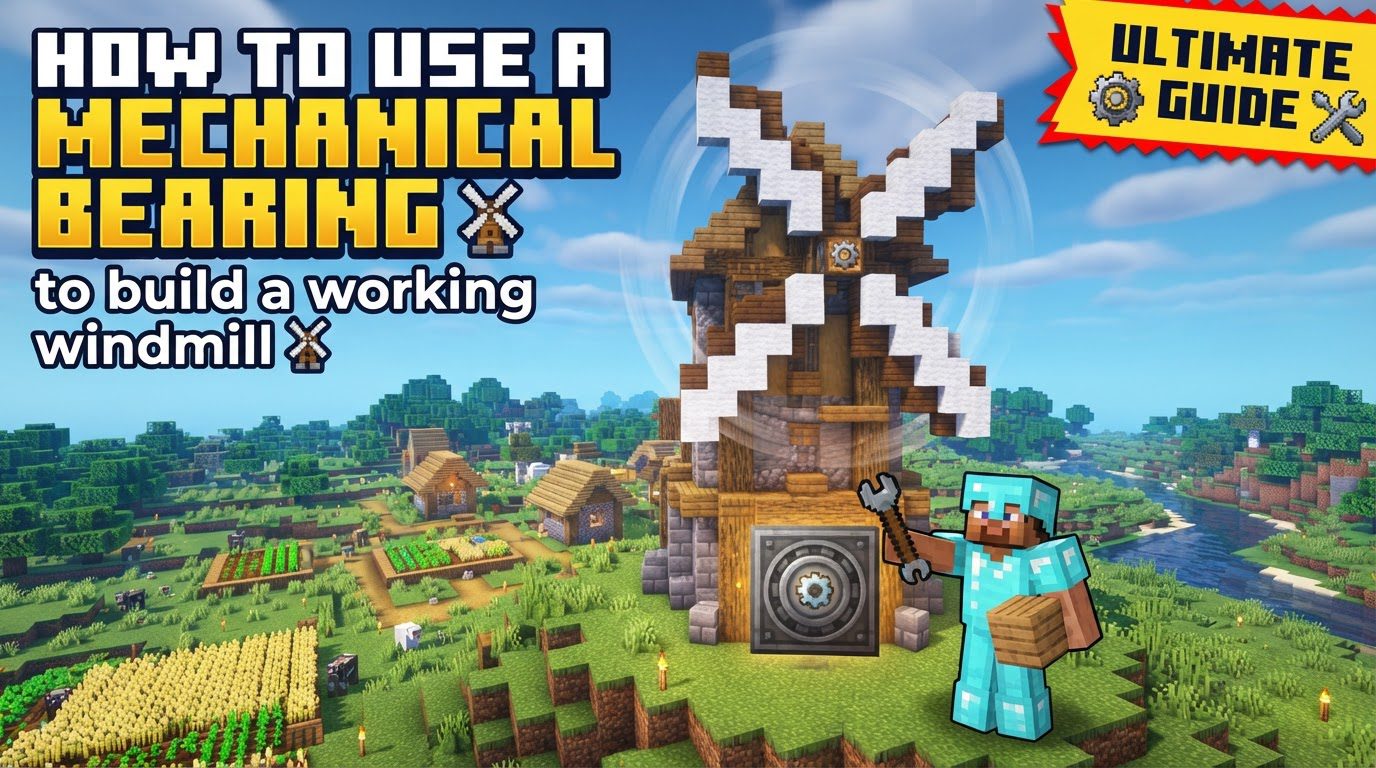
Building a powerful and efficient windmill in Minecraft using the Create mod’s Mechanical Bearing (also known as a Windmill Bearing) is a rewarding way to generate rotational force for your automated contraptions. This guide will walk you through the essential mechanics, construction steps, and important tips to ensure your windmill operates flawlessly.
Understanding Windmill Mechanics
The core of your windmill is the Windmill Bearing. Its primary function is to convert the rotation of attached “sail-like” blocks into usable rotational force, measured in Stress Units (SU) and Rotations Per Minute (RPM). This force can then power various Create mod machines.
- Activation Requirement: A Windmill Bearing requires a minimum of 8 “sail-like” blocks to be attached before it can activate and begin generating power.
- Power Scaling: The power output of your windmill scales directly with the number of valid sail blocks you attach. For every 8 valid sail blocks, the windmill gains an additional 1 RPM and 512 Stress Units (SU).
- Maximum Output: To achieve the maximum possible output, you will need to attach 128 sail blocks. This configuration will generate 16 RPM and a substantial 8192 SU, providing ample power for even complex setups.
- Valid Sail Blocks: When constructing your windmill’s blades, you have several options for “sail-like” blocks:
- Windmill Sails: These are purpose-built blocks for windmills.
- Windmill Sail Frames: Similar to sails, these also auto-attach.
- Wool Blocks: Any color of wool block can be used as a sail, offering a cost-effective and aesthetically versatile option.
- Placement and Rotation: The orientation in which you place the Windmill Bearing will determine the plane of rotation for your windmill’s blades. Ensure it’s placed in a way that allows for unobstructed rotation.
- Environmental Factors: It’s important to note that the height at which your windmill is built, the specific biome it’s located in, and even the current weather conditions in Minecraft do not affect the windmill’s power output. Its performance is solely based on the number of attached sail blocks.
Step-by-Step Construction Guide
Craft the Windmill Bearing
Your first step is to craft the crucial Windmill Bearing. This item is essential for converting the movement of your sails into rotational power.
- To craft a Windmill Bearing, combine a wooden slab, a stone block (such as diorite or granite), and a shaft in your crafting grid.
Place the Windmill Bearing
Once crafted, you need to strategically place your Windmill Bearing in the desired location for your windmill.
- Place the bearing where you intend for your windmill to stand. Pay attention to its orientation; the side of the bearing with the distinct “sticky” texture is where all your sail blocks will attach and rotate from.
Build the Rotor (Sails)
This is where your windmill begins to take shape. You will attach your sail blocks to the bearing to form the blades.
- Central Block: Begin by attaching a central block directly to the “sticky” face of the Windmill Bearing. This block will serve as the anchor for your sails.
- Attach Sail Blocks: From this central block, you can then attach your chosen “sail-like” blocks. Remember, you need a minimum of 8 sail blocks for the windmill to activate. These blocks can be Windmill Sails, Windmill Sail Frames, or wool blocks of any color. Build outwards from the central block, connecting the sail blocks to each other to form the desired blade shape.
- Super Glue for Non-Sail Blocks: If your windmill design incorporates decorative or structural blocks that are not inherently “sail-like” (e.g., if you’re using wool to create a specific, complex shape), you must use Super Glue. Apply Super Glue to connect these non-sail blocks to the central block and to other parts of the contraption. This ensures they rotate as a single, cohesive unit with the sails. One application of Super Glue can connect up to 25 wool blocks, making it efficient for larger designs. Note that Windmill Sails and Windmill Sail Frames automatically connect without the need for Super Glue.
Activate the Windmill
With your rotor constructed, it’s time to bring your windmill to life.
- To activate the windmill, ensure you have an empty hand. Then, right-click the Windmill Bearing. Make sure to click slightly off-center, rather than precisely in the middle, to successfully activate it. If everything is correctly assembled with at least 8 sail blocks, the blades will begin to spin.
Connect to Power Grid
Once your windmill is spinning, you can harness its rotational force for your Create mod machines.
- Place a shaft on the back of the Windmill Bearing (the side opposite the sails). This shaft will transfer the rotational force generated by the windmill.
- From this shaft, you can extend your power grid using various Create components such as gearboxes to change rotation direction or speed, cogwheels for direct power transfer, or mechanical belts for efficient power transmission over distances.
Important Tips for Optimal Performance
- Maximize Power Output: To get the most Stress Units (SU) and Rotations Per Minute (RPM) from your windmill, aim to incorporate the maximum number of sail-like blocks. The peak output is achieved with 128 sail blocks, providing 16 RPM and 8192 SU.
- Cost-Effective Sails: While Windmill Sails are purpose-built, wool blocks (of any color) offer an equally effective and much cheaper alternative for power generation. They provide the same SU and RPM scaling as crafted sails.
- Monitor Performance: To keep track of your windmill’s efficiency and ensure it’s meeting your power demands, use Engineer’s Goggles. Wearing these goggles will allow you to view the exact Stress Units (SU) and Rotations Per Minute (RPM) being generated by your windmill.
- Change Rotation Direction: If you need to reverse the direction of your windmill’s rotation, you can do so easily. Use a Wrench on the Windmill Bearing. Right-click and hold the center of the bearing to bring up a directional selector, allowing you to choose the desired rotation.
- Efficient Power Transfer: When transferring rotational force over longer distances, consider using mechanical belts. They are often a more efficient and cost-effective solution compared to constructing long lines of shafts or numerous cogwheels.
Common Mistakes to Avoid
- Insufficient Sail Count: A frequent error is not attaching enough sail-like blocks. The windmill will simply not activate if you have fewer than the required 8 “sail-like” blocks connected to the bearing. Always double-check your count.
- Blocked Rotation Arc: Ensure that the path of your spinning sails is completely clear of any solid blocks. If there are any obstructions, the windmill will be unable to activate or will stop if it encounters a block during rotation.
- Forgetting Super Glue: If your windmill design includes non-sail blocks, especially wool blocks used for appearance or structure, they must be properly connected to the main contraption using Super Glue. Without Super Glue, these blocks will not be recognized as part of the rotating mechanism and will not contribute to power generation or even spin with the rest of the contraption. Remember, Windmill Sails and Sail Frames automatically connect and do not require glue.
- Incorrect Activation Method: To start or stop the windmill, you must right-click the Windmill Bearing with an empty hand. Attempting to activate it with an item in hand, or clicking the exact center, might not yield the desired result.
- Overloading the Windmill: While windmills can generate significant power, they are not limitless. Connecting too many machines, or machines that have a very high stress impact, can overload your windmill. If the demand for SU exceeds its generation capacity, the windmill will stop rotating. Monitor your SU output with Engineer’s Goggles and ensure it meets or exceeds the total SU demand of your connected machines.
By following these guidelines and tips, you’ll be able to construct a powerful and reliable windmill in your Minecraft world, providing consistent rotational force for all your Create mod automation needs.
Tags:
YOU MAY ALSO LIKE...