

Shield Banner Customization Limits
Many players eagerly personalize their Minecraft shields with unique banner designs, only to discover a series of often surprising and irreversible limitations. While this feature adds a wonderful layer of aesthetic individuality, understanding its precise boundaries and quirks is crucial to avoid frustration. This guide delves deep into the mechanics and, more importantly, the strict confines of shield banner customization, ensuring you can craft your perfect shield without unexpected drawbacks.
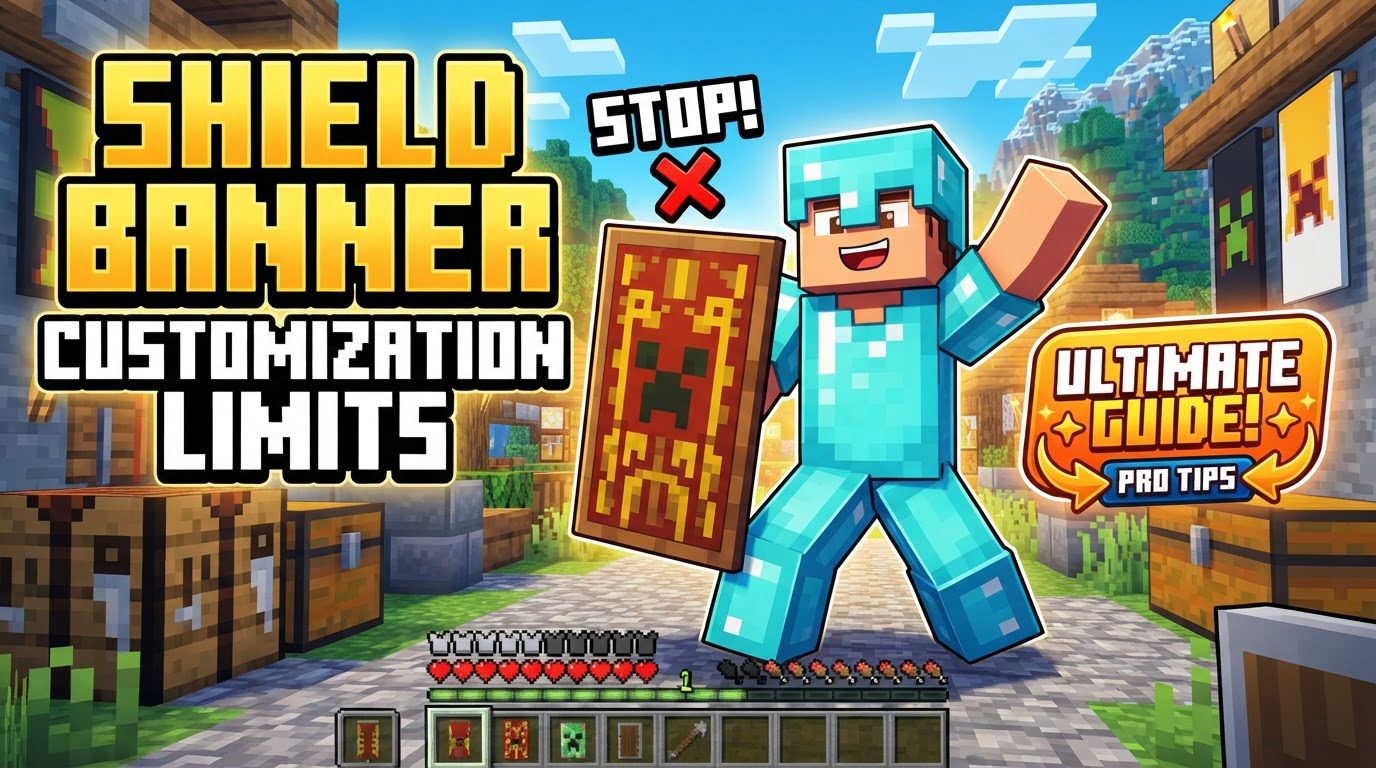
The Core Concept: Aesthetic Enhancement
At its heart, shield banner customization in Minecraft is a purely cosmetic feature. It allows players to take a meticulously designed banner and apply its pattern to a standard shield, transforming a utilitarian item into a personal statement. This transformation is entirely aesthetic; applying a banner to a shield has absolutely no impact on its durability, protective capabilities, or any other statistical attribute. Your shield will block just as many hits whether it’s plain or adorned with a complex crest. This feature is consistent across both Minecraft Java and Bedrock Editions, ensuring players on any platform can enjoy this unique form of self-expression.
The process itself involves a simple combination, yet the implications of this action, particularly regarding its permanence, are where many players encounter their first significant limitation. The journey from a blank shield to a personalized one involves a few distinct steps, each building upon the last to create your desired defensive art piece.
Crafting Your Personalized Defense: The Step-by-Step Process
Before diving into the intricacies of limitations, let’s establish the fundamental steps required to create a banner-adorned shield. Mastery of these steps is the prerequisite for understanding where the customization journey can deviate or hit a wall.
- Step 1: Craft a Shield
Your foundation begins with a basic shield. To craft one, you’ll need six wooden planks (any type will suffice) and one iron ingot. Arrange them correctly in a crafting table: the iron ingot at the top center, a plank on either side of it in the top row, and then planks filling the middle and bottom rows, leaving the bottom-center slot empty. This simple item is your blank canvas. - Step 2: Create and Customize a Banner
Next, you need a banner. Craft a blank banner using six wool blocks of the same color (arranged in a 3×2 rectangle in the crafting grid) and one stick placed directly below the center wool block. Once you have your base banner, the real customization begins at a loom. Using dyes and optional banner patterns (like the Creeper Charge or Skull Charge), you can add up to six distinct layers to your banner. Each layer adds a new pattern, building up your unique design. This is where the creative aspect truly shines, allowing for intricate symbols, emblems, or abstract art. - Step 3: Combine the Shield and Banner
With both your shield and your customized banner ready, the final step is to combine them. Place the crafted shield and the customized banner into any two adjacent or non-adjacent slots within a crafting grid (either your personal 2×2 crafting grid or a crafting table’s 3×3 grid). The resulting item will be a single shield, now proudly displaying your banner’s design. Crucially, this process consumes the banner. The original banner is gone, and its design is now permanently etched onto the shield.
Smart Customization: Tips for Efficient Banner Use
While the core process is straightforward, a few advanced tips can help you manage your resources and designs more effectively, especially when dealing with the inherent limitations of shield banners.
- Banner Duplication for Efficiency: If you’ve spent considerable time perfecting a banner design and wish to apply it to multiple shields, or simply want copies for decorative purposes, you don’t need to recreate the entire pattern from scratch. Simply place your fully customized banner alongside a blank banner of the same base color in a crafting table. This will yield two identical customized banners, consuming the blank one. This method is invaluable for mass-producing complex designs without repeating every loom step.
- Leveraging External Design Tools: The in-game loom, while powerful, can be resource-intensive for experimentation. Dyes and banner patterns can be costly. To mitigate this, many players utilize online banner editors (such as those found on sites like PlanetMinecraft.com/banner). These tools allow you to design banners virtually, seeing the final result before committing valuable in-game resources. You can then replicate the exact steps in Minecraft with confidence.
- Removing Patterns from Banners (Not Shields): Accidentally added a layer you don’t like to your banner? Fear not, for banners themselves offer a limited undo function. By using a cauldron filled with water, you can remove the last pattern added to a banner. Each right-click on the cauldron with the banner in hand will remove one layer, consuming one level of water from the cauldron. It’s vital to remember that this functionality applies only to the banner itself; once a pattern is on a shield, it is irreversible.
Navigating the Boundaries: Inherent Shield Banner Limitations
Here’s where the “limits” truly come into play. Despite the creative freedom offered by banners, their application to shields introduces several significant constraints and potential issues that every player should be aware of.
- Resolution and Appearance Discrepancies: Perhaps the most common source of disappointment is the visual difference between a banner and its shield counterpart. Banners, by design, possess a higher pixel resolution and a rectangular aspect ratio. Shields, however, are more compact and have a different shape, often appearing more square or rounded at the top. When a banner design is transferred to a shield, it is effectively compressed and resized to fit the shield’s surface. This process frequently results in a loss of fine detail, pixelation, or an overall ‘squashed’ appearance. Intricate patterns that look crisp on a banner might become muddy or unrecognizable on a shield. Always anticipate that your shield design will be a more simplified, less detailed version of the original banner.
- The Unyielding Banner Layer Limit: In normal survival gameplay, a banner created in a loom is restricted to a maximum of six distinct pattern layers. This is a hard limit. While advanced players using commands or external tools might be able to generate banners with up to 16 layers, these are not achievable through standard crafting and loom mechanics. This six-layer cap directly restricts the complexity of designs you can transfer to your shield. Every pattern, every color change, counts towards this limit, forcing players to be creative within a confined artistic space.
- Irreversible Application: A Permanent Choice: This is arguably the most critical limitation: once a banner is applied to a shield, that design is permanent. There is no in-game mechanic to remove the banner pattern from a shield, nor can you swap it out for a different design. The shield effectively becomes a new, unique item. If you wish to change your shield’s appearance, your only recourse is to craft an entirely new shield and apply a different banner to it. This makes the combination process a definitive, one-way decision, emphasizing the need for careful planning and design pre-visualization.
- Graphical Glitches with Enchantments: A less common but noticeable limitation arises when enchanted shields are combined with banner patterns. In some instances, particularly when viewed in first-person perspective, these enchanted and customized shields can exhibit graphical bugs. This might manifest as the shield appearing mostly white, displaying strange artifacts, or having distorted textures. While usually not game-breaking, these visual inconsistencies can detract from the aesthetic appeal you worked hard to achieve. This bug seems to vary by version and specific enchantment combinations, but it’s a known potential issue.
- Performance Issues (Bedrock Edition Specific): For players primarily on Bedrock Edition, there’s an additional, performance-related limitation. In certain versions, the creation, equipping, or even just holding of banners and especially shield banners can contribute to game lag. This is likely due to the rendering complexity of layered textures. While not always severe, players experiencing frame rate drops or stuttering might find that reducing their use of complex banner designs, particularly on shields, can alleviate some performance strain. This is an optimization challenge that the developers continue to address, but it remains a potential factor for Bedrock players.
Mastering Your Shield’s Canvas: A Concluding Perspective
Shield banner customization in Minecraft, while a fantastic avenue for personal expression, is not without its boundaries. From the unavoidable visual compression when a banner design transfers to a shield, to the hard limit of six pattern layers in survival, and the absolute permanence of the application, players must approach this feature with informed caution. Understand that your intricate banner masterpiece will likely appear simplified on your shield, and that once applied, there’s no turning back.
By leveraging duplication techniques, external design tools, and a clear understanding of these inherent limitations-including potential graphical glitches and performance considerations-you can navigate the system effectively. Embrace the challenge of designing within these constraints, and you’ll be able to proudly display a personalized shield that truly reflects your in-game identity, without encountering unexpected disappointments.
Tags:
YOU MAY ALSO LIKE...


