Building an Automated Mineshaft Drill Using Create, Explained
Building an automated mineshaft drill in Minecraft using the Create mod transforms tedious resource gathering into an impressive display of mechanical engineering. These contraptions autonomously carve tunnels, collect valuable materials, and can even manage their own infrastructure, making them invaluable for large-scale mining operations. Understanding the core mechanics and following a structured approach is key to constructing a reliable and efficient drill.
Key Mechanics of an Automated Drill
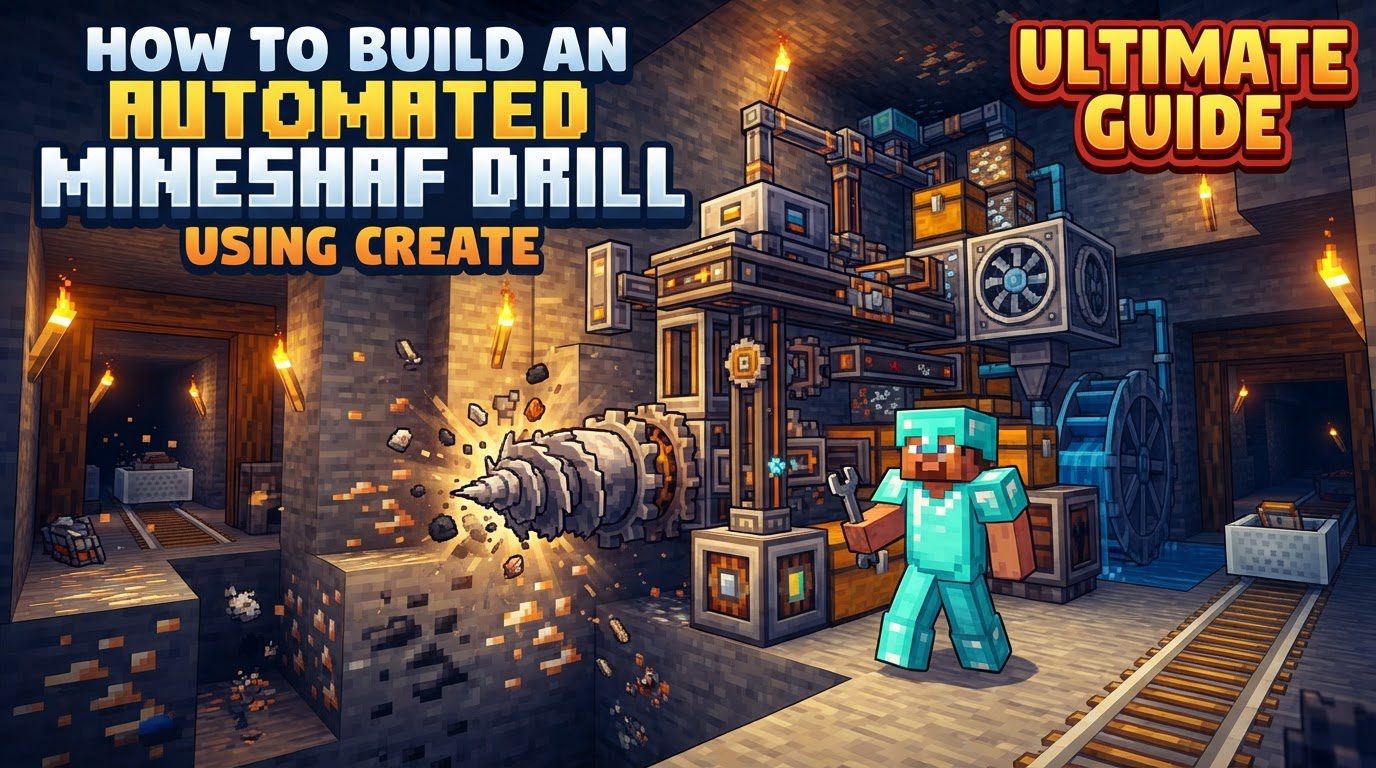
An automated drill functions primarily as a “minecart contraption” that navigates along rails, systematically mining blocks as it advances. At the heart of its mobility is the Cart Assembler, a pivotal component that converts a stationary build into a movable contraption once a minecart passes through it. The actual mining is performed by Mechanical Drills, which are designed to destroy blocks directly in front of the contraption’s path. To maintain its forward momentum and infrastructure, Deployers are employed to strategically place blocks, such as new rails, redstone blocks to power those rails, or even filler blocks like cobblestone to bridge gaps. For resource sustainability, Mechanical Plows are used to pick up used rails from behind the contraption, allowing them to be recycled and reused. All individual parts of the contraption must be unified using Super Glue to ensure they move cohesively as a single unit. Mined resources are automatically collected into attached storage units, such as barrels or chests. The contraption’s autonomous movement is typically powered by a Minecart with Furnace, which travels along powered rails.
Essential Materials
To embark on the construction of your automated mineshaft drill, gather the following crucial items:
- Mechanical Drills: The quantity will depend on the desired width and height of your tunnel.
- Deployers: At least two are needed for rail and redstone block placement.
- Andesite Casings (or other blocks): For the structural body of the contraption.
- Barrels/Chests: For collecting mined resources.
- Mechanical Plow: For recycling used rails.
- Cart Assembler: The central component for contraption creation.
- Rails: Both powered rails for speed and regular rails for track extension.
- Minecart with Furnace: To provide autonomous propulsion.
- Lever: For initial activation or power.
- Wrench: Essential for picking up the contraption.
- Super Glue: To bond all contraption components together.
Step-by-Step Construction Guide
1. Lay a Foundation
Begin by establishing a short track for your contraption. Place a few redstone blocks on the ground. On top of these, lay some powered rails. This initial powered section will provide the necessary power for the Cart Assembler and the initial movement of the drill.
2. Place the Cart Assembler
Position the Cart Assembler directly onto one of the powered rails. It is critical to ensure that its arrow indicator points precisely in the intended direction of your drill’s travel. This arrow dictates the front of your contraption.
3. Build the Drill Head
Attach your Mechanical Drills to the front-most part of your contraption’s structure. Arrange them in the desired mining pattern. A common and efficient setup is a 3×3 or 5×5 tunnel, requiring multiple drills to cover the entire face. Use Andesite Casings or other sturdy blocks to form the main body around these drills.
4. Integrate Deployers for Track Laying
This is a critical stage for autonomous operation. You will need at least two deployers:
- Powered Rail Deployer: Place a deployer on the contraption so that it faces forward, with an empty block of space between itself and where the new powered rail will be laid. This deployer will be responsible for placing new powered rails as the drill advances. Ensure it is stocked with powered rails and its filter is set to powered rails.
- Redstone Block Deployer: Position a second deployer slightly lower down and directly in front of the contraption. This deployer will place redstone blocks on the ground, underneath where the powered rails are being laid by the first deployer. These redstone blocks will power the newly placed rails. This deployer needs to be stocked with redstone blocks, and its filter must be set accordingly.
5. Add Storage and Mechanical Plow
Attach barrels or chests to the contraption’s structure, preferably towards the middle or rear. These will automatically collect all items mined by the Mechanical Drills. Additionally, position a Mechanical Plow at the very rear of your contraption. Its purpose is to pick up the used rails once the contraption has passed over them, enabling efficient rail recycling. Be mindful of its placement to avoid common mistakes.
6. Glue Components Together
Utilize Super Glue to connect every single component of your contraption to its central structural blocks. This step is paramount; failure to glue all parts will result in components detaching as the contraption moves. Crucially, ensure you do not glue any part of the contraption to the ground or static blocks, as this would prevent it from moving.
7. Configure the Cart Assembler
Right-click the Cart Assembler to access its settings. Navigate to the movement mode options and select “Lock Rotation.” This setting is vital as it prevents the drill head and the entire contraption from rotating unexpectedly, which can lead to issues with track placement and mining orientation.
8. Activate the Drill
Place a Minecart with Furnace onto the rail directly behind the Cart Assembler. Insert fuel, such as coal or charcoal, into the furnace minecart. Give the minecart a gentle push, or use a lever to provide initial power, to set the contraption in motion. The furnace minecart will autonomously propel the drill forward.
9. Picking Up the Contraption
Should you need to move the entire contraption to a new location or store it, use a Wrench. Right-clicking the Cart Assembler with a wrench will pick up the entire assembled drill as a single item, ready for redeployment.
Important Tips for Optimal Performance
- Lock Rotation is Essential: Always confirm that the Cart Assembler is set to “Lock Rotation.” This prevents the drill head from turning, which could misalign track placement and disrupt the mining pattern.
- Maintain a Supply Chain: Continuously monitor and restock the deployers with necessary blocks like powered rails and redstone blocks. Also, ensure your attached storage units have ample capacity to hold all the mined resources to prevent item overflow.
- Lava and Water Navigation: Your automated drill is generally robust enough to pass through both lava and water without being destroyed. However, be aware that items mined while submerged in lava may be incinerated. If you plan to ride along with your drill through hazardous areas, carrying fire resistance potions is highly recommended for player safety.
- Maximize Speed: Strategically using powered rails throughout your mine shaft will significantly increase the drill’s speed, making the mining process much faster and more efficient.
- Customization is Key: The Create mod encourages creativity. Feel free to customize the size and shape of your drill. You can make it wider for larger tunnels, higher for specific ore veins, or design unique configurations to suit your mining needs.
- Early Game Feasibility: Even without advanced components like brass, simpler versions of automated drills can be constructed. These are excellent for early-game resource gathering, providing a significant advantage.
- Automate Unloading: For long-term operations, consider automating the unloading of collected items. This can be achieved by integrating mechanisms such as chutes, mechanical arms, or other Create mod components at the end of your mine shaft to transfer resources to a central storage system.
Common Mistakes to Avoid
- Incorrect Deployer Placement: The precise orientation and spacing of deployers that place rails and redstone blocks are crucial. Ensure they are positioned correctly relative to the contraption’s movement and the blocks they are meant to interact with.
- Not Gluing Everything: A frequent oversight is forgetting to apply Super Glue to all components. Any unglued part will detach from the contraption when it begins to move, leading to a breakdown.
- Gluing to the Ground: Never glue any part of your contraption to the static ground blocks. The entire assembly must be free-standing and connected only to itself to be movable.
- Plow Too Close: Positioning the Mechanical Plow too close to the main structure can cause it to break the rail directly underneath the contraption, halting its progress. Ensure the plow is placed a block or two further back to avoid this issue.
- Redstone Block/Torch Placement Issues: When setting up your initial track, ensure any redstone activators for powered rails are correctly positioned to power them and are not in a path where they will be immediately broken by the contraption’s movement. Using redstone blocks is generally more reliable and consistent than redstone torches for powering rails in this setup.
- Unpowered Cart Assembler: The Cart Assembler requires power to function and convert your build into a contraption. Ensure it is placed on a powered rail or receives power through another mechanism.
- Ignoring Lava/Water Risks for Players: While the contraption itself can traverse lava and water, a player riding inside is still vulnerable to environmental damage. Always be prepared with fire resistance or other protective measures if accompanying the drill through hazardous biomes.
By meticulously following these steps and heeding the important tips and warnings, you will be well-equipped to construct a highly efficient and automated mineshaft drill that will significantly enhance your resource acquisition in Minecraft using the Create mod. Happy mining!
Tags:
YOU MAY ALSO LIKE...