Building a Functional Nether Hub for Multiplayer Servers
Many Minecraft players, especially on multiplayer servers, learn the hard way that simply building portals haphazardly across the Overworld leads to a tangled web of unpredictable connections in the Nether, often stranding them far from their intended destinations. A properly constructed Nether hub, however, transforms this chaotic dimension into the ultimate high-speed transit system, drastically cutting down travel times across vast Overworld distances and fostering seamless connectivity for an entire server community.
The secret behind the Nether’s incredible efficiency lies in its unique spatial relationship with the Overworld. For every one block you travel in the Nether’s X and Z coordinates, you effectively traverse eight blocks in the Overworld’s corresponding X and Z directions. This 1:8 ratio is the bedrock upon which every functional Nether hub is built, turning journeys that would take hours in the Overworld into mere minutes. Mastering this mechanic is not just about convenience; it’s about fundamentally changing how your server navigates its world.
Understanding the Nether’s Blueprint
Before breaking ground, it’s crucial to grasp the core mechanics that govern portal travel and linking. These principles are non-negotiable for a reliable hub:
- Coordinate Ratio: As mentioned, 1 Nether block (X/Z) equals 8 Overworld blocks (X/Z). The Y-coordinate (height) generally remains independent, meaning you don’t divide or multiply it. This ratio is the lynchpin of your entire transport network.
- Precise Portal Linking: To ensure your portals connect exactly where you intend, you must calculate the precise Nether coordinates for each Overworld destination. This is done by taking the Overworld’s X and Z coordinates and dividing them by 8. Building a portal at these exact calculated Nether coordinates is paramount for a clean, predictable link.
- Automatic Portal Generation: The game has a fallback mechanism. If you travel through a portal and no corresponding portal exists at the calculated destination in the other dimension, the game will attempt to generate a new one. This generation occurs within a radius of approximately 300 blocks in the Overworld (or a smaller, proportional radius in the Nether). While convenient for initial exploration, this automatic generation can lead to poorly placed portals if not managed, often creating new portals far from your intended spot or linking to an existing, unintended portal.
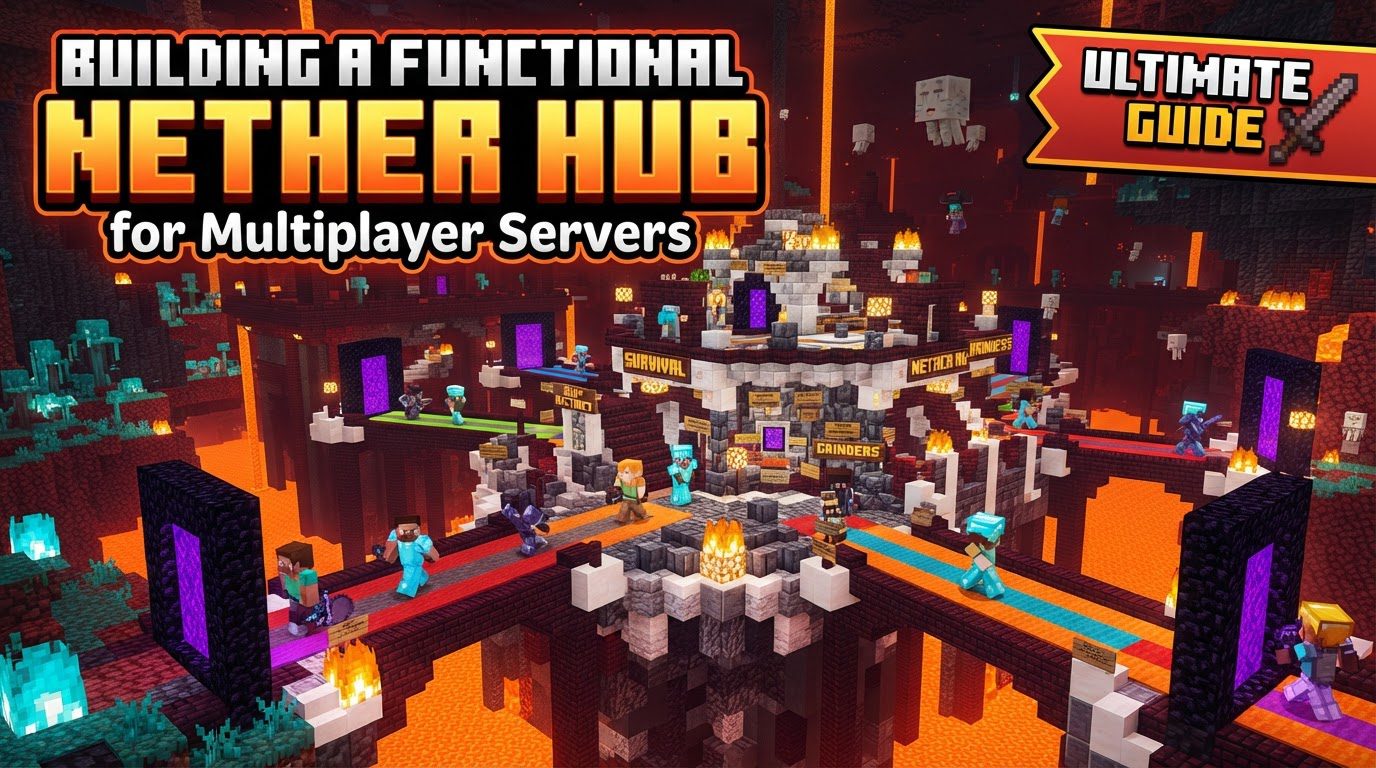
- The Centralization Principle: A Nether hub isn’t just a collection of portals; it’s a central base within the Nether. From this single, strategic location, multiple tunnels or “highways” radiate outwards, each leading to a specific Overworld destination like a player’s base, a public farm, a resource outpost, or a community build. This centralization prevents a spaghetti mess of individual portals and provides a singular point of access for the entire network.
From Concept to Connection: Building Your Hub
Constructing an effective Nether hub is a methodical process that requires careful planning and execution.
- Plan Your Destinations and Calculate Coordinates: Begin by identifying every Overworld location you wish to connect to your hub. For each location, record its precise X and Z coordinates. Then, divide both numbers by 8 to determine the exact Nether coordinates where its corresponding portal should be built. Keep these calculations organized, perhaps in a shared spreadsheet or in-game book.
- Build Your Primary Overworld Portal: Start with your main base or a central spawn point in the Overworld. Construct a standard Nether portal frame (at least 4×5 obsidian) and light it. This will be your entry point into the Nether.
- Establish the Nether Hub Foundation:
- Travel through your newly built Overworld portal. The game will likely generate a new portal in the Nether. If this generated portal is in an inconvenient or unsafe location (e.g., hanging over lava, inside a wall), destroy it immediately to prevent accidental re-linking.
- Using your calculated coordinates for your main Overworld base, navigate to that precise X and Z location in the Nether. This might involve extensive mining, bridging over lava lakes, or building through Netherrack.
- Once at the correct coordinates, excavate or build a large, safe, and well-lit area. This will be the heart of your Nether hub. Ensure it’s spacious enough to accommodate multiple portals and future expansions.
- Construct a new Nether portal at these exact coordinates. This portal will reliably link back to your primary Overworld base. Test the link to confirm it works as intended.
- Construct Tunnels and Highways: From your central Nether hub, begin digging out main tunnels in the cardinal directions (North, South, East, West). These will serve as your primary thoroughfares. As you branch off to specific destinations, create secondary tunnels.
- Width and Height: Make tunnels at least 3 blocks wide and 3 blocks high to allow for comfortable movement, even with mounts or ice roads.
- Blast-Proofing: The Nether is home to Ghasts, whose fireballs can destroy many blocks. Enclose your tunnels with blast-resistant materials like cobblestone, stone bricks, basalt, or blackstone to protect against attacks and prevent players from falling out.
- Extensive Lighting: The Nether is a dark and dangerous place. Light your tunnels generously with torches, glowstone, shroomlights, or soul lanterns to prevent hostile mob spawning, especially Wither Skeletons and Ghasts.
- Link Additional Portals: For each additional Overworld destination, travel through your hub to its calculated Nether coordinates. Build a new portal at that precise location. This portal will then link directly back to the specific Overworld portal you want to connect. Always double-check the linking by traveling through both ends.
Optimizing Your Nether Network
Beyond the basic construction, several best practices can elevate your Nether hub from functional to exceptional.
- Efficient Travel Methods: For the fastest transportation within your Nether tunnels, implement ice roads. Place packed ice or blue ice blocks along the floor of your tunnels, then ride a boat over them. Regular ice will melt in the Nether, so only packed or blue ice will work. This method offers unparalleled speed.
- Design and Aesthetics: While functionality is key, don’t neglect design. Plan a symmetrical layout for your hub and tunnels. Incorporate Nether-native blocks like warped/crimson stems, basalt, quartz blocks, and blackstone to create a visually appealing structure that blends with its environment.
- Centralized Portal Placement: Within your main hub, position the portals in an easily accessible and intuitive manner. If your hub has multiple levels, consider placing the most frequently used portals on the main or most accessible floor. Clear labeling for each destination is also crucial.
- On-site Storage: Include a small storage area within the hub itself. This can be invaluable for holding Nether-specific blocks (like extra obsidian for repairs), emergency supplies (food, healing potions), or resources gathered during Nether expeditions.
- The Nether Roof (Java Edition): For Java Edition servers seeking the ultimate in safety and efficiency, consider building your main transport lines on the Nether roof. By breaking through the bedrock ceiling (a challenging but achievable task), you gain access to a flat, mob-free, and blast-proof surface for your highways. This method is incredibly safe but requires significant effort and specific techniques for bedrock removal.
- Multiplayer Coordination: On a multiplayer server, communication is paramount. Ensure all players understand the 1:8 coordinate ratio and the portal linking mechanics. Coordinate portal placements, especially when adding new destinations, to avoid accidental links, conflicts, or duplicated portals. A shared map or list of hub destinations is highly recommended.
Pitfalls to Avoid
Even seasoned players can make mistakes. Being aware of these common pitfalls can save you hours of frustration.
- Inaccurate Coordinate Calculation: This is perhaps the most frequent and frustrating mistake. Failing to precisely calculate and build portals at the exact 1:8 ratio will lead to new portals generating in unexpected locations, linking incorrectly, or creating a new portal in the Overworld when you intended to use an existing one. Always double-check your math.
- Unprotected Tunnels: Leaving tunnels open or constructing them from easily destructible blocks (like Netherrack) is an invitation for disaster. Ghasts can swiftly destroy your path, leaving you stranded or vulnerable to lava. Always use blast-proof materials for walls, floors, and ceilings.
- Insufficient Lighting: A dimly lit hub or tunnel network is a mob farm. Ghasts, Wither Skeletons, Magma Cubes, and Piglins will spawn, making travel dangerous and disruptive. Light every block you can, especially corners and open areas.
- Impatient Mining: The Nether is riddled with lava pockets. Mining directly forward without caution can lead to falling into unexpected lava. Always stand back from the blocks you are breaking and keep a stack of non-flammable blocks (like cobblestone or dirt) in your off-hand for quick placement to block lava flows or save yourself from a fall.
- Ignoring Fortune III for Quartz: Nether Quartz is a valuable resource for XP and crafting. Mining it without a Fortune III enchanted pickaxe is highly inefficient, as Fortune III can yield up to four pieces of quartz per block, significantly increasing your returns.
A well-planned and meticulously constructed Nether hub is more than just a convenience; it’s a testament to a server’s ingenuity and a cornerstone of its infrastructure. By understanding the underlying mechanics, following a structured building process, and adhering to best practices, you can create a robust, efficient, and safe transportation network that will serve your multiplayer community for countless in-game days.
Tags:
YOU MAY ALSO LIKE...