Minecraft Farm Schematics
Building a complex farm without a pre-planned design is one of the most common pitfalls for any aspiring Minecraft engineer. This often results in wasted materials, inefficient layouts, and ultimately, a frustrating experience. This is precisely where Minecraft farm schematics become indispensable tools, providing a blueprint for success in the blocky world.
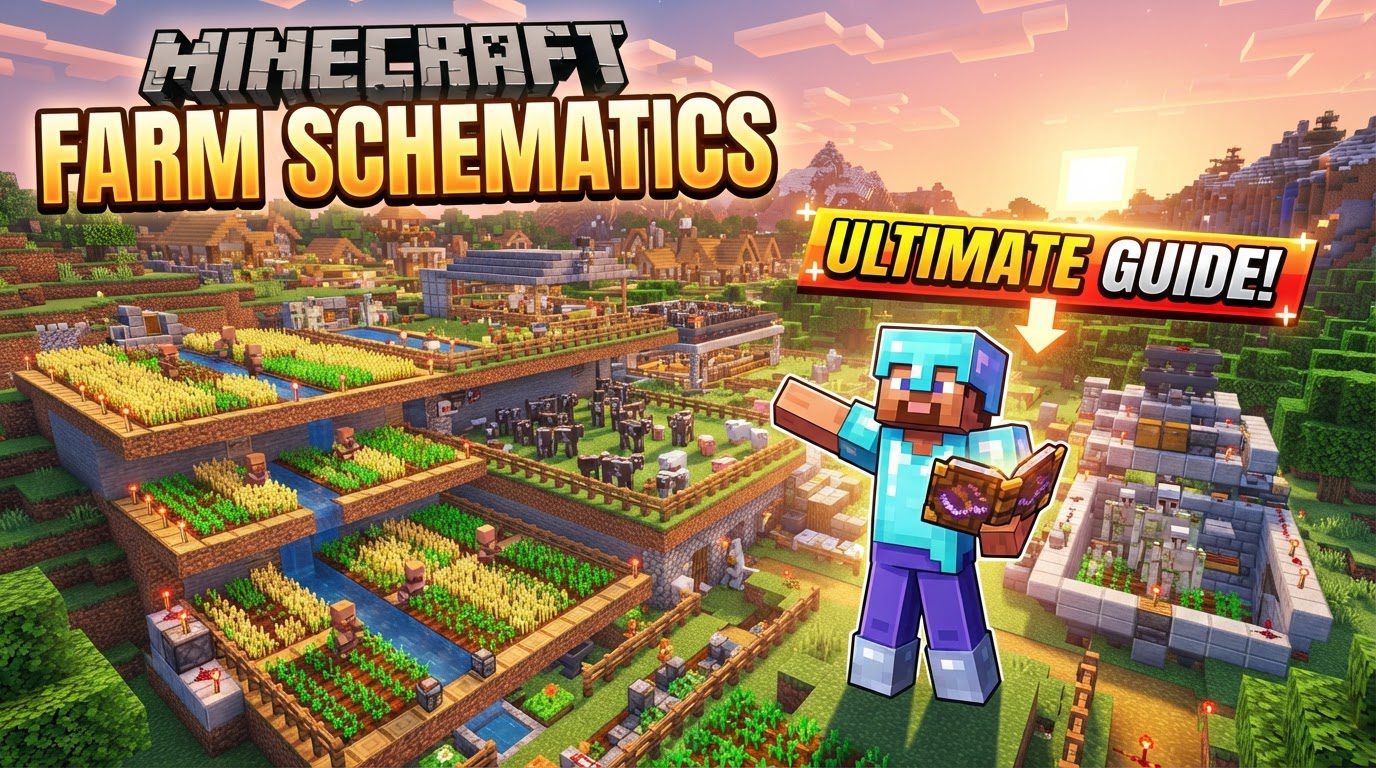
Farm schematics are essentially pre-designed blueprints that streamline the construction of efficient and automated resource generation systems. They are critical for maximizing crop yield, automating harvesting, and generally saving an immense amount of time and materials. By following a well-crafted schematic, players can construct farms capable of producing thousands of items per hour, a feat far exceeding what manual farming could ever achieve.
The Core Mechanics of Schematic Design
Effective farm schematics integrate several key game mechanics to ensure optimal performance. Understanding these is fundamental to both utilizing and even modifying existing designs:
- Water Placement and Gravity: For basic crop farms (like wheat, carrots, and potatoes), simple schematics often rely on precise water placement. Water channels are used to transport harvested items via gravity to a central collection point, making collection effortless.
- Redstone Automation: To truly elevate item production, schematics extensively leverage Redstone. This allows for automated harvesting, sorting, and even mob-spawning mechanisms, drastically increasing output to thousands of items per hour.
- Understanding Game Rules: For highly efficient mob-based farms, familiarity with core game mechanics is crucial. This includes concepts such as the Mob Cap (the maximum number of hostile mobs allowed in loaded chunks), the Despawn Sphere (the radius around the player where mobs despawn), and the Height Map (which influences mob spawning conditions).
- Specialized Mechanics (e.g., Iron Farms): Certain complex farms, like those for iron golems, depend on very specific interactions. This involves precise villager linking mechanics, correct workstation assignments for villagers, and the presence of a ‘scaring’ entity, typically a zombie, to trigger golem spawning.
From Concept to Creation: The Schematic Workflow
The journey of building an efficient farm begins long before placing the first block. A structured approach, guided by schematics, ensures success:
- Pre-Planning is Paramount: Always start with a pre-planned design. This initial step is vital to avoid wasting precious materials and valuable time on inefficient or flawed layouts. A schematic acts as your detailed construction guide.
- Leveraging Community-Tested Layouts: The Minecraft community is a treasure trove of innovative and rigorously tested farm designs. Utilize these established layouts as a solid foundation for your builds. As you gain a deeper understanding of the underlying principles, you can then confidently modify or optimize them to suit your specific needs or world conditions.
- Utilizing Build Guides: To aid in precise construction, schematics often come with comprehensive build guides. These can take various forms, from 2D layer-by-layer blueprints that show each block placement, to more immersive 3D contextual views that help visualize the farm in its entirety.
- Third-Party Tool Integration: For those seeking maximum efficiency, schematic files can often be imported directly into a Minecraft world. Tools like WorldEdit facilitate this process, allowing for the rapid placement of complex structures. Instructions for using such tools are typically provided alongside the schematic file.
Mastering Basic Farm Schematics
Even for simple resource gathering, schematics offer a significant advantage. For basic crops such as wheat, carrots, and potatoes, start with designs that effectively utilize water channels and gravity for collection. These farms are relatively straightforward to build and provide a great introduction to automated farming without the complexity of advanced Redstone.
As your needs grow, employ Redstone automation to drastically boost farm production rates. Even a simple Redstone clock connected to pistons can transform a manual crop farm into a semi-automated one, collecting items at the push of a button or on a timed interval.
Avoiding Common Pitfalls in Farm Construction
Even with a schematic, errors can occur. Being aware of common mistakes can save hours of troubleshooting:
- Incorrect Water Flow: A frequent issue is water flowing in unintended directions. Always ensure you use one-block-deep channels with surrounding blocks to control water flow precisely and guide items to their collection point.
- Backward Hoppers: Hoppers are essential for item transport but are notorious for being placed incorrectly. Remember that hoppers must be placed with their input faces on top to correctly collect items from above. Their ‘snout’ points to where items will be outputted.
- Lack of Planning: Building without a clear schematic or deviating wildly from one often results in incomplete or inefficient farms that waste valuable resources and time. Adhere to your plan.
- Iron Farm Specific Errors: These complex farms are prone to unique issues. Common problems include incorrect villager linking, improper biome placement (e.g., building in an ocean biome might unintentionally create a fish farm instead of an iron farm due to specific spawning rules), or not understanding the mob spawning conditions, such as needing a zombie to scare villagers to trigger golem spawns. Another issue is “infinite panic,” where golems continuously panic without properly resetting their spawn conditions, hindering further spawns.
- “1 Block” Errors: Minecraft’s mechanics are precise. Minor misplacements by even a single block can severely impact farm efficiency or cause complete failure. This often stems from a lack of understanding of the game’s internal mechanics and hitboxes.
Practical Tips for Optimal Farm Design
To ensure your farming endeavors are successful and rewarding, keep these tips in mind:
- For basic crops, always start with simple schematics that efficiently utilize water channels and gravity for item collection. This builds foundational understanding.
- As you progress, employ Redstone automation to drastically boost your farm’s production rates, transforming manual labor into passive income.
- Always have a solid design plan, ideally a schematic, before commencing construction. This ensures efficiency, saves resources, and prevents costly rebuilds.
- Familiarize yourself with crucial game rules like the Mob Cap and Despawn Sphere. This knowledge is paramount for optimizing mob-based farms and ensuring consistent yields.
In conclusion, Minecraft farm schematics are not just blueprints; they are a testament to the game’s depth and the community’s ingenuity. They transform the daunting task of resource management into an accessible and automated process, allowing players to focus on exploration, building, and other creative pursuits. Embracing schematics is a significant step towards becoming a true Minecraft master.
Tags:
YOU MAY ALSO LIKE...