

Minecraft How to Build a Conduit
Imagine being able to breathe endlessly underwater, see through the murk as if it were daylight, and mine at lightning speed, all while hostile aquatic creatures flee your presence. This isn’t a magical enchantment, but the incredible utility offered by a Minecraft Conduit – a powerful block designed to transform your underwater endeavors from a perilous chore into an efficient operation.
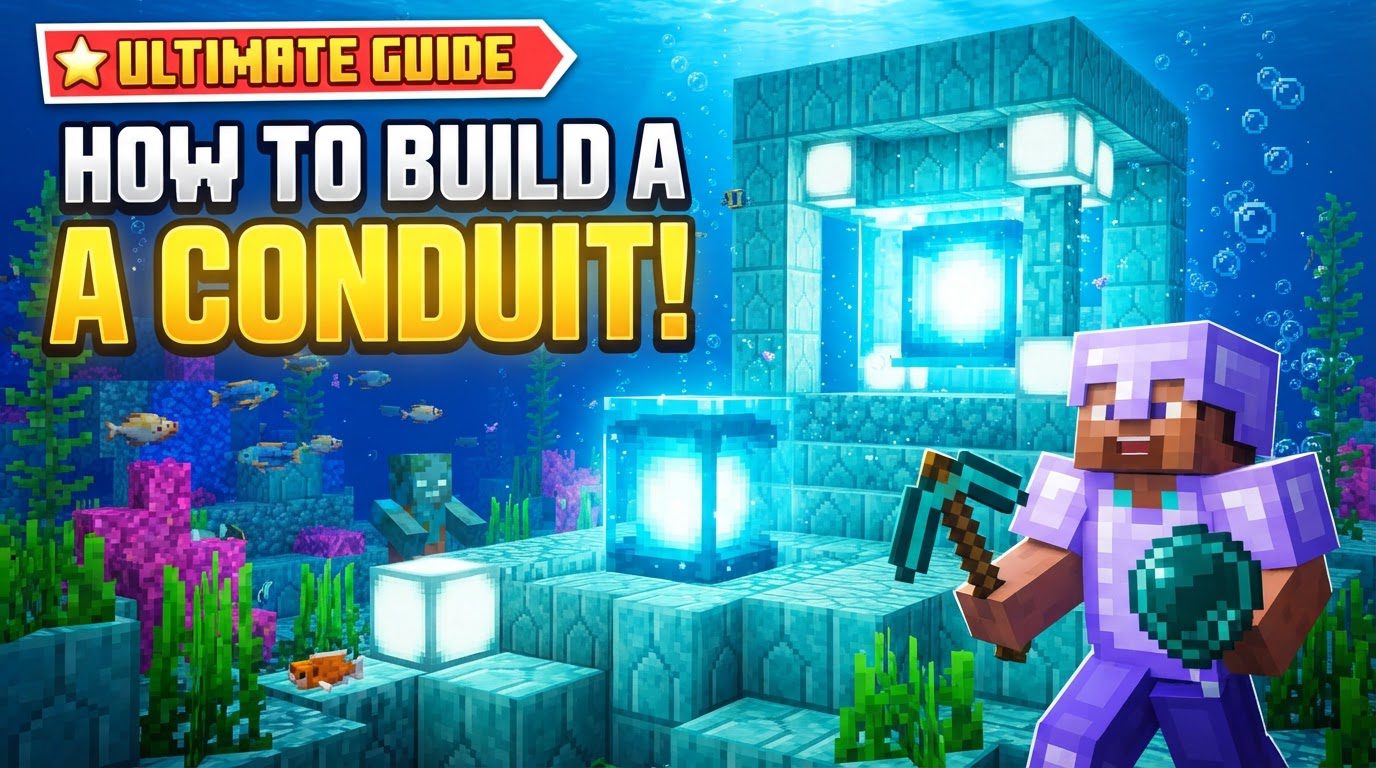
The Conduit is a specialized block that, once activated, grants “Conduit Power” to any player within its range. This unique effect bestows critical advantages: unlimited underwater breathing, significantly enhanced underwater vision (akin to night vision), and a substantial increase in underwater mining speed (haste). Furthermore, a fully activated Conduit acts as a defensive beacon, damaging hostile mobs that dare to venture too close. Functioning somewhat like a beacon, its benefits are exclusively tailored for the aquatic environment, making it an indispensable tool for ocean exploration, underwater base construction, and deep-sea resource gathering.
Forging Your Underwater Nexus: Crafting the Conduit
Before you can harness the Conduit’s immense power, you must first craft the block itself. This requires two specific and somewhat rare components, making the Conduit a testament to your exploration and resourcefulness.
- The Heart of the Sea: This is the rarest ingredient, obtainable only from buried treasure chests. To find these chests, you’ll first need to locate treasure maps. These maps are typically found within shipwrecks and ocean ruins, structures scattered across the ocean floor. Once you have a map, follow its “X” mark to dig up the chest containing the coveted Heart of the Sea.
- Nautilus Shells: You’ll need eight Nautilus Shells to complete the recipe. These can be acquired through several methods:
- Drowned: These hostile underwater zombie variants have a chance to drop Nautilus Shells when defeated.
- Fishing: With a bit of luck and persistence, Nautilus Shells can be reeled in as a junk item while fishing.
- Wandering Trader: Occasionally, the Wandering Trader may offer Nautilus Shells for emeralds.
Once you have gathered all eight Nautilus Shells and the single Heart of the Sea, head to a crafting table. Place the Heart of the Sea in the very center slot of the crafting grid, then surround it completely with the eight Nautilus Shells in the remaining eight slots. This will yield your crafted Conduit block.
Architecting the Frame: Activating Your Conduit’s Power
Crafting the Conduit is only the first step; it requires a specific frame structure and water immersion to activate its powers. The frame dictates both the Conduit’s activation and the range of its effects.
- Essential Frame Materials: The Conduit’s activation frame must be constructed from blocks of the prismarine family. This includes standard prismarine blocks, dark prismarine, prismarine bricks, or even sea lanterns. You can mix and match these blocks as long as they are all prismarine-type.
- Minimum vs. Maximum Activation:
- For basic activation, providing Conduit Power with a limited range, you will need a minimum of 16 prismarine-type blocks. This forms a partial frame.
- For maximum range and the additional hostile mob damage capability, you will need a full frame consisting of 42 prismarine-type blocks. This is the ultimate setup for comprehensive underwater dominance.
- The Structural Blueprint:
- The Conduit itself must be placed in the precise center of a 3x3x3 volume of water. This means the Conduit block will be surrounded by water on all six sides.
- The prismarine frame then forms a larger 5x5x5 structure around this central Conduit and its water volume. Think of it as the Conduit floating in the middle of a larger cube made of prismarine.
- To achieve basic activation, you need to create at least one complete 3×3 square (often referred to as a “window”) of prismarine-type blocks on one side of the 5x5x5 structure, directly surrounding the Conduit’s water volume.
- For maximum power, range, and the mob-damaging effect, the full 42-block frame requires three complete “rings” of prismarine-type blocks, distributed throughout the 5x5x5 structure. These rings encircle the Conduit at varying heights and orientations, ensuring maximum coverage and effect.
Bringing It To Life: Activating Your Conduit
With your Conduit crafted and its frame meticulously constructed, the final step is activation. This is arguably the simplest part, yet crucial for success.
Once your prismarine frame is in place and the central 3x3x3 area is filled with water, simply place the crafted Conduit block into the precise center of that water volume. If all conditions are met – the correct frame blocks, sufficient water surrounding the Conduit, and the Conduit being perfectly centered – it will immediately activate. You’ll observe a distinct pulsating animation emanating from the Conduit, signifying that Conduit Power is now active and broadcasting its benefits to any player within its range.
Mastering the Depths: Tips for Maximizing Conduit Utility
To truly get the most out of your Conduit, consider these strategic tips:
- Understanding Range: The range of the Conduit Power effect is directly proportional to the number of activated prismarine blocks in its frame. A larger, more complete frame (up to the 42-block maximum) will yield a wider area of effect, allowing you to venture further from the Conduit while still enjoying its benefits. The maximum range achieved with 42 blocks is significant, allowing for vast underwater operations.
- Water, Water Everywhere: This cannot be stressed enough: the Conduit must be completely surrounded by water blocks to activate. Even a single air block adjacent to the Conduit will prevent its activation. Ensure the 3x3x3 volume around the Conduit is entirely water.
- Design Flexibility and Scaling: While the full 42-block frame provides the ultimate experience, don’t feel obligated to build it immediately. Smaller frames, utilizing fewer than 42 blocks (but at least 16 for basic activation), will still grant Conduit Power, albeit with a reduced range. This allows for scalability based on your current resources and needs. You can always expand the frame later.
- Strategic Placement is Key: To maximize the Conduit’s utility, place it in areas where you anticipate extensive underwater activity. This could be near a planned underwater base, in a rich ocean monument, or above a large area you intend to excavate for resources. Its benefits make any underwater task significantly easier and safer.
Avoiding Common Subaquatic Blunders: Troubleshooting Your Conduit
If your Conduit isn’t activating, don’t despair. It’s likely one of a few common mistakes, easily rectified:
- Insufficient Water: The most frequent culprit. The Conduit must be fully submerged, and the 3x3x3 space around it must consist entirely of water source blocks or flowing water that completely fills the volume. Any air pockets will prevent activation.
- Incorrect Frame Blocks: Only prismarine, dark prismarine, prismarine bricks, and sea lanterns will count towards the frame. Using other blocks, even visually similar ones, will not activate the Conduit. Double-check your construction materials.
- Incomplete Frame: The prismarine frame needs to form a continuous, unbroken structure around the Conduit’s central water volume. Gaps in the “rings” or incomplete sections will either reduce the Conduit’s range or prevent activation altogether. Ensure your 16 or 42 blocks form the required structure.
- Conduit Not Centered: The Conduit block must be precisely in the middle of the 3x3x3 water volume, which itself is centered within the larger 5x5x5 prismarine frame. Even being off by a single block will prevent proper activation.
With careful planning and attention to detail, building and activating a Conduit in Minecraft is a straightforward process that profoundly changes your interaction with the game’s vast oceans. Embrace the depths, explore without fear, and mine with unparalleled efficiency!
Tags:
YOU MAY ALSO LIKE...


