Create Colorful Pipes
Many Minecraft players, upon hearing the phrase ‘colorful pipes,’ might envision two distinct possibilities: the elegant decorative structures crafted from stained glass, or the intricate, functional transportation networks enabled by various modifications. This guide delves into both interpretations, offering comprehensive instructions and insights into creating and utilizing colorful pipes within the blocky world of Minecraft, whether you prefer the vanilla experience or embrace the expanded possibilities of modded gameplay.
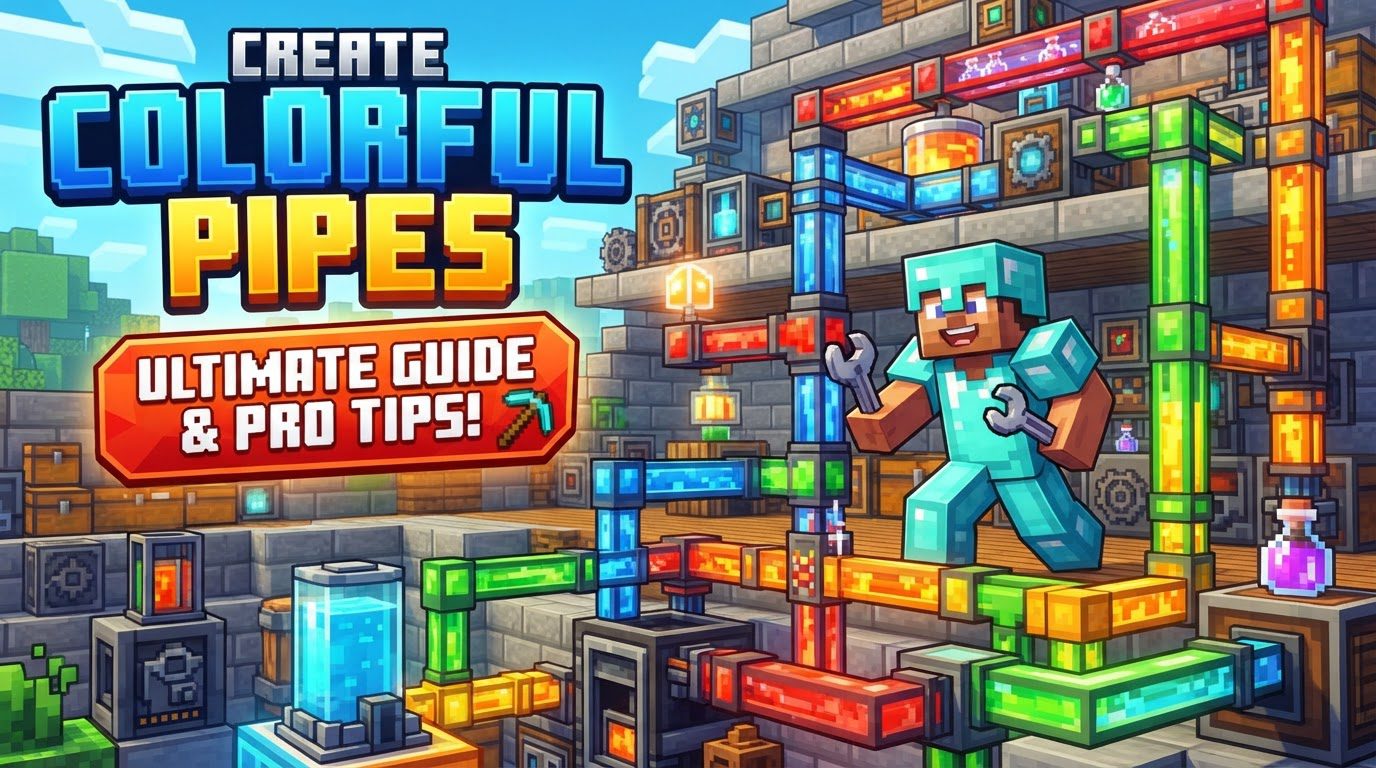
Crafting Vibrant Visuals: Stained Glass for Decorative Pipes
In vanilla Minecraft, the concept of “colorful pipes” primarily revolves around aesthetics and creative building. Here, stained glass blocks and panes serve as the primary medium, allowing players to introduce a spectrum of colors into their constructions. While these creations are purely decorative and lack any item or fluid transportation capabilities, their versatility in design makes them a popular choice for adding visual flair, simulating conduits, or creating stunning light effects.
The Art of Illumination: Step-by-Step Stained Glass Creation
Creating your decorative colorful pipes begins with the fundamental components of stained glass. The process is straightforward, requiring basic resources and a crafting table:
- Step 1: Obtain Glass Blocks. Your journey starts with sand. Place sand blocks into a furnace and smelt them to produce regular glass blocks. This is the foundational material for all stained glass.
- Step 2: Gather Your Dyes. Minecraft offers a rich palette of dyes, obtainable from various in-game resources. For instance, red dye comes from poppies, blue from lapis lazuli, yellow from dandelions, and black from ink sacs. Collect the dyes corresponding to the colors you wish your pipes to be.
- Step 3: Craft Stained Glass Blocks. With your glass blocks and dye ready, open a crafting table. Arrange 8 regular glass blocks in all slots surrounding a single dye in the center. This yields 8 stained glass blocks of the chosen color. Repeat for all desired colors.
- Step 4: Craft Stained Glass Panes (Optional but Recommended). For a thinner, more pipe-like appearance, or for intricate designs, stained glass panes are invaluable. Place 6 stained glass blocks of a single color in a 3×2 pattern (filling the middle and bottom rows) on a crafting table. This will produce 16 stained glass panes, offering greater flexibility in your designs.
Mastering the Aesthetic: Design Tips and Creative Applications
Once you have your stained glass, the creative possibilities are vast. Here are some tips to elevate your decorative pipe designs:
- Experiment with Combinations: Don’t limit yourself to a single color. Blend different hues to create gradients, patterns, or multi-colored pipe systems that stand out.
- Utilize Panes for Detail: Stained glass panes are excellent for creating thinner, more delicate pipe-like structures or for adding intricate detailing to larger builds. They can also create the illusion of complex pipe networks when layered.
- Illuminate from Within: Placing light sources such as Glowstone, Sea Lanterns, or even lava blocks directly behind or within your stained glass structures can make them glow vibrantly, especially at night. This technique amplifies their visual impact and adds an ethereal quality.
- Leverage Commands for Scale: In creative mode or with tools like WorldEdit, commands such as
/brush cylindercan be incredibly useful for quickly generating large, perfectly shaped stained glass structures, making monumental pipe designs feasible.
Avoiding Common Pitfalls in Vanilla Pipe Design
While aesthetically pleasing, decorative pipes have their limitations and potential visual quirks:
- No Functional Properties: The most common misconception is expecting stained glass to transport items or fluids. Remember, these are purely for show and offer no automation capabilities.
- The Grid Pattern Challenge: When multiple stained glass blocks are placed adjacent to each other, vanilla Minecraft typically displays a noticeable grid-like pattern between them. This can break the illusion of smooth, continuous pipes. To counteract this, consider installing client-side mods like OptiFine, which often include a “connected textures” feature. This feature removes the grid, allowing stained glass to blend seamlessly and create a much smoother, more convincing pipe appearance.
Unlocking Advanced Logistics: Modded Colorful Pipe Systems
For players seeking functional colorful pipes that actually transport items and fluids, the world of Minecraft mods offers robust solutions. Mods like “Create: Colorful Pipes” and “Classic Pipes” transform logistical challenges into engaging automation projects, allowing for complex, color-coded transportation networks.
Integrating Automation: A General Modded Pipe Setup Guide
Implementing functional pipes requires a different approach, starting with mod installation:
- Step 1: Install the Mod. The first crucial step is to download and install your chosen mod (e.g., “Create: Colorful Pipes,” “Classic Pipes”) compatible with your Minecraft version and mod loader (Forge, Fabric, or NeoForge). Without the mod, these pipes simply won’t exist in your game.
- Step 2: Gather Mod-Specific Materials. Each mod introduces its own crafting recipes. For example, “Classic Pipes” often starts with basic wooden pipes (requiring wood) and progresses to copper pipes (requiring copper). Consult the mod’s in-game guide or wiki for precise recipes. “Create: Colorful Pipes” typically adds colored variants of existing Create components like fluid pipes and smart pipes.
- Step 3: Coloration (if applicable). Some mods might allow you to craft pipes directly in various colors, while others might require an additional dyeing step after the base pipe is crafted. Always check the mod’s documentation.
- Step 4: Placement and Connection. Carefully place your pipes to connect inventories (chests, machines), fluid sources (tanks), and destinations. Pay attention to directional flow and connection indicators. In “Classic Pipes,” for instance, properly connected networked pipes will display green lines.
- Step 5: Configuration for Advanced Systems. Many functional pipes, especially “smart” or networked variants, require configuration. This might involve setting filters for specific items, defining routes, or programming specific behaviors to ensure items and fluids flow exactly where you intend them to go.
Optimizing Your Network: Advanced Strategies for Modded Pipes
To get the most out of your modded pipe systems, consider these advanced strategies:
- Consult Mod Documentation: This cannot be stressed enough. Mod mechanics, recipes, and best practices vary wildly. The mod’s official documentation, in-game guidebooks, or community wikis are your best friends.
- Establish Default Routes (Classic Pipes): For networked systems like those in “Classic Pipes,” always define a default route. This ensures that any item that doesn’t have a specific destination will go somewhere rather than getting stuck in the network or despawning, preventing frustrating item loss.
- Parallel Lines with Wood Types (Classic Pipes): If you need to run multiple parallel pipe lines without them connecting, “Classic Pipes” allows you to use different wood types for wooden pipes. Pipes made from oak won’t connect to pipes made from birch, for example, enabling independent routing in close proximity.
- Utilize Specialized Pipes: Mods often include specialized pipes for advanced functions. “Classic Pipes” offers diamond pipes for sophisticated item sorting by direction or type, and iron pipes for speed. Learning to integrate these can dramatically improve efficiency.
Navigating Modded Challenges: Common Errors and Solutions
Modded pipe systems, while powerful, can present their own set of challenges:
- Missing Mod Installation: The most basic mistake is attempting to use modded pipes without having the corresponding mod correctly installed and enabled in your Minecraft instance. Always double-check your mod folder and launcher profile.
- Failing to Set Up Default Routes: As mentioned, in networked systems, a lack of a default route can lead to items getting lost, stuck, or despawning. Prioritize setting up a catch-all destination for unrouted items.
- Incorrect Connections or Incompatible Pipes: Pipes might not flow if they aren’t properly connected to inventories or other pipes. In some systems (like “Classic Pipes”), using incompatible pipe types or junctions incorrectly can break network connections, preventing item flow. Ensure all connections are valid and recognized by the mod.
- Overlooking Power Requirements: Some advanced modded pipes or associated machines might require external power (e.g., Redstone Flux, Kinetic Energy from Create). If your system isn’t working, check if power is needed and properly supplied.
Whether you’re decorating a grand base with vibrant stained-glass conduits or building an automated factory with color-coded logistical networks, understanding the nuances of “colorful pipes” in Minecraft empowers you to bring your creative and engineering visions to life. From simple aesthetics to complex automation, these versatile elements add depth and functionality to any world.
Tags:
YOU MAY ALSO LIKE...