Configuring Item Components in Newer Versions — A Quick Guide
Minecraft’s evolution continually introduces mechanics that empower players and creators with unprecedented control over the game world. Among the most significant advancements in recent versions, specifically starting with Minecraft 1.20.5, is the introduction of item components. These components represent a fundamental shift in how item properties are managed and customized, largely superseding and replacing many functionalities previously handled by older NBT (Named Binary Tag) tags. By understanding and utilizing item components, players can craft incredibly unique items with bespoke behaviors and appearances, opening up a vast realm of possibilities for custom maps, servers, and personal gameplay experiences.
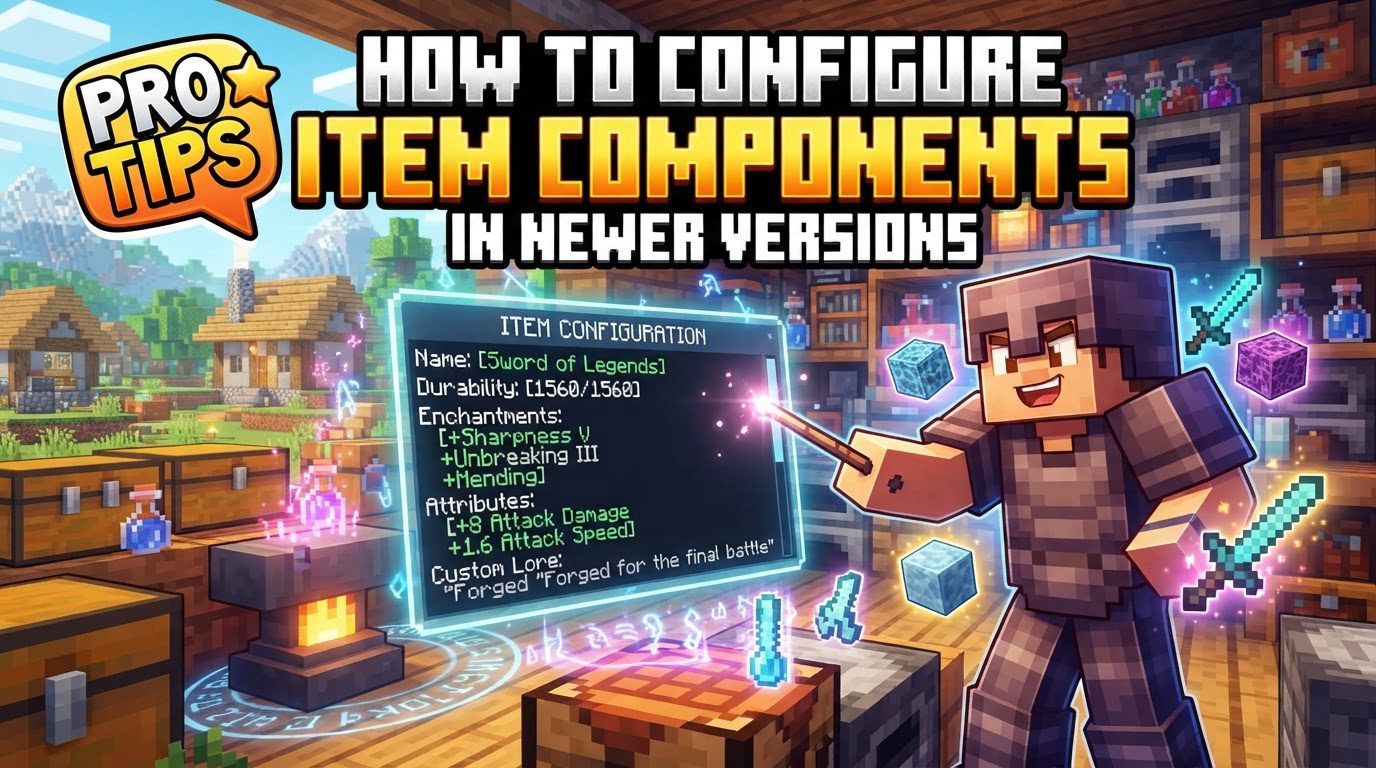
Every single item within the game now inherently possesses a set of components that collectively define its characteristics, ranging from its fundamental attributes like attack damage and durability to more aesthetic properties such as its name and various visual effects. These components act as specialized data containers, storing precise information that dictates how an item behaves in different scenarios. For instance, a pickaxe’s components will hold data relevant to its mining speed and durability, allowing it to function distinctly from a block of TNT, which has components defining its explosive properties. This granular control allows for an impressive level of detail, enabling creators to modify properties such as stack size, damage values, intricate tooltips, item rarity, and even custom model data on a per-item-stack basis. Many characteristics that were once rigidly tied to an item’s base type can now be dynamically altered for individual items, providing unparalleled flexibility.
Configuring Item Components: A Step-by-Step Guide
The primary method for configuring item components involves the use of in-game commands. Specifically, the /give command is pivotal, often utilized with extensive JSON arguments to define the desired components. Additionally, the data modify command can be employed to alter components of existing items within the world or inventory. The process generally follows a structured approach:
- Specify Components in Commands: When using commands like
/give, components are added by enclosing them within square brackets[]directly after the item ID. This bracketed section is where all component definitions reside. - Define Component Key-Value Pairs: Inside these square brackets, individual components are defined as key-value pairs. For components with more complex structures or multiple sub-properties, curly braces
{}are frequently required to encapsulate their specific data. For example, a component defining an item’s name might be simple, while a component for attributes could be quite intricate. - Integration with Datapacks: Beyond direct command line usage, item component JSON can be seamlessly integrated into datapacks. This is particularly useful for creating custom recipes, advancements, or loot tables that involve items with predefined component configurations, ensuring consistency and ease of distribution.
- Leveraging Online Tools: For those new to JSON syntax or dealing with particularly complex component structures, online tools like MCStacker prove invaluable. These generators can simplify the process by providing user-friendly interfaces to select and configure components, then outputting the correct command syntax, significantly reducing the potential for errors.
Important Tips for Effective Component Configuration
Mastering item components requires not only an understanding of their structure but also an adherence to best practices. Here are some crucial tips to streamline your component configuration process:
- Immediate Bracket Closure: A common source of syntax errors in commands is improperly matched brackets. As a habit, immediately close square
[]and curly{}brackets right after opening them. This simple practice helps maintain correct syntax, especially with nested component structures, preventing frustrating debugging sessions. - Consult Official Documentation: The Minecraft Wiki and other official documentation sources are indispensable resources. They provide comprehensive lists of all available components, detailing their valid values, data types (e.g., string, integer, boolean, object), and specific formats. Regularly referring to these resources ensures you’re using components correctly and to their full potential.
- Base Custom Items on Existing Ones: When designing a new custom item, particularly one with unique interactive behaviors, it’s often beneficial to start with an existing vanilla item that already possesses similar functionalities. For example, if you aim to create an item with a right-click action, begin by examining how a vanilla item with a right-click function (like a bucket or a shield) is structured. This provides a solid foundation and a clearer path for customization.
- Visual Customization with Components: Components offer powerful tools for visual customization.
- The
item_modelcomponent is incredibly versatile, allowing any item to visually adopt the model of another existing item. More advanced usage permits items to utilize custom models defined within a resource pack, offering limitless aesthetic possibilities. - For items that can be dyed, the
dyed_colorcomponent enables precise color adjustments. - The
custom_model_datacomponent, when paired with a resource pack, links an item to a specific custom model, enabling highly detailed visual variations. - The
enchantment_glint_overridecomponent provides control over the shimmering enchantment effect, allowing you to enable or disable it as desired.
- The
Common Mistakes to Avoid
While item components offer immense power, there are several pitfalls that new and experienced creators alike might encounter. Being aware of these common mistakes can save considerable time and effort:
- Incorrect Command Syntax: This is perhaps the most frequent error. Mismatched brackets, missing commas between component definitions, or incorrect capitalization can lead to command failures. Always double-check your JSON syntax before executing commands.
- Attempting Invalid Item States: Although newer versions are more robust, trying to configure an item into an impossible or unsupported state (e.g., setting enchantment levels far exceeding the normal maximum of 255, or adding an excessive number of lore lines) will typically result in an error message rather than a game crash. The game is designed to catch these inconsistencies.
- Neglecting Resource Packs for Custom Models: When utilizing components like
custom_model_dataoritem_modelto apply unique visual models, it is absolutely essential to have a corresponding resource pack loaded. These components only provide a pointer; the actual model files and their definitions must exist within an active resource pack for the visual changes to take effect. Without the resource pack, the item will likely display its default model. - Bedrock Edition Specifics: Players working with Bedrock Edition should be aware that certain components behave differently or have unique limitations. For instance, components such as
can_place_onandcan_destroyare often exclusive to blocks and are generally only functional when used with the/giveand/replaceitemcommands in Bedrock. - Assuming Cross-Edition Component Parity: It’s crucial not to assume that all components work identically across Java and Bedrock editions. While many core functionalities are similar, some component structures, available values, and overall behaviors can differ significantly between the two versions. Always verify component functionality for the specific edition you are working with.
Tags:
YOU MAY ALSO LIKE...