

Why Your Automatic Smelter Fails at Scale
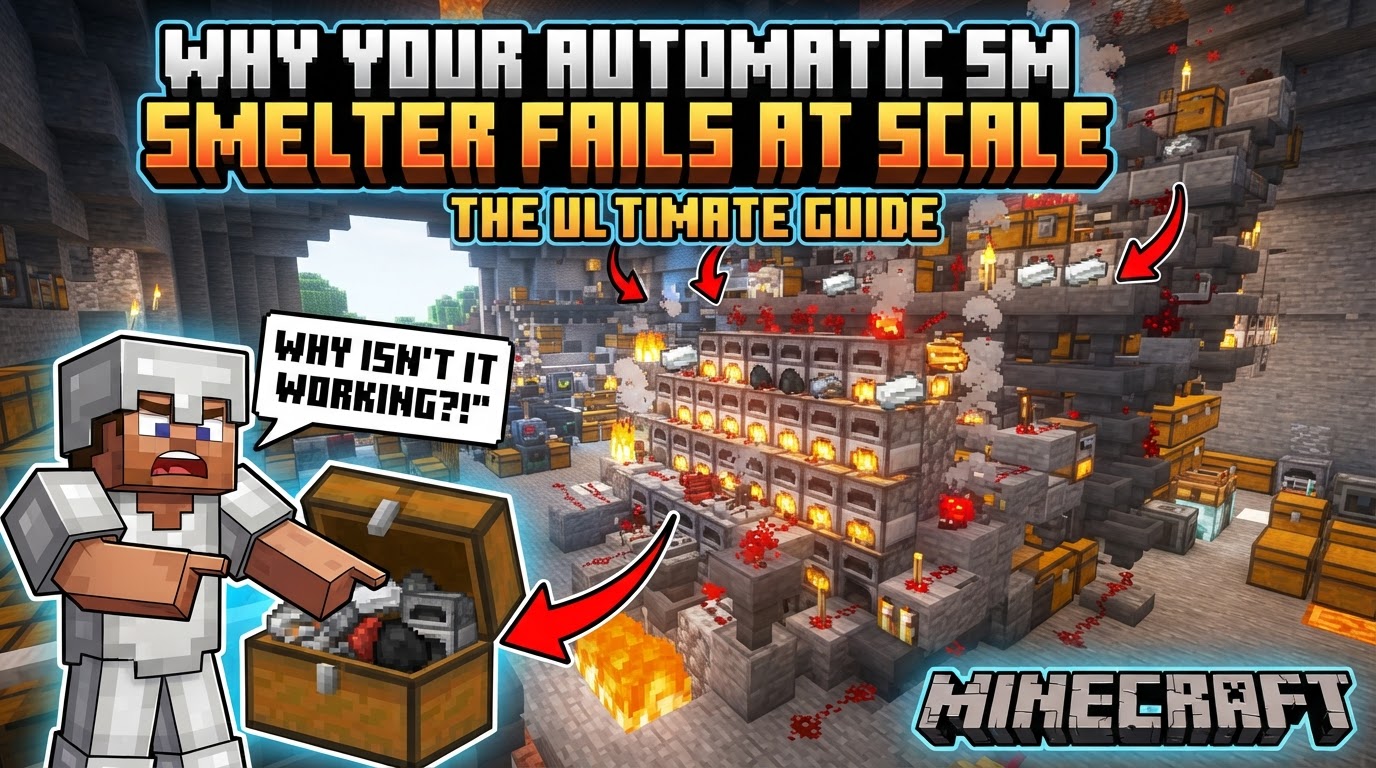
The ambition of a colossal automatic smelter often crumbles not due to a lack of resources, but a cascade of subtle mechanical failures that become glaring inefficiencies at scale. While a single furnace setup is straightforward, multiplying it into a sprawling industrial complex introduces a host of complexities that can bring your entire operation to a grinding halt. Understanding the nuanced interplay of Minecraft’s item mechanics and common design pitfalls is paramount to constructing a truly reliable, large-scale smelting system.
The Foundational Mechanics of Smelting Automation
At its heart, any automatic smelter relies on a few core principles that dictate item flow and processing speed. Mastering these is the first step toward preventing large-scale failures.
- Hoppers: The Essential Connectors
Hoppers are the workhorses of item transfer. They feed raw materials into the top of a furnace, supply fuel into its sides, and extract smelted items from its bottom. Incorrect placement here is a primary cause of non-functionality. - Specialized Furnace Types
Not all furnaces are created equal, especially when speed is critical.- Furnace: The standard block for most general smelting tasks, like cobblestone or sand.
- Blast Furnace: Doubles the smelting speed for ores, raw metals, and ancient debris. Crucially, it cannot process food or other non-ore items.
- Smoker: Doubles the cooking speed for all food items. It cannot process ores or other materials.
Utilizing the correct furnace type for your specific items is a fundamental optimization for throughput.
- Fuel Efficiency and Supply
The choice and delivery of fuel are critical for sustained operation. Fuels have varying burn times, and reliable automatic smelters often depend on renewable sources. Automatic bamboo farms or dripstone-based lava farms are ideal for continuous supply. Lava buckets, while potent, are consumed entirely per smelt and do not stack, severely limiting the capacity of minecarts distributing them. This non-stackable nature is a significant hurdle for large-scale fuel delivery. - Experience (XP) Collection
Furnaces store XP until a smelted item is manually removed. While not directly related to smelting failure, a well-designed automatic smelter can accumulate substantial XP, making efficient manual collection a valuable byproduct. - Minecarts for Mass Distribution
For arrays of furnaces stretching across hundreds of blocks, hopper minecarts and chest minecarts become indispensable. They are used to transport input items and fuel to long lines of furnaces and collect outputs, enabling distribution and collection at a scale hoppers alone cannot manage.
The Anatomy of a Single Smelting Unit
Before scaling, it’s vital to understand the fundamental building block of any automatic smelter. This basic unit is what you’ll replicate, and any flaw here will be magnified exponentially.
- Output Layer: Start with a chest at the lowest point to collect all smelted items.
- Output Hopper: Place a hopper directly on top of, and feeding into, the output chest.
- Furnace: Position your chosen furnace (furnace, blast furnace, or smoker) directly on top of the output hopper.
- Fuel Hopper: Attach a hopper to the side of the furnace. This hopper will feed fuel into the furnace’s fuel slot.
- Fuel Chest: Place a chest on top of the fuel hopper to hold the fuel supply.
- Input Hopper: Attach another hopper to the top of the furnace. This hopper will feed raw items into the furnace’s item slot.
- Input Chest: Place a chest on top of the input hopper, serving as the loading point for raw items.
This seven-component stack forms the core, which is then duplicated many times over for large-scale operations.
Critical Failure Points in Large-Scale Designs
Simply copying the basic unit hundreds of times rarely results in a functioning mega-smelter. Several issues emerge specifically when scaling up, often leading to inefficiency or complete shutdown.
- Uneven Item Distribution: The Silent Killer
This is arguably the most common and frustrating cause of large-scale smelter failure. Hopper minecarts often fail to distribute items evenly across a long array of furnaces. This can lead to some furnaces being constantly idle due to lack of items, while others are oversupplied and eventually back up. The furnaces at the “end” of a distribution line may receive a disproportionate amount of items if the minecart’s route and loading aren’t perfectly managed. - Inconsistent Minecart Speed and Timing
Minecart behavior can be surprisingly erratic. Fluctuations in hopper minecart speed, often induced by poorly designed redstone mechanisms or track layouts, can lead to inconsistent and unreliable item deposition. A minecart might pause too long at one furnace, or not long enough at another, disrupting the entire flow. - Hoppers Getting Locked by Redstone
An often-overlooked issue is the inadvertent locking of hoppers. If a redstone component, such as a redstone block, is placed directly next to a hopper, it will power and lock that hopper, preventing any items from passing through. This can silently halt item flow in critical parts of your system. - Fuel Starvation and Bottlenecks
Even with a renewable fuel source, distribution is key. If fuel isn’t supplied fast enough or in sufficient quantities to all furnaces, they will stop. The non-stackable nature of lava buckets means a minecart can only carry a limited number, making large-scale lava distribution particularly complex and prone to bottlenecks. - Incorrect Hopper Placement: The Fundamental Error
Despite the clear rules, it’s easy to misplace a hopper in a complex build. Feeding raw materials into the fuel slot, or fuel into the item slot, will immediately halt the smelting process for that specific furnace. Remember: items always enter from the top, fuel from the side, and smelted items exit from the bottom. - Output Backlog and Congestion
A common oversight is underestimating output storage. If the output hoppers or collection chests fill up, the furnaces above them will stop smelting until space is cleared. This creates a chain reaction that can bring an entire array to a standstill, even if input and fuel are plentiful. - Chunk Loading Issues
Minecraft’s chunk loading mechanics can be a major headache. If parts of your smelter are not within a loaded chunk, they will simply stop working or desynchronize with the active portions. This is especially true for far-flung distribution lines or collection systems. - Over-Complication in Design
While redstone can solve many problems, overly complex redstone or item transportation systems can introduce more points of failure than they solve. Each additional component or intricate timing mechanism is another potential breakdown point. Simpler, modular designs are often far more reliable in the long run. - Minecart Item Transfer Glitches (Bedrock Specific)
In some versions of Minecraft, notably Bedrock Edition, minecarts can exhibit peculiar behavior. They may sometimes pick up items diagonally from adjacent minecarts, leading to the dreaded mixing of fuel and input items, completely corrupting the system.
Strategies for Robust Scaling
Overcoming these challenges requires thoughtful design and a proactive approach to potential failure points.
- Leverage Specialized Furnaces Judiciously
Always use Blast Furnaces for ores/metals and Smokers for food. This immediate doubling of speed for specific items significantly boosts overall throughput without adding more physical furnaces for those tasks. - Integrate Renewable Fuel Systems
Automate your fuel supply from the ground up. Dedicated automatic bamboo farms or dripstone-based lava farms ensure a continuous, hands-off fuel source, eliminating manual refueling and potential starvation issues. - Ensure Even Distribution with Precision
Design your item and fuel distribution systems to deliver resources uniformly to all furnaces. Techniques like using hopper loaders to fill minecarts to capacity before dispatching them, or specific track layouts that ensure even item unloading, are crucial. Consider using multiple, shorter distribution lines rather than one extremely long one. - Dedicated Lines for Inputs and Fuel
To prevent cross-contamination and ensure steady supply, use entirely separate input lines for raw materials and fuel lines for fuel. This often involves distinct minecart tracks or hopper networks. - Robust Output Management
Design your output collection with ample storage capacity. Implement rapid item extraction mechanisms (e.g., multiple hoppers feeding into large chest arrays or shulker box loaders) to prevent any backlog from stopping the furnaces. - Automated Item Sorting
For smelters processing multiple item types, integrate item sorters after the output collection. This categorizes smelted products into designated chests, making inventory management much easier and preventing output chests from filling with mixed items too quickly. - Embrace Modular and Simple Designs
Instead of one monolithic, complex system, break your smelter into smaller, identical, and easily repeatable modules. This simplifies troubleshooting, reduces the impact of a single point of failure, and makes expansion easier.
Conclusion
Building an automatic smelter that excels at scale in Minecraft is a rewarding challenge, but one fraught with potential pitfalls. The key to success lies not just in understanding the basic mechanics, but in anticipating the unique challenges that arise when those mechanics are stretched across vast arrays. By meticulously designing for even distribution, robust fuel supply, efficient output management, and guarding against common redstone and item transfer quirks, you can transform a collection of individual furnaces into a truly formidable and reliable industrial powerhouse.
Tags:
YOU MAY ALSO LIKE...


