Comparing Automatic Farm Output Across Different Designs
One of the most common pitfalls for aspiring Minecraft engineers is building a farm without understanding its core mechanics, leading to frustratingly low outputs or complete failure. The true power of automation in Minecraft lies not just in constructing a farm, but in comparing and optimizing its output against various designs. This systematic approach allows players to harness the game’s intricate systems for maximum efficiency, transforming tedious resource gathering into a seamless, automated process.
The Foundation: Mechanics That Govern Output
Understanding the underlying game mechanics is paramount when evaluating and designing automatic farms. Each component and interaction plays a vital role in a farm’s overall productivity.
- Redstone Circuitry: The Automation Backbone: Often described as the “electrical wiring” of Minecraft, Redstone transmits power to components like pistons, dispensers, and observers. Its precise application dictates harvest timing, mob control, and item flow. Even minor errors in Redstone placement or timing can render a complex farm non-functional, highlighting the need for meticulous construction and troubleshooting.
- Growth Cycles and Harvesting Logic: For crop farms, growth mechanics are central. Factors like water, light levels, and specific crop spacing (e.g., crops surrounded by two or fewer similar crops growing faster) directly influence yield. Automated harvesting typically employs pistons to break mature blocks or flowing water to uproot crops.
- Mob Spawning and AI Behavior: Mob farms are a delicate balance of conditions. They rely on specific light levels (or lack thereof), adherence to mob caps, and player proximity (within 24-128 blocks) to encourage spawning. Mobs cease to “tick” or despawn if the player is too far, underscoring the importance of simulation distance. Each mob type has unique spawning conditions and behaviors that must be exploited for efficiency.
- Water Flow and Item Collection Systems: Post-harvest, items need efficient transportation. Flowing water is the primary method for directing items to a central collection point, usually a series of hoppers feeding into chests or other storage solutions. The design of these collection systems directly impacts how much loot is actually retained.
- Chunk Loading for Continuous Operation: A farm only produces when its resident chunks are loaded into memory. Without a player in the vicinity or specific chunk-loading mechanisms (like forceloading commands in Java Edition), even the most efficient farm will sit idle. Consistent output requires consistent chunk loading.
- Version Discrepancies (Java vs. Bedrock): A critical, often overlooked factor is the difference between Minecraft’s Java and Bedrock editions. Mechanics like Redstone quasi-connectivity, mob spawning algorithms, and even village mechanics (crucial for iron farms) vary significantly. A design optimized for one version will frequently fail or underperform in the other.
A Systematic Approach to Farm Comparison
To effectively compare farm outputs, a structured process is essential, moving from conceptual understanding to practical optimization.
- Understand the Resource: Begin by identifying the desired resource (e.g., sugarcane, iron, gunpowder) and thoroughly research the specific game mechanics governing its generation or growth. This foundational knowledge informs all subsequent design choices.
- Choose a Farm Type: Select a farm design that aligns with the resource and your current game progression. For beginners, simple water-flow crop farms are excellent for learning core Redstone and collection principles. More complex mob or iron farms require a deeper understanding.
- Gather Necessary Components: Compile all required blocks, Redstone components, and specialized items. Pre-planning material acquisition saves significant time during construction.
- Construct the Farm: Build the farm meticulously, adhering to a chosen blueprint. Careful placement of observers, pistons, water sources, and collection systems is crucial. Any deviation can impact functionality.
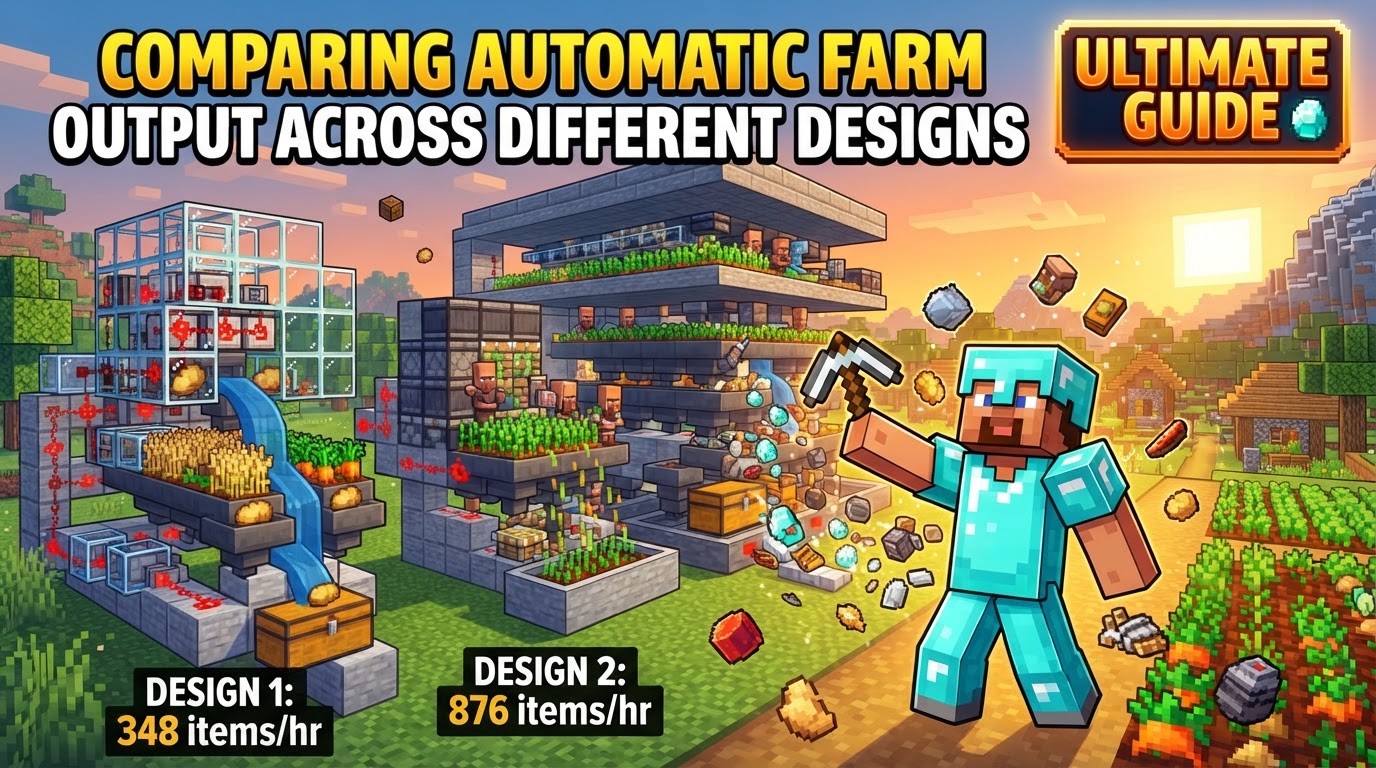
- Test and Measure Performance: After construction, rigorously observe the farm’s operation. For direct comparison, experienced players often build multiple farm layouts in separate, loaded chunks and measure their output over a consistent in-game timeframe (e.g., one hour or one full day-night cycle).
- Iterative Optimization and Troubleshooting: Identify and rectify any issues. This could involve fixing Redstone errors, adjusting lighting, correcting mob pathing, or refining collection systems. Optimization is an ongoing process, potentially involving component swaps, placement adjustments, or scaling the design.
Advanced Strategies for Maximizing Yields
Beyond basic functionality, several techniques can significantly boost a farm’s output and provide clearer comparison metrics.
- Strategic Crop Placement: For crops like wheat, alternating rows with different crop types or even empty spaces can nearly double growth speed, a subtle but impactful optimization.
- Leveraging Villager Intelligence: Villagers are powerful tools for automation, especially in crop farms. A villager in a 9×9 plot with a central water source and adequate light can automate harvesting by replanting and throwing excess crops to other villagers or into a collection system. Correct villager linking and biome placement are vital for specialized farms like iron golem farms.
- Controlling the Mob Environment: In mob farms, it’s critical to ensure spawns occur exclusively within the designated farm area. This is achieved by meticulously lighting up or slab-proofing surrounding caves and surfaces to suppress unwanted spawns, effectively concentrating the mob cap within your farm.
- Optimal Player Positioning (AFK Points): For mob farms, the player’s “Away From Keyboard” (AFK) point is critical. It must be positioned to keep the farm’s chunks loaded and within the optimal mob spawning radius (24-128 blocks) for consistent production.
- Consideration for Server Health: On multiplayer servers, large, entity-dense farms (like high-volume chicken farms) can cause significant lag (TPS drops). Be mindful of entity cramming limits and design farms to be server-friendly, or build in single-player worlds where performance impacts are less severe for others.
- The Value of Documentation: For complex bases with multiple farm designs, labeling them with signs indicating their purpose, design type, and even recorded output can be invaluable for long-term management and future comparisons.
Avoiding Common Pitfalls in Farm Design
Many farm failures or suboptimal outputs stem from recurring mistakes. Awareness of these can save countless hours of frustration.
- Inadequate Planning and Mechanic Misunderstanding: Rushing into construction without fully grasping the specific game mechanics (e.g., villager linking requirements, biome-specific spawns) or skipping basic requirements is a primary cause of non-functional farms.
- Redstone Circuitry Complexities: Simple wiring mistakes, such as incorrect component placement, insufficient power, or interrupted Redstone lines, can prevent a farm from activating or cycling correctly. Double-checking every Redstone connection is crucial.
- Illumination Errors: For mob farms, insufficient lighting in surrounding areas is a common culprit for low yields, as mobs spawn outside the intended farm zone, consuming the mob cap.
- Fundamental Design Flaws: Errors like incorrect block placement (e.g., a missing block in a water flow, a gap in a fence), improper water flow direction, or misaligned hoppers can severely hinder efficiency or even break the farm entirely.
- The Peril of Entity Cramming: Overloading a single block with too many entities (e.g., more than 24 in Java Edition) will cause them to take damage and die. This is particularly problematic in automatic animal farms and can severely impact performance.
- Overlooking Simulation Distance: Farms will cease to function if their chunks are not within the player’s active simulation distance. Relying solely on render distance is a common mistake; simulation distance dictates where game logic (like mob spawning or crop growth) occurs.
- Platform-Specific Design Traps: Building a farm designed for Java Edition on Bedrock Edition (or vice versa) without understanding the distinct mechanical differences is almost guaranteed to result in failure or drastically reduced output. Always verify compatibility for your specific game version.
Ultimately, comparing automatic farm output is an iterative process of construction, testing, measurement, and refinement. By deeply understanding Minecraft’s core mechanics and systematically approaching design and optimization, players can build highly efficient resource pipelines, freeing them to explore the game’s endless possibilities.
Tags:
YOU MAY ALSO LIKE...