Understanding Sculk Sensor Frequency Filtering Precisely
Attempting to filter specific vibrations with a standard Sculk Sensor is a common pitfall for many Minecraft redstone enthusiasts. While regular Sculk Sensors are excellent for broad vibration detection, they lack the surgical precision required for advanced automation. True mastery of vibration-based redstone logic hinges entirely on understanding and effectively utilizing the Calibrated Sculk Sensor, a block purpose-built for exact frequency filtering.
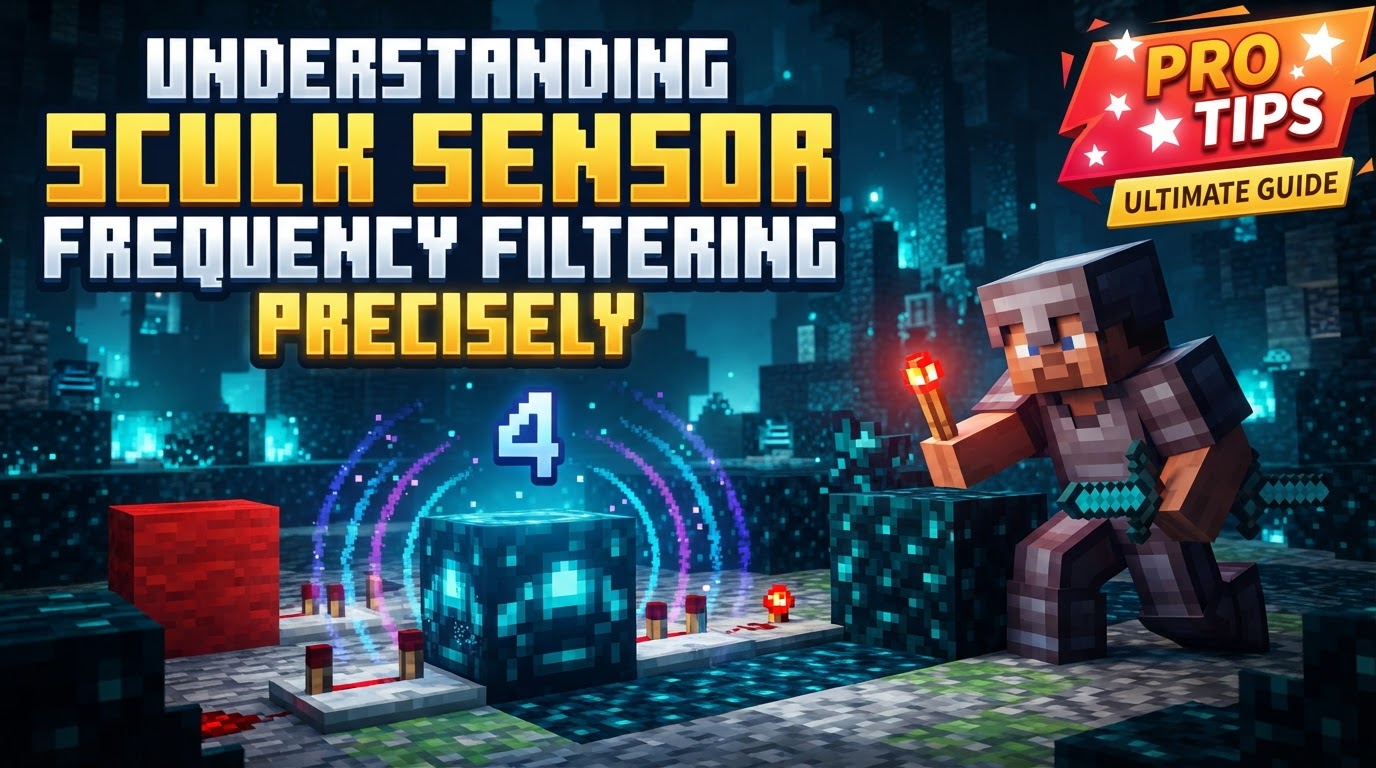
This guide will delve into the intricate mechanics of Calibrated Sculk Sensors, providing you with the knowledge to precisely control what events trigger your redstone contraptions. From their unique crafting recipe to the nuanced application of redstone signals for frequency selection, we’ll cover everything you need to build sophisticated, vibration-responsive systems.
The Foundation: Regular vs. Calibrated Sensors
Before diving into filtering, it’s crucial to distinguish between the two types of Sculk Sensors. A standard Sculk Sensor detects any vibration within its 8-block radius and emits a redstone signal corresponding to the frequency of that vibration. It’s a general-purpose detector, but it cannot be told to ignore specific event types.
Enter the Calibrated Sculk Sensor. This advanced variant is the cornerstone of precise vibration filtering. Its primary function is to listen for only a single, specific vibration frequency, ignoring all others. This capability unlocks a new dimension of redstone automation, allowing you to create highly responsive and intelligent systems that react only to the exact events you desire.
Beyond filtering, Calibrated Sculk Sensors boast several inherent advantages:
- Increased Detection Range: They can detect vibrations up to 16 blocks away, double the range of their regular counterparts.
- Faster Cooldown: After detecting a vibration, a Calibrated Sculk Sensor has a quick 1-second cooldown period, half the 2-second cooldown of a regular sensor. This allows for quicker detection of consecutive events.
The Language of Vibrations: Frequencies 1-15
In Minecraft, every detectable game event that generates a vibration is assigned a unique frequency, ranging from 1 to 15. Whether it’s a player walking, a block being placed, an item dropping, or an explosion, each action has its designated frequency. Understanding this numerical spectrum is paramount, as it forms the basis for telling your Calibrated Sculk Sensor what to listen for.
While this guide doesn’t list every frequency (a comprehensive frequency table is an essential external resource for any serious Sculk Sensor builder), know that mastering frequency filtering means knowing which number corresponds to the event you wish to detect. For example, an explosion might correspond to frequency 15, while walking might be a lower frequency.
Crafting Precision: Building Your Calibrated Sensor
To begin your journey into precise frequency filtering, you’ll first need to craft a Calibrated Sculk Sensor. The recipe is straightforward:
- Combine one Sculk Sensor with three Amethyst Shards in a crafting table.
Amethyst Shards are obtained from Amethyst Geodes, which can be found underground in various biomes. Regular Sculk Sensors are found naturally in the Deep Dark biome, often near Ancient Cities, or can be obtained from Sculk Catalysts when mobs die near Sculk blocks.
Once crafted, remember that like regular Sculk Sensors, Calibrated Sculk Sensors require a Silk Touch enchantment on your tool to be harvested without breaking. Without Silk Touch, they will simply drop nothing.
The Heart of Filtering: Redstone Input Mechanics
The defining feature of a Calibrated Sculk Sensor is its dedicated redstone input side. This side is visually distinct, often appearing as a unique “socket” or “crystal” texture on one of its faces. It is into this specific side that you must feed a redstone signal to dictate the sensor’s filtering behavior.
The strength of the redstone signal (from 1 to 15) provided to this input side directly determines the single frequency the Calibrated Sculk Sensor will respond to. For instance, if you feed a signal strength of 5 into the input side, the sensor will only activate when it detects a vibration event with frequency 5, ignoring all other frequencies.
Crucially, if no redstone signal is provided to the input side, the Calibrated Sculk Sensor reverts to behaving like a standard Sculk Sensor. In this state, it will detect all frequencies within its 16-block range, emitting a redstone signal equal to the detected frequency. This makes proper redstone input essential for its filtering capabilities.
Implementing Your Filter: A Step-by-Step Approach
Here’s how to set up a Calibrated Sculk Sensor for precise frequency filtering:
- Craft the Calibrated Sculk Sensor: As detailed above, combine a Sculk Sensor with three Amethyst Shards.
- Place the Sensor: Position the Calibrated Sculk Sensor where you intend to monitor for vibrations. Consider its 16-block detection radius.
- Identify the Input Side: Carefully observe the sensor to find the side with the distinct texture that indicates its redstone input.
- Provide a Redstone Signal: Supply a redstone signal of the desired strength (1-15) directly into this input side. The signal strength must correspond to the frequency of the event you wish to detect.
- Verify Event Frequencies: Always consult a reliable Sculk Sensor frequency table. This step is non-negotiable for precise filtering, as it tells you which redstone signal level to provide for a specific event (e.g., placing a block, opening a chest, an explosion).
Mastering the Input: Lecterns, Comparators, and Direct Power
Providing the correct redstone signal strength is critical. Here are common and effective methods:
- Lecterns and Comparators: This is arguably the most flexible and recommended method for adjustable frequency selection.
- Place a lectern with a book inside. The number of pages in the book (up to 15) and the current page the book is open to will determine the redstone signal strength emitted by a comparator.
- Place a redstone comparator next to the lectern. The comparator will output a signal strength corresponding to the current page number.
- Direct this comparator’s output into the input side of your Calibrated Sculk Sensor. This allows you to easily change the target frequency by simply turning pages in the book.
- Redstone Block: For detecting the highest frequency (frequency 15, often associated with explosions), a redstone block placed directly adjacent to the input side of the Calibrated Sculk Sensor provides a full signal strength of 15. This is a simple, non-adjustable solution for maximum frequency detection.
- Redstone Dust and Repeaters: For other specific signal strengths (1-14), you can use a combination of power sources (like a redstone torch, lever, or button) and carefully calculated lengths of redstone dust or repeaters configured for delay to achieve the exact signal strength needed. This method can be more cumbersome for adjustment but is viable for fixed setups.
Strategic Deployment: Tips for Advanced Filtering
To truly harness the power of Calibrated Sculk Sensors, consider these strategic tips:
- Consult a Frequency Table Religiously: This cannot be overstated. Without knowing which event corresponds to which frequency, your filtering will be guesswork.
- Utilize Wool for Precision: Wool blocks are essential for “muffling” vibrations. Any vibration that travels through or originates from within a wool block will not be detected by a Sculk Sensor. Use wool to block unwanted ambient vibrations, isolate your detection area, or prevent false triggers from nearby activities.
- Boost Short Pulses: The redstone pulse emitted by a Sculk Sensor upon detection is typically very short. If you need to power other redstone components for a longer duration, use redstone repeaters to extend or strengthen the signal.
- Test in Creative Mode: Before committing precious resources in Survival, prototype and fine-tune your Calibrated Sculk Sensor setups in Creative mode. This allows for quick adjustments to frequency settings, placement, and vibration muffling.
- Combine Sensors for Complex Logic: For highly sophisticated systems, pair multiple Calibrated Sculk Sensors, each tuned to a different frequency. You can then use redstone logic gates (AND, OR, XOR) to create complex conditions (e.g., trigger only when two specific events occur in sequence, or when one event happens but not another).
Common Missteps to Avoid
Even with the right knowledge, certain mistakes can hinder your filtering efforts:
- Confusing Regular and Calibrated Sensors: A regular Sculk Sensor cannot be tuned to filter frequencies. Always ensure you are using a Calibrated Sculk Sensor for this purpose.
- Incorrect Redstone Input: Providing the wrong redstone signal level to the input side will result in the sensor detecting an unintended frequency or failing to detect anything at all. Double-check your signal strength.
- Ignoring Cooldown: While Calibrated Sensors have a faster 1-second cooldown, rapid, consecutive vibrations of your target frequency might still be missed if they occur within this brief window. Plan your systems accordingly.
- Unmuffled Vibrations: Failing to strategically place wool blocks can lead to unwanted vibrations reaching your sensor, potentially causing false triggers even with a correctly calibrated frequency.
- Misunderstanding Detection Range: While a Calibrated Sensor has a 16-block range, its effectiveness is still tied to the proximity of the vibration source. Placing it too far might reduce reliability or make it susceptible to unintended distant vibrations if not properly muffled.
By understanding these mechanics and adhering to best practices, you can transform your redstone builds from simple contraptions into intelligent, event-driven machines. The Calibrated Sculk Sensor is a powerful tool, and with precise frequency filtering, the possibilities for automation in Minecraft are virtually endless.
Tags:
YOU MAY ALSO LIKE...