How to Build Bases Using Command Blocks Only
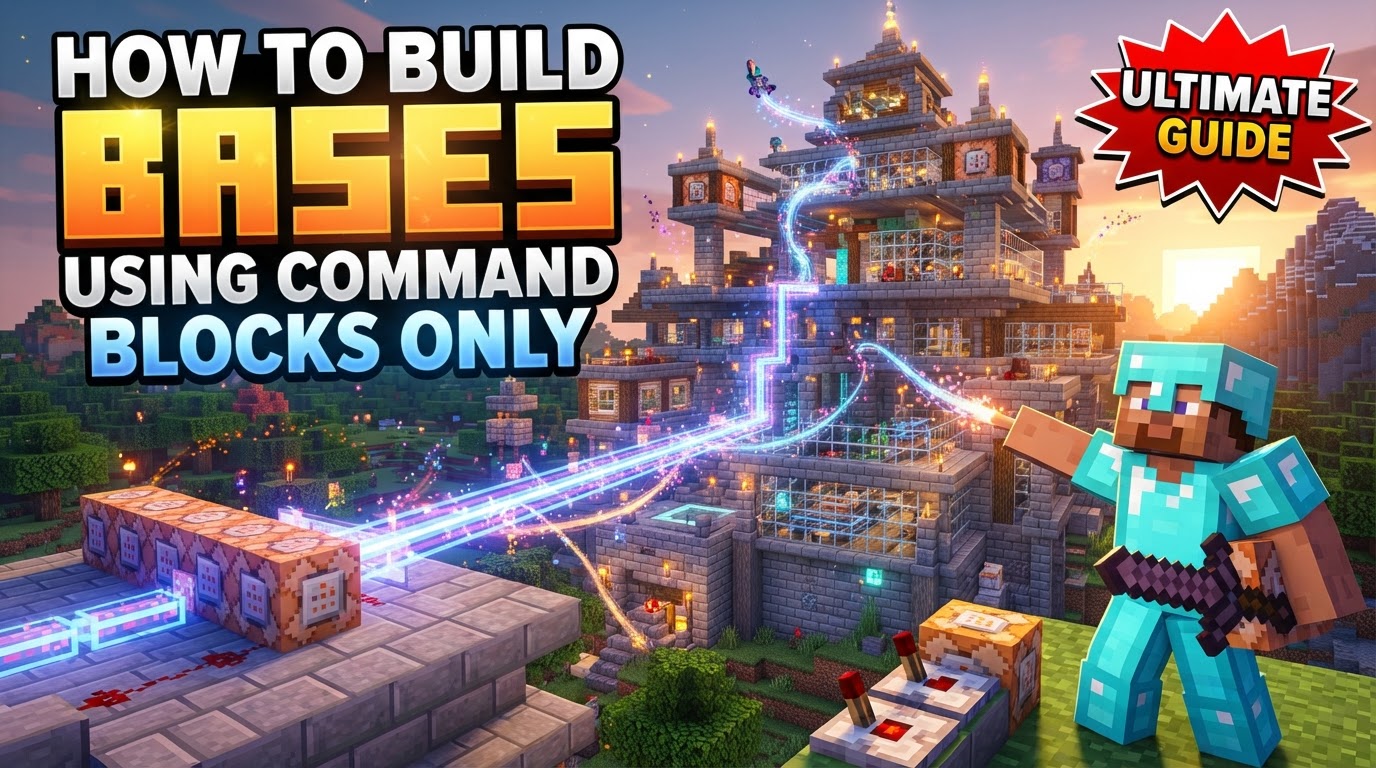
Forgetting a single character in a coordinate string can turn your grand architectural vision into a scattered pile of blocks, or worse, destroy hours of manual building. But mastering the art of command block construction in Minecraft offers unparalleled precision and efficiency, transforming base building from a manual chore into a symphony of automated commands. This guide will equip you with the knowledge to construct entire bases using nothing but the hidden power of command blocks and their specialized brethren.
The Automated Architect’s Toolkit: Core Components
Before embarking on your command-driven construction journey, understanding the fundamental tools at your disposal is paramount. These specialized blocks and commands are the bedrock of automated building.
- Command Blocks: These are the workhorses of any command-based project. They execute specified commands when activated. There are three types, each with a distinct behavior:
- Standard (Impulse) Command Block: Executes its command once per redstone pulse. Ideal for one-time actions or triggered events.
- Repeating Command Block: Executes its command every single game tick (20 times per second) when powered or set to “Always Active.” Perfect for continuous effects or rapid construction.
- Chain Command Block: Executes its command when triggered by a preceding command block in a sequence, provided it is also “Always Active” or powered. Essential for multi-step operations.
- Structure Blocks: These specialized blocks are invaluable for saving and loading pre-built structures. They allow you to define a bounding box around any area, assign it a unique name, and then reload that exact structure anywhere else in your world. This includes options for rotation, mirroring, and even animation during placement.
- Core Commands: The backbone of all command block construction are a few powerful commands:
/fill: This command is your primary tool for mass block placement. It fills a cuboid region between two specified coordinates with a chosen block. This is fundamental for creating foundations, walls, and large structural elements with incredible speed./clone: The/clonecommand copies an existing structure or area from one set of coordinates to another. While powerful,/structure loadwith Structure Blocks often offers more flexibility for base building./setblock: For precise placement or minor adjustments,/setblockplaces a single block at exact coordinates. It’s perfect for detailing, adding specific features, or correcting small errors./structure load: Used in conjunction with Structure Blocks, this command places a saved structure into the world. It provides advanced options for manipulating the loaded structure, such as rotation, mirroring, and even an animation effect during placement.
- Coordinates (F3 Debug Screen): Every command block operation hinges on accurate coordinate selection. The F3 debug screen is your best friend here, providing real-time X, Y, and Z coordinates. Precision is non-negotiable; even a single digit off can lead to disastrous results.
The Blueprint: Planning Your Automated Base
Just as a traditional architect sketches designs, a command block builder must meticulously plan. This initial phase is crucial for success and minimizing errors.
- Design and Layout: Start by envisioning your base. Determine its overall layout, dimensions, and the various sections it will comprise. Think about what elements can be built as large, simple shapes (like walls and floors) and what might require more complex, pre-saved structures (like intricate entryways or decorative elements).
- Coordinate Mapping: For every major section of your base (e.g., each wall, floor, or room), identify two opposite corner coordinates. Jot these down carefully. For complex elements you plan to save as structures, you’ll need to define their bounding box coordinates.
- Obtaining Command Blocks: In Creative mode, obtaining the necessary command blocks is straightforward. Use the command
/give @s command_blockto get a standard command block. You can also specifyrepeating_command_blockorchain_command_blockto get their respective variants.
Construction Techniques: Shaping Your World with Code
With your plan in hand and your tools ready, it’s time to build. This section details the practical application of commands for base construction.
Building Basic Elements with /fill
The /fill command is your primary workhorse for large-scale construction, allowing you to erect vast structures in moments.
- Foundation and Floors: To create the base layer of your structure, simply use
/fill. For example,/fill 100 64 100 120 64 120 stonewould create a 21x1x21 stone floor. - Walls: Constructing hollow walls requires a clever “nested fill” technique. First, use
/fillto create a solid cuboid where your walls should be. For instance,/fill 100 65 100 120 70 120 stonecreates a solid stone box. Immediately after, use a second/fillcommand with theairblock to hollow out the interior, making sure the inner coordinates are one block smaller on each side:/fill 101 65 101 119 69 119 air. This leaves a hollow structure with walls and a ceiling. - Roofs: Simple flat roofs can be easily created with
/fill, similar to floors. More complex, angled roofs might require creative solutions, such as multiple angled/fillcommands, or be better handled as a pre-saved structure.
Modular Building with Structure Blocks
For intricate designs or repetitive elements, Structure Blocks are incredibly powerful.
- Define and Save Structures:
- First, manually build a complex section of your base, or use basic commands to create it.
- Place a Structure Block near your creation. In its GUI, define the size and offset to create a bounding box that perfectly encapsulates your build.
- Give it a unique, descriptive name (e.g., “MainEntrance,” “WatchtowerA”).
- Switch the Structure Block’s mode to “Save” and click “Save” to store the structure.
- Load Saved Structures:
- To place a saved structure, put another Structure Block at the desired location.
- Enter the exact name of your saved structure.
- Adjust the “Offset” to fine-tune its placement relative to the Structure Block.
- Experiment with “Rotation” (0, 90, 180, 270 degrees) and “Mirroring” (none, front-back, left-right) to fit your design.
- Switch the mode to “Load” and click “Load” to instantly place the structure.
- Alternatively, you can use the command
/structure load [rotation] [mirror] [integrity] [seed] [mode] [ignore_entities]directly in a command block for more advanced control.
Refinement and Details with /setblock
Once the major structural elements are in place, /setblock becomes invaluable for adding the finishing touches.
- Use
/setblockfor individual blocks like doors, windows (e.g.,/setblock 105 65 100 oak_door), specific decorative elements, or to correct any single-block errors from larger/fillcommands. - This command provides surgical precision for detailing your base.
Activating Your Creation: Automation and Redstone Integration
Once your command blocks are configured, you need to bring them to life.
- Redstone Activation: For standard (impulse) command blocks, use redstone components like buttons, levers, or pressure plates to provide a pulse that triggers the command.
- “Always Active”: For repeating and chain command blocks, you can set them to “Always Active” in their GUI. This means they will continuously execute (repeating) or execute when triggered by a preceding block (chain) without needing an external redstone signal. This is crucial for sequential builds or continuous processes.
Mastering the Craft: Essential Tips for Command Block Architects
To truly excel in command block construction, keep these expert tips in mind:
- Coordinate Precision: Always, always double-check your coordinates using the F3 debug screen. A single incorrect digit can lead to structures appearing in the wrong place or unintentionally destroying existing builds.
- Modular Building: Break down large, complex bases into smaller, manageable sections. Each section can be saved as an individual structure using Structure Blocks, making the entire project easier to design, debug, and assemble.
- Backups are Essential: Before undertaking any extensive command block project, always back up your world. Mistakes with commands can be catastrophic, potentially making your world unplayable or irreversibly damaging your creations.
- Efficiency is Key: Commands like
/filland/cloneare vastly more efficient for large-scale construction than manual block placement. Leverage their power to save immense amounts of time. - Layered Construction: Utilize multiple
/fillcommands to create complex structures. Start with a solid outer shell, then use `air` to hollow out the interior, and follow up with additional `fill` commands for internal features like floors, ceilings, or decorative layers. - Design Principles: Even when building with commands, don’t neglect aesthetic design. Consider block palettes, varied wall dimensions, and detailed accents to create visually appealing and unique bases.
Pitfalls to Avoid: Common Mistakes in Command Block Construction
Even seasoned builders can fall prey to common errors. Be aware of these pitfalls:
- Incorrect Coordinates: This is by far the most frequent mistake. Misentering coordinates can cause structures to appear in unexpected places, overlap with other builds, or even delete precious creations.
- Creating Solid Structures: A classic beginner error is forgetting to use a second
/fillcommand withairafter creating a solid outer shell. This results in a base with no interior space, leaving you trapped inside a block. - No Backups: Not creating world backups is a gamble you don’t want to lose. An incorrectly configured command block can cause irreversible damage or loss of progress.
- Overly Ambitious “One-Command” Creations: While impressive, attempting to build an entire complex base with a single, massive command string is extremely difficult to debug and manage. Modular approaches are almost always better.
- Performance Issues: Overusing or improperly configuring repeating command blocks (especially those running complex commands every tick) can cause significant lag, making your world unplayable.
- Realm-Specific Glitches: Some users have reported issues with command blocks, particularly repeating ones, ceasing to function correctly or behaving inconsistently within Minecraft Realms. Be extra cautious when building on Realms.
Building bases with command blocks transforms Minecraft into a powerful architectural canvas. With careful planning, precise command usage, and an understanding of the tools at your disposal, you can create structures of immense scale and complexity with unprecedented speed and efficiency. Embrace the power of automation, and let your imagination be the only limit to your digital construction projects.
Tags:
YOU MAY ALSO LIKE...