

Understanding Why Crops Sometimes Refuse to Grow
Many a Minecraft farmer has stared in frustration at their stubbornly ungrowing crops, questioning if their virtual green thumb has failed them. The truth is, crops in Minecraft don’t grow arbitrarily; their development is governed by a precise set of environmental conditions and game mechanics. Understanding these underlying principles is key to transforming a struggling plot into a thriving agricultural enterprise.
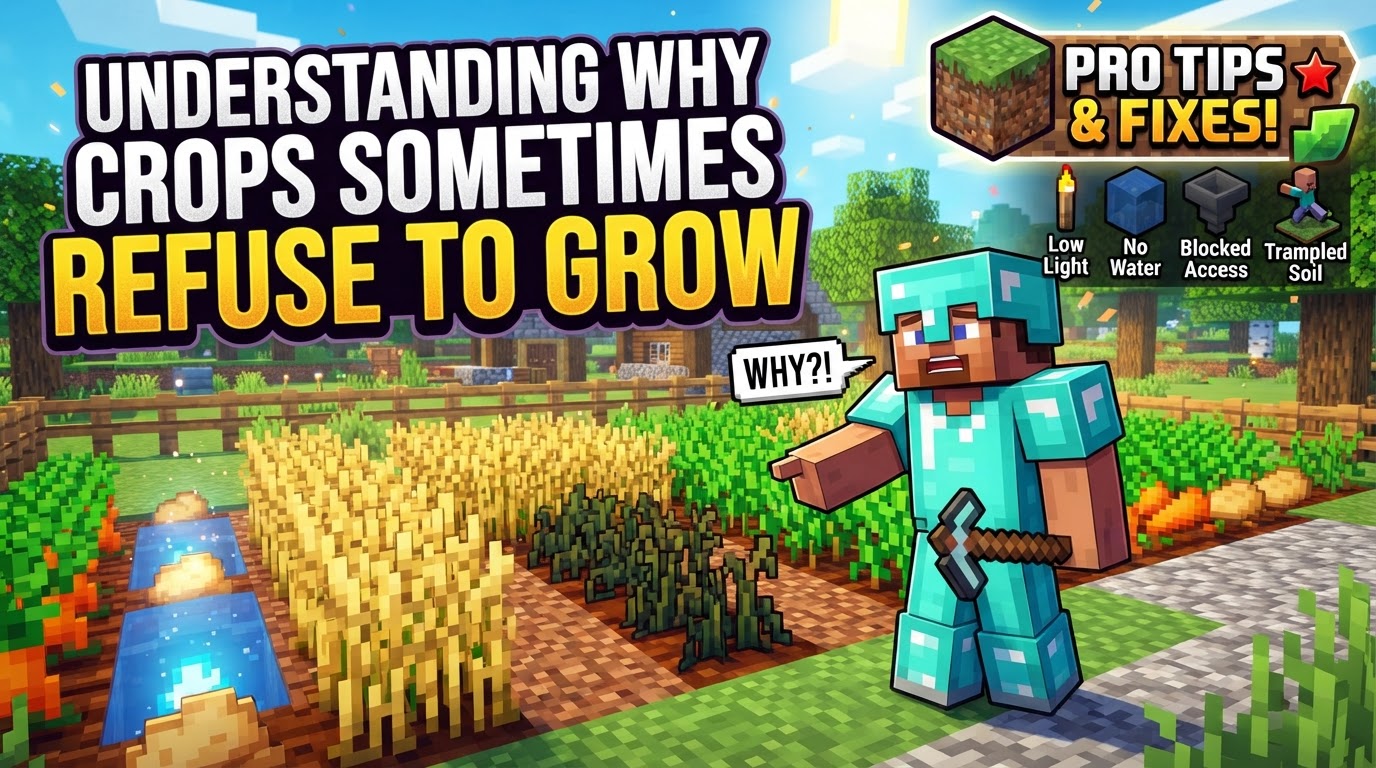
Far from being a random occurrence, a crop’s refusal to grow is almost always a clear signal that one or more of its fundamental needs are not being met. From the very ground they are planted in to the light that bathes them and even your own proximity, every detail plays a crucial role in the lifecycle of your pixelated produce. This guide will demystify the science behind Minecraft farming, ensuring your next harvest is a bountiful success.
The Essential Foundations: Core Growth Mechanics
Before you can cultivate a sprawling farm, it’s vital to grasp the core mechanics that dictate crop growth. These are the non-negotiable requirements for any plant to progress from a seed to a harvestable item.
Farmland: The Growing Medium
The first and most fundamental requirement for most crops is tilled farmland. This special block is created by right-clicking on a dirt or grass block with a hoe. Farmland provides the necessary texture and properties for seeds to be planted. However, it’s a fragile block: if left unplanted for too long, or if a player or most mobs jump on it, it will revert to plain dirt. This reversion destroys any planted crop, making proper protection and timely planting crucial.
Hydration: The Lifeblood of Agriculture
Once tilled, farmland needs to be hydrated to sustain crops and promote growth. Hydration is achieved by placing a water source block within a specific radius. A single water block can hydrate farmland up to four blocks away horizontally, or even vertically (though horizontal is more common for farm designs). An unhydrated farm plot will eventually dry out and revert to dirt, just like trampled farmland. A common and efficient design leverages this mechanic: a single water block placed in the center of a 9×9 square of farmland can hydrate the entire plot, maximizing space and efficiency.
Light: Powering Photosynthesis
Just like in the real world, crops in Minecraft require light to grow. Specifically, they need a light level of 9 or higher. Outdoors, this condition is naturally met during the day. However, for continuous growth through the night, or for any indoor or underground farming operations, artificial light sources are indispensable. Torches, glowstone, sea lanterns, or shroomlights are common choices, providing sufficient illumination to keep your crops growing around the clock. Without adequate light, crops will simply stop growing, regardless of other conditions.
Player Proximity: The Unseen Catalyst
Perhaps one of the most overlooked factors in crop growth is player proximity. Crops will only update their growth stages and progress if the chunk they are located in is loaded. Chunks are loaded when a player is nearby. If you build a massive farm and then venture off to explore distant lands or mine deep underground, your crops will effectively pause their growth until you return to the vicinity. This means even a perfectly designed and lit farm will seem to “refuse to grow” if the farmer is too far away.
Growth Stages: A Patient Process
All crops progress through various growth stages, from the initial planted seed to a fully mature, harvestable plant. This process is gradual, with each stage requiring a certain amount of “growth ticks” to advance. The speed at which these ticks occur is influenced by all the factors mentioned above. Patience is a virtue in Minecraft farming, but understanding how to optimize these ticks can significantly speed up your harvests.
Alternating Crops: An Unexpected Boost
A lesser-known but highly effective mechanic for accelerating growth is the practice of alternating crop types. Planting different crops in adjacent rows or patterns can significantly boost their individual growth speeds. This is a powerful technique for maximizing yield in a given timeframe and is often incorporated into advanced farm designs.
Cultivating Success: A Step-by-Step Farm Construction Guide
With an understanding of the core mechanics, building an efficient farm becomes a methodical process. Follow these steps to ensure your crops have everything they need to thrive.
- Prepare the Ground: Begin by using a hoe on grass or dirt blocks to create your desired layout of tilled farmland. Plan your farm’s dimensions carefully, considering the reach of water sources.
- Strategic Hydration: Place water source blocks to ensure every piece of farmland is within a four-block radius horizontally or vertically. For a compact 9×9 farm, place a single water block in the very center. Consider covering water sources with slabs or trapdoors to prevent accidental falls or, in cold biomes, to stop them from freezing.
- Illuminating Your Efforts: Ensure your farm area has a light level of 9 or higher. For outdoor farms, natural daylight suffices, but for nighttime growth or indoor setups, strategically place torches, glowstone, or other light sources to evenly illuminate the entire planting area.
- Sowing the Seeds: Once your farmland is tilled and hydrated, right-click on it with your chosen seeds or plantable items (e.g., wheat seeds, carrots, potatoes). This will place the initial growth stage of the crop.
- Staying Present: Remember that your crops will only grow when the chunks they occupy are loaded. Design your base or activities around your farm’s location, or ensure you periodically visit it to allow growth to progress.
Accelerating Abundance: Advanced Growth Strategies
For those looking to push their farming efficiency to the next level, several techniques can significantly speed up crop growth.
Bone Meal: Instant Gratification
The quickest way to advance a crop’s growth stage is by applying bone meal. Right-clicking a planted crop with bone meal will instantly progress it through one or more growth stages, sometimes even to full maturity. Bone meal is obtained by crafting bones (dropped by skeletons) or from a composter.
Smart Farm Design: Alternating Crops
As mentioned earlier, incorporating alternating crop types into your farm design can provide a passive growth boost. Experiment with checkerboard patterns or alternating rows of different crops to see a noticeable improvement in overall growth speed.
Befriending Bees: Nature’s Boosters
An often-underestimated helper in the farming world is the humble bee. When bees fly over your farm, they can drop pollen onto crops, which provides a growth boost similar to a small application of bone meal. Integrating beehives or bee nests near your farm can passively enhance your yields.
Modded Enhancements (Optional)
For players using modded versions of Minecraft, additional tools exist to accelerate growth. “Fertilized dirt” from certain mods can triple growth speed and often removes the need for water blocks. Other mods offer “Growth Accelerators” that can be placed beneath farmland to increase growth ticks, providing a constant boost to your crops.
Avoiding the Pitfalls: Common Farming Mistakes
Many apparent crop failures stem from easily avoidable mistakes. Being aware of these common pitfalls can save you a lot of frustration.
Dehydration Disaster
One of the most frequent reasons for crop stagnation is a lack of proper hydration. Forgetting to place water sources, or placing them too far away from some farmland blocks, will cause those blocks to dry out and revert, halting growth. Always double-check your water coverage.
Shadowy Stagnation
Crops simply will not grow in low light conditions. If your farm is underground, indoors, or if you’re observing it at night without artificial light, growth will cease. Ensure a consistent light level of 9 or higher across your entire farm.
The Absent Farmer
As discussed, if you are too far away from your farm, the chunks containing your crops will unload, and growth will pause. This isn’t a design flaw but a game mechanic. Plan your activities accordingly, or build smaller, more localized farms if you tend to roam far.
Trampled Treasures
Farmland is susceptible to being trampled. If players or mobs jump on tilled farmland, it reverts to dirt, destroying any planted crop. Fencing off your farm is a simple yet effective way to prevent this common mishap, keeping both yourself and wandering creatures from ruining your hard work.
Monoculture Misstep
While not a direct growth blocker, planting only one type of crop across a vast area (monoculture) misses out on the passive growth boost offered by alternating crop types. Diversifying your farm layout can lead to significantly faster overall growth.
Biome Blunders (Less Common for Basic Crops)
While less impactful for basic crops like wheat, carrots, and potatoes, certain farming guides suggest that building farms in biomes not conducive to specific plants can be a mistake. For most standard crops, however, as long as the core conditions are met, the biome itself has minimal direct impact on growth speed.
By understanding and addressing these core mechanics and common mistakes, you can transform your Minecraft farming experience from a source of frustration into a rewarding and productive endeavor. Happy farming!
Tags:
YOU MAY ALSO LIKE...


