

A Guide to Creating Self-Repairing Base Structures
A common mistake many Minecraft players make when building defenses is assuming a single layer of obsidian is impenetrable. While incredibly strong, even obsidian walls can be breached over time by persistent attackers or powerful explosions. What if your defenses could rebuild themselves, block by block, as fast as they were destroyed? This seemingly magical feat is entirely possible in Minecraft, transforming your static base into a dynamic, self-repairing fortress capable of withstanding prolonged assaults.
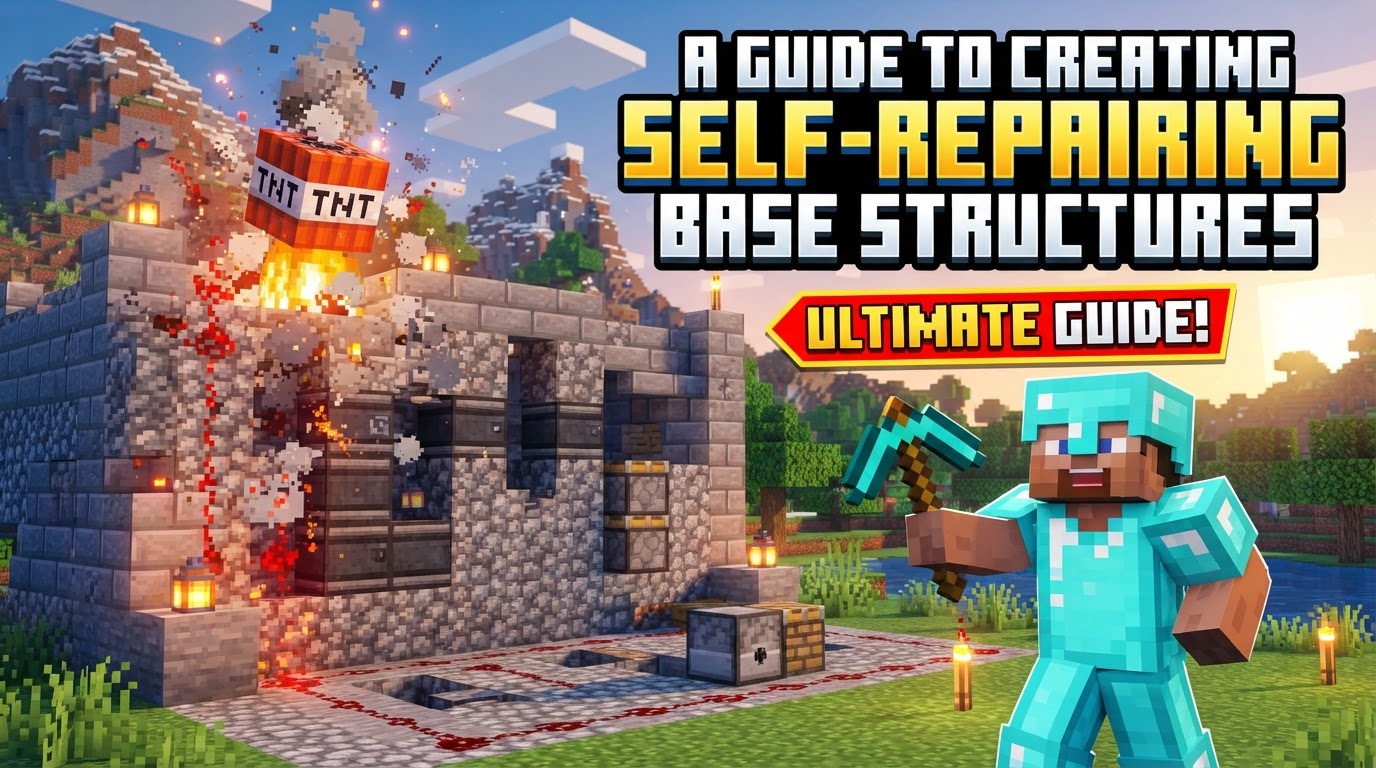
Creating self-repairing structures in Minecraft is a testament to the game’s intricate mechanics and the ingenuity of its player base. At its core, this advanced building technique leverages the interaction of lava and water to generate new blocks, which are then systematically pushed into place by pistons, all automated by sophisticated Redstone circuitry. The result is a defensive perimeter that can automatically mend itself, providing an unparalleled layer of security against environmental hazards, hostile mobs, and even other players.
Understanding the Core Mechanics of Regeneration
The foundation of any self-repairing structure lies in a few key Minecraft mechanics working in concert:
- Cobblestone Generation: The most fundamental principle involves the interaction of flowing lava and flowing water. When a source block of lava flows onto a block where water is also flowing, it typically generates a new block of cobblestone. If a lava source flows into a water source, it creates obsidian. Conversely, if water flows into a lava source, it creates stone. For self-repairing walls, the goal is usually cobblestone, which is achieved by having lava flow into a space already occupied by flowing water.
- Pistons: These versatile Redstone components are the workhorses of self-repair. Regular pistons are used to push the newly generated blocks into their designated positions, forming or repairing the wall. They can push up to 12 blocks in a straight line. Sticky pistons, while able to pull blocks, are generally not used for continuous block generation and pushing in this context.
- Redstone Circuits: The brain of the operation, Redstone dust acts as wiring, transmitting power. Redstone repeaters manage signal strength over distance and introduce crucial timing delays. Comparators can be used for more complex logic, but for basic repair, repeaters are more common. These components collectively automate the entire generation and pushing process.
- Observers: These blocks are vital for truly automated, reactive repair. An observer detects any block change directly in front of its “face” and emits a short Redstone pulse from its “output” side. In a self-repairing wall, observers are strategically placed to monitor the wall blocks. When a block is destroyed, the observer detects this change and triggers the Redstone circuit, initiating the repair sequence by activating the pistons and generating a replacement block.
- Structure Blocks (Advanced Application): For more ambitious and complex repair systems, structure blocks offer a powerful alternative or supplement. These specialized blocks can save and load entire sections of structures. With a “decay” integrity setting, a continuously powered structure block can progressively rebuild damaged sections of a structure over time, effectively “healing” large architectural components rather than just individual blocks. This method offers greater flexibility for non-linear repairs and intricate designs.
Constructing a Self-Repairing Wall: A Step-by-Step Guide
Building your first self-repairing wall requires careful planning and precise execution of these mechanics:
1. Prepare the Foundation and Trench
Begin by digging a trench where your self-repairing wall will stand. This trench typically needs to be at least 2-3 blocks deep and wide enough to accommodate your pistons and Redstone. The depth allows for the Redstone mechanisms to be hidden and protected, while the width provides space for the water and lava flows.
2. Place Pistons Strategically
Along one side of your trench, line up regular pistons. These pistons must face the direction in which the new wall blocks will be pushed. Ensure they are correctly oriented; a misaligned piston will push blocks in the wrong direction, rendering the system ineffective. For a multi-block thick wall, you might need multiple rows of pistons.
3. Establish Water and Lava Flow
This is a critical step for block generation. Place water source blocks on one side of where the new blocks will generate, creating a flowing current. Then, on the opposite side, place lava source blocks. The key is to ensure the lava flows into the space where the water is already flowing. This interaction will consistently produce cobblestone. Experiment with a small setup first to confirm you are generating the desired block type (cobblestone, not obsidian or stone).
4. Implement Redstone Automation
Connecting your pistons to a robust Redstone circuit is what brings the wall to life. For automatic repair, position observers directly adjacent to the wall blocks you want to monitor. When a monitored block is destroyed, the observer will emit a Redstone pulse. This pulse needs to be routed via Redstone dust and repeaters to activate the pistons and potentially a mechanism that ensures new lava/water interaction if your setup isn’t continuous. For a simpler, continuous generation system, a Redstone clock can be used to repeatedly activate the pistons, constantly pushing new blocks into place, whether the wall is damaged or not. Repeaters are essential for maintaining Redstone signal strength over longer distances and for timing the sequence of piston activations.
5. Define Wall Height
To prevent the generated cobblestone from building infinitely upwards, place non-flammable blocks like furnaces, stone, or obsidian above the desired height of your wall. These blocks will stop the upward flow of generated cobblestone, ensuring your wall maintains a consistent height.
6. Conceal and Protect Redstone
Once your system is functional, cover all Redstone mechanisms with sturdy blocks. This not only improves the aesthetics of your base but, more importantly, protects the delicate Redstone from damage by explosions, water, or other players. An exposed Redstone circuit is a vulnerable point.
Advanced Considerations and Best Practices
- Blast Resistance for Mechanisms: For critical defense structures, consider building the Redstone mechanisms themselves out of blast-resistant materials like obsidian, reinforced deepslate, or even netherite blocks. This prevents TNT or creeper explosions from easily disabling your repair system.
- Adjusting Repair Speed: The rate at which your wall repairs can be fine-tuned. If using a Redstone clock, adjusting the timing of the clock will speed up or slow down block generation. For observer-based systems, increasing the number of generators or optimizing Redstone delays can improve response time.
- Multiple Defensive Layers: For maximum security, build multiple layers of self-repairing walls. An outer wall might be continuously generating, while an inner wall is observer-triggered, creating a formidable multi-stage defense.
- Optimal Concealment: Beyond mere protection, concealing your Redstone mechanisms makes it harder for other players to identify and disable your defenses. Integrate them seamlessly into the terrain or within thicker walls.
- Leveraging Structure Blocks for Complex Repairs: For intricate base designs that go beyond simple walls, structure blocks are invaluable. Set up a structure block to save a section of your base. Then, place another structure block in “LOAD” mode, pointed at the saved structure. By connecting this load block to a continuous Redstone pulse and setting a “decay” integrity value (e.g., 0.1 for slow repair), it will gradually rebuild the structure piece by piece. This is excellent for repairing large, decorative, or multi-faceted sections of your base that a simple piston-cobblestone generator cannot handle.
Common Pitfalls to Avoid
Even experienced builders can make mistakes when venturing into self-repairing structures. Be mindful of these common issues:
- Incorrect Water/Lava Flow: The most frequent error. Ensure lava flows into an area already occupied by flowing water to reliably produce cobblestone. If water flows into lava, you get stone; if a lava source meets a water source, you get obsidian.
- Insufficient Redstone Signal: Redstone dust loses power over distance. Long lines without repeaters will result in inactive pistons. Always use repeaters every 15 blocks, or more frequently if precise timing is needed.
- Misaligned Piston Direction: Pistons must face the exact direction you want the blocks to be pushed. A single misaligned piston can jam the entire system.
- Ignoring Block Updates: Some Redstone components, particularly observers, rely on block updates. Ensure your setup creates the necessary updates for continuous generation and pushing.
- Lack of Automatic Triggering: Without observers or a continuously active Redstone clock, your wall won’t automatically repair. It will require manual activation, defeating the purpose of a “self-repairing” system.
- Unprotected Mechanisms: Leaving your Redstone and piston setups exposed is an invitation for disaster. Explosions, water, or even a stray pickaxe from another player can disable your entire defense. Always encase your vital components in sturdy blocks.
Mastering self-repairing base structures in Minecraft elevates your defensive capabilities to an entirely new level. Whether you’re safeguarding against creeper blasts, protecting your valuables from other players, or simply creating an impressive technical build, these dynamic fortresses offer unparalleled resilience and a continuous layer of security. With a solid understanding of Redstone, pistons, and the elemental interaction of lava and water, you can transform your base into an unbreakable stronghold that stands the test of time and destruction.
Tags:
YOU MAY ALSO LIKE...


