Best controller layouts for Minecraft PvP
Unlocking peak Minecraft PvP performance on a controller often hinges on one critical factor: a meticulously customized layout. While default settings might suffice for casual play, competitive encounters demand quick reflexes, precise movements, and immediate access to crucial actions. Optimizing your controller configuration can dramatically reduce response times, improve situational awareness, and ultimately give you a significant edge in combat.
Elevated Camera and Control Sensitivity
One of the most impactful changes a console player can make is adjusting their camera and control sensitivity. The research suggests setting your camera sensitivity to a higher range, typically between 60-80, or even pushing it to 90-100 for those seeking maximum agility. Concurrently, the “controller cursor sensitivity” should also be maximized. This isn’t just about moving your view faster; it’s about gaining an unparalleled ability to react. In the heat of battle, a higher sensitivity allows for lightning-fast turns, essential for tracking rapidly moving opponents, executing quick block clutches under pressure, and performing other rapid maneuvers like intricate parkour or evasive actions. The ability to snap your view around instantly means you can respond to threats from any direction without delay, providing a massive upper hand in combat scenarios and significantly improving building quickness during frantic moments. The primary drawback, however, is the initial learning curve. High sensitivity can make precise aiming more challenging at first, requiring dedicated practice to develop the necessary muscle memory and control. Despite this, the long-term benefits of smoother and faster gameplay make it a non-negotiable adjustment for serious PvP.
Optimized Field of View (FOV) Adjustments
Your Field of View (FOV) dictates how much of the game world you can see on your screen at any given moment, and in PvP, more information is always better. Increasing your FOV setting is widely recommended, with many players finding an optimal range around 90. Some prefer a slightly more conservative 80-85, while others experiment between 70-90 for “Altered On” and 80-100 for “Altered Off” settings. The primary advantage of a higher FOV is enhanced situational awareness. You can spot flanking enemies, observe environmental cues, and track multiple targets simultaneously, which is crucial for making informed decisions during combat. This expanded perspective is a key asset for pro players, directly influencing their combat perspective and overall strategic play. However, there’s a trade-off: a higher FOV makes distant targets appear smaller on your screen, potentially making them harder to hit, especially when combined with high sensitivity. Finding the perfect balance between seeing more and maintaining aiming accuracy is key, and an excessively high FOV can also be hard on the eyes for some players. Experimentation within the recommended ranges is essential to find your personal sweet spot.
Disabling Auto-Jump and Camera Shake
While seemingly minor, disabling certain default features can significantly improve your control and focus during PvP. The first is Auto-Jump. This feature, which automatically makes your character jump when approaching a block, is almost universally recommended to be turned off. Its primary disadvantage in PvP is the loss of precise movement control. Auto-jumping can lead to unintended jumps into dangerous situations, such as falling into the void during bridge fights, being caught by knockback traps, or simply making predictable movements that an opponent can exploit. By disabling it, you gain complete command over your character’s vertical movement, allowing for deliberate and strategic jumps that are crucial for parkour, dodging, and maintaining optimal positioning. There are no explicitly mentioned cons to turning this off; it is a straightforward improvement to player agency. Similarly, Camera Shake should also be disabled. This visual effect, often triggered by explosions or taking damage, can be highly distracting and disorienting during intense combat. Turning it off ensures that your camera remains stable, allowing for more consistent aiming, better focus on your opponent, and an unimpeded view of the battleground. Eliminating these visual distractions contributes directly to maintaining composure and precision when it matters most.
Strategic Jump and Sprint Remapping
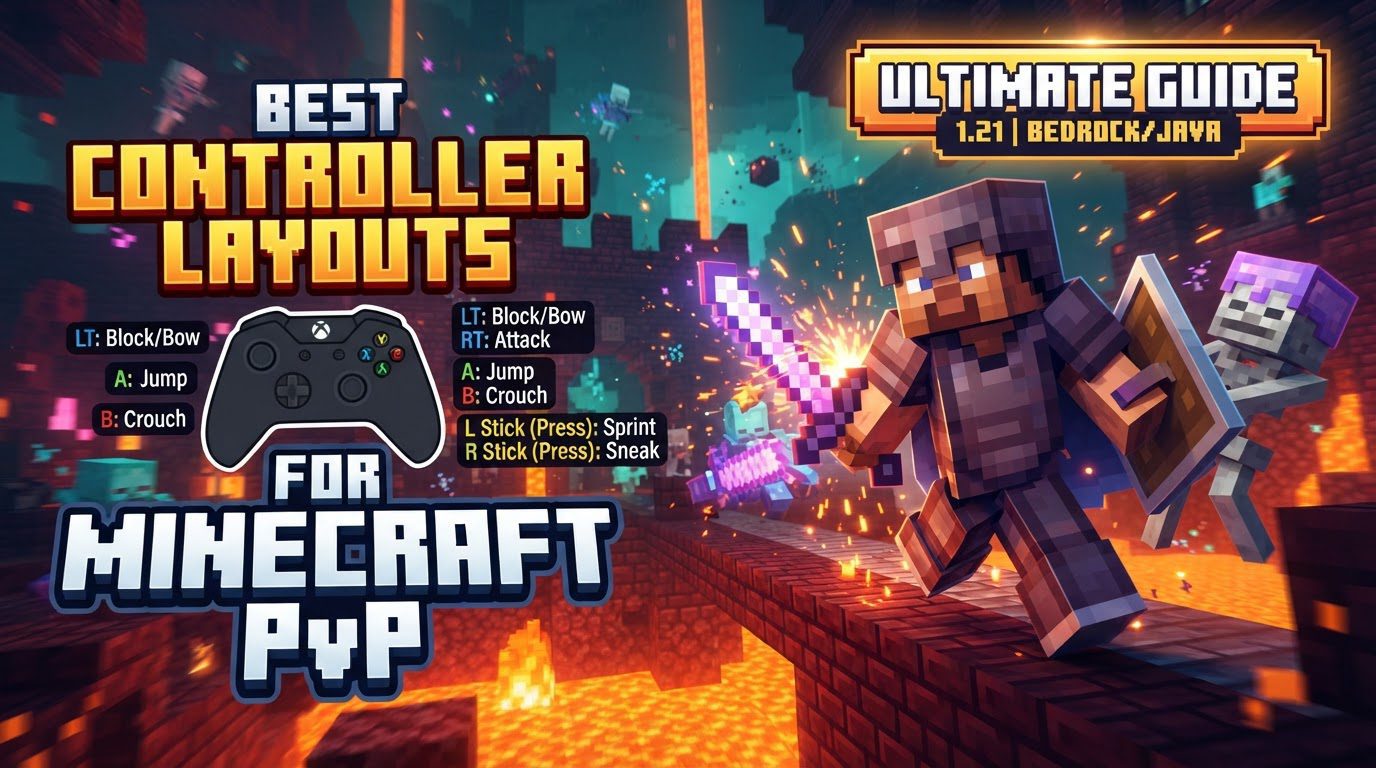
One of the biggest limitations of default controller layouts in competitive Minecraft is the placement of critical actions like jumping and sprinting on face buttons (e.g., ‘A’ on Xbox, ‘X’ on PlayStation). This often forces players to momentarily lift a thumb off the right stick, interrupting their camera control. To counteract this, remapping Jump and Sprint to more accessible buttons is a common and highly effective strategy, especially for players who don’t use a “claw” grip. For instance, on a Nintendo Switch, remapping Jump to ‘R’ and Sprint to ‘L’ allows for simultaneous movement, jumping, and camera control. On other controllers, mapping Jump to R2/RT (if comfortable using your middle finger for activation) and Sprint to L3/Left Stick Click are popular alternatives. The core benefit of these remappings is the ability to perform multiple actions concurrently: you can jump, sprint, attack, and control your camera all at once. This is vital for complex parkour routes, effectively dodging attacks, maintaining momentum during chases, and executing intricate combat combos. It also eases the process of “jump resetting” in combat and can reduce finger strain compared to constantly double-tapping a stick to sprint. The main challenge is the significant adjustment period required to build new muscle memory, which can initially feel uncomfortable depending on hand size and grip style. However, the long-term gains in fluidity and control are invaluable for high-level play. For those who use a claw grip, the default jump button can remain viable as the thumb can still access the right stick.
Responsive Attack and Place Block Binds
The core actions of Minecraft PvP-attacking and placing blocks-must be instantly accessible and highly responsive. While often defaults, ensuring these are on intuitive and efficient buttons is paramount. The commonly accepted and most effective bindings are assigning Attack/Destroy to R2/RT and Place Block/Use Item to L2/LT. These triggers are ergonomically designed for rapid, repeated presses, making them ideal for the fast-paced nature of Minecraft combat. Placing these actions on the triggers facilitates faster attacking, which is crucial for maintaining pressure on opponents and landing consistent hits. Similarly, quick block placement is vital for defensive maneuvers like clutching to avoid falls, building temporary shields, or creating strategic high ground. These bindings are so intuitive that they are often the default in many controller schemes, meaning most players already have some familiarity. There are no significant cons universally cited for these bindings, as they are largely considered optimal for their respective functions, directly contributing to quicker execution and better combat flow.
Efficient Hotbar Cycling for Rapid Item Access
In Minecraft PvP, the ability to rapidly switch between your sword, utility items like Ender Pearls or Potions, and building blocks can mean the difference between victory and defeat. Optimizing your Hotbar Cycling / Item Selection is therefore a critical component of a competitive layout. While the default cycling methods can often be slow and cumbersome, remapping these actions can drastically improve your reaction time. For instance, on a Nintendo Switch, mapping “Cycle Item Left” and “Cycle Item Right” to ‘Y’ and ‘A’ respectively allows for quick thumb access. On PlayStation controllers, assigning “Cycle Left” to L1 and “Cycle Right” to R1 is a popular choice, keeping hotbar navigation on the shoulder buttons. Another general strategy is to relegate less immediate actions to the D-pad, thereby freeing up face buttons or more accessible shoulder buttons for hotbar navigation or other critical combat actions. The primary benefit of these remappings is the enablement of rapid, seamless switching between items during intense PvP scenarios. This allows you to quickly pull out a sword for an attack, switch to a pearl for an escape, or grab blocks for a clutch, all without fumbling. While the default cycling might be familiar, it is often not efficient enough for the demands of high-stakes combat.
Sprint Toggle Preference
The choice between “Hold to Sprint” and “Toggle Sprint” can subtly impact your gameplay, especially in situations where precision is key. Setting sprint to “Sprint by Toggle” offers a significant advantage in control. With toggle sprint, you press the sprint button once to activate it and again to deactivate it, rather than needing to continuously hold it down. The primary benefit of this setting is that it prevents accidental sprinting. This is particularly advantageous when you are building, allowing for more precise block placement without inadvertently sprinting off an edge or into an undesired position. It provides a greater degree of control over your character’s speed and momentum, which is crucial for intricate building during combat or navigating tight spaces. There are no noted cons for using sprint toggle; it generally offers a more controlled and less fatiguing sprinting experience, freeing up your finger to focus on other actions without needing to constantly hold down a button.
Finding Your Optimal Layout: A Personal Journey
Ultimately, the “best” controller layout for Minecraft PvP is a deeply personal choice. While these recommendations provide a strong foundation, true mastery comes from experimentation. Each player’s hand size, grip style (e.g., standard, claw), and individual preferences will influence what feels most comfortable and efficient. It’s crucial to spend time in practice, adjusting settings incrementally and testing them in both casual and competitive scenarios. Some players also note that controller hardware can play a role; for example, PlayStation controllers are sometimes observed to have lower dead zones compared to Xbox or Switch controllers, potentially offering a slight edge in aiming precision. The journey to a perfect layout is one of continuous refinement, ensuring that your controller becomes a seamless extension of your will in the blocky battlegrounds of Minecraft.
Tags:
YOU MAY ALSO LIKE...