Create Big Cannons Cast Iron
Building a truly powerful cannon in Minecraft’s Create Big Cannons mod hinges on one superior material: cast iron. While regular iron might suffice for basic contraptions, the demands of high-velocity projectiles and substantial explosive forces necessitate something far more robust. Cast iron isn’t merely a cosmetic upgrade; it’s the fundamental element that unlocks the full destructive potential of your artillery, allowing for greater stability, more potent charges, and ultimately, a more reliable and devastating weapon.
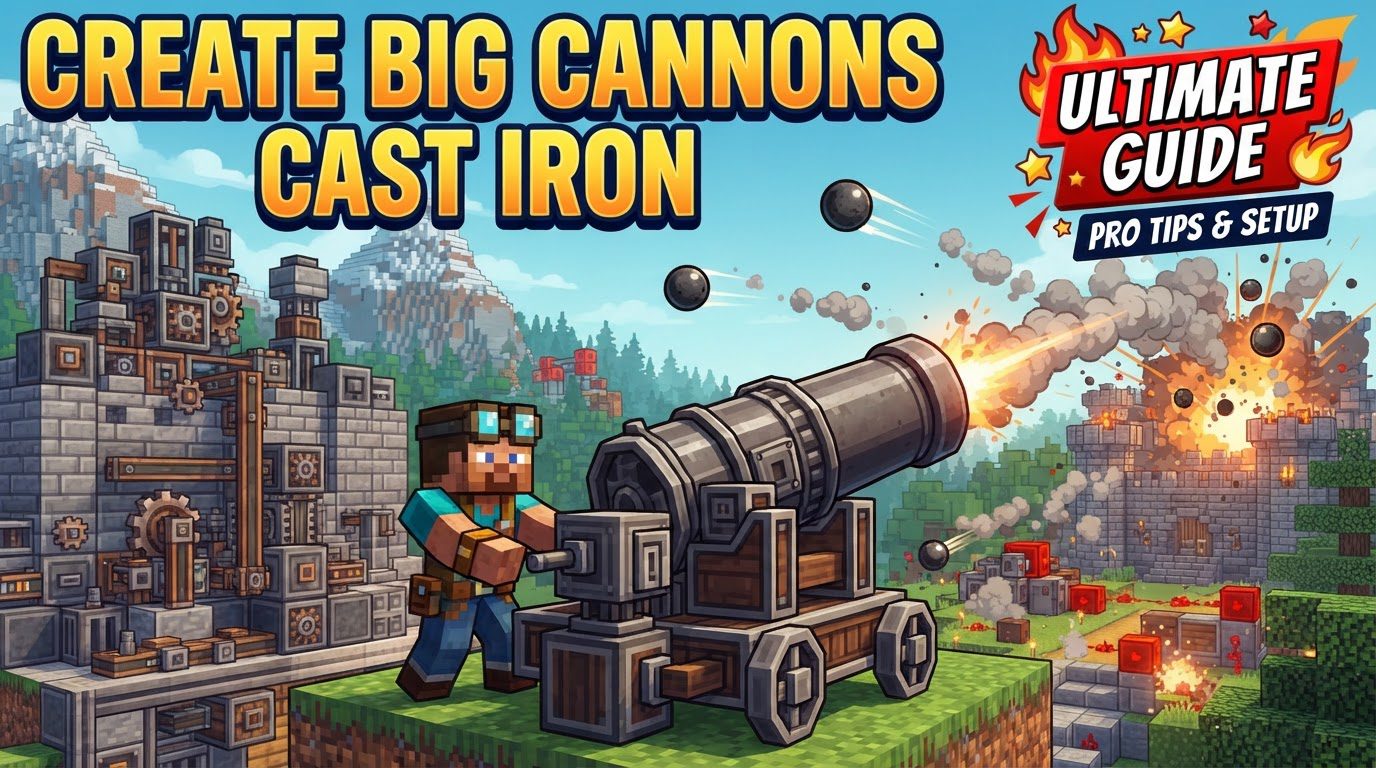
The Unyielding Core: Why Cast Iron Reigns Supreme
In the intricate world of “Create Big Cannons,” the material you choose for your cannon is paramount, and cast iron stands head and shoulders above its counterparts. It represents a significant upgrade in material tier compared to standard iron, offering vastly increased strength and durability. This enhanced resilience directly translates into the cannon’s operational capabilities.
- Superior Strength and Durability: Cast iron cannons are inherently stronger, capable of withstanding the immense pressures generated by firing. This means fewer accidental explosions and a longer lifespan for your prized artillery piece.
- Increased Powder Charge Capacity: A critical advantage of cast iron is its ability to handle more powerful payloads. Unlike weaker materials, cast iron cannons can reliably withstand up to two powder charges per shot. This significantly boosts the projectile’s velocity and range, transforming your cannon from a simple launcher into a true siege weapon.
- Optimal Muzzle Length Ratio: To fully leverage these increased charges, cast iron cannons benefit from an optimal muzzle length to powder charge ratio of 1:1. This means for every powder charge you intend to use, you should ideally have one muzzle block. This ensures efficient energy transfer and maximizes projectile speed without risking structural integrity.
- Multiblock Structure and Kinetic Integration: Cannons in this mod are complex multiblock structures, and cast iron provides the robust foundation for these intricate designs. Furthermore, “Create Big Cannons” integrates seamlessly with the “Create” mod’s kinetic system, which is crucial for everything from loading and aiming to the very process of crafting the cast iron components themselves.
- Breach Loading Capability: Convenience meets power with cast iron. These cannons can be equipped with a breach, allowing for convenient loading of powder and projectiles from the rear. This eliminates the tedious process of pushing ammunition through the muzzle, streamlining your firing operations.
- Silk Touch Compatibility: Should you need to relocate or adjust your cannon, cast iron blocks offer a forgiving mechanic. They can be retrieved with a Silk Touch pickaxe without being destroyed into fragments, preserving your valuable work.
Forging the Foundation: Crafting Cast Iron Ingots
Before you can construct your formidable artillery, you must first master the creation of cast iron ingots. This process combines heat, pressure, and specific ingredients using the “Create” mod’s kinetic system.
- Gather Your Materials: You will need standard iron ingots and any type of vanilla coal or charcoal. The carbon content from the coal/charcoal is essential for the transformation.
- Set Up the Basin: Place a Basin on the ground.
- Apply Heat: Position a Blaze Burner directly underneath the Basin. It is absolutely crucial that this Blaze Burner is heated to a “hot” temperature. Regular or lukewarm heat will not suffice.
- Introduce Pressure: Directly above the Basin, place a Mechanical Press.
- Combine and Transform: Place your iron ingots and coal/charcoal into the Basin. The intense heat, pressure, and carbon source will initiate the transformation, yielding shiny new cast iron ingots.
The Art of Precision: Casting Cannon Parts
With your cast iron ingots in hand, the next phase involves shaping them into the specific components required for your cannon. This is where the true casting process begins, utilizing molten metal and molds.
- Melt the Ingots: Place your cast iron ingots (or existing molten cast iron) into a heated Basin. Ensure it’s sufficiently hot to melt the metal.
- Transfer Molten Metal: Once melted, transfer the molten cast iron into a fluid tank for easier handling.
- Pour into Molds: The molten metal is then poured into sand molds, which are pre-shaped to define the specific cannon part. While it’s possible to mold layer-by-layer, a more efficient method is to stack molds to create larger billets at once, which can then be further processed.
- Cooling and Solidification: Allow the molten metal to cool and solidify within the molds. To precisely monitor its progress, connect a Redstone Comparator to Nixie Tubes near your molding setup. The Nixie Tubes will display “51” when cooling is complete.
- Reveal the Blank: Once cooled, carefully remove the surrounding sand from the mold to reveal your cast iron cannon blank.
From Blank to Barrel: Hollowing Your Cannon
A solid cast iron blank, while impressive, is not yet a functional cannon part. It needs to be hollowed to create the barrel or other internal chambers. This critical step requires specialized equipment.
- The Cannon Drill: After casting a blank, you must use a special tool known as a Cannon Drill. This machine is designed specifically to bore a precise hole through the solid cast iron.
- Transformation: Operating the Cannon Drill on your cast blank will transform it into a functional, hollow component – be it a barrel segment, a muzzle, or a breach, ready for assembly. An un-drilled blank is essentially useless for cannon construction.
Engineering Your Artillery: Assembling the Cannon
With all your cast iron components drilled and ready, it’s time to bring your vision to life by assembling the formidable cannon. This multiblock structure requires a specific assembly order.
- Foundation: Begin by placing a Cannon Rotation Controller for horizontal aiming.
- The Mount: Directly connected to the controller, place a Cannon Mount. This serves as the primary pivot point and houses the firing mechanism.
- The End Piece: Attach the End of the Cast Iron Cannon to the mount. This forms the rear section of your barrel.
- Barrel Segments: Extend the cannon with Cast Iron Barrel segments. Remember the 1:1 muzzle-to-charge ratio if you plan to maximize powder charges.
- The Muzzle: Conclude the barrel with Muzzle sections. The number of muzzle sections should ideally match the number of powder charges for optimal performance.
- Aiming Mechanisms: To aim, apply rotational force to the Cannon Mount for vertical aiming. For horizontal aiming, apply rotational force to the Cannon Rotation Controller.
- Initial Activation: Once assembled, the cannon must be “activated” by right-clicking a lever located on the “hammer” side of the cannon mount. This finalizes the multiblock structure, preparing it for loading and firing. The Cannon Welder tool can assist in combining components effectively during assembly.
Loading, Aiming, Firing: Unleashing Your Power
With your cast iron behemoth assembled, the moment of truth approaches. Loading and firing require precision and adherence to specific steps to ensure a successful, rather than explosive, outcome.
- Open the Breach (if applicable): If your cannon includes a breach, apply rotational force to open it for easy access.
- Load Powder Charges: Carefully load your powder charges into the barrel sections. It is crucial not to place powder charges directly into the breach itself, as this can lead to malfunctions. Cast iron cannons can safely handle up to two powder charges.
- Load Projectile: Following the powder, load your chosen projectile into the first muzzle section.
- Close the Breach: If you opened the breach, reverse the rotational force to close it securely.
- Fire! To fire, send a redstone signal to the designated firing spot on the cannon mount, often indicated by a small “orange dot.”
Mastering the Craft: Expert Tips for Success
To truly excel in the art of cast iron cannon construction and operation, keep these expert tips in mind:
- Utilize JEI (Just Enough Items): Always consult JEI for precise crafting recipes, component requirements, and block interactions. It will save you countless hours.
- Precise Heat Management: Ensure your Blaze Burners are adequately heated to their “hot” setting for melting iron and casting. Regular temperatures won’t suffice.
- Efficient Molding Techniques: Consider stacking molds to create larger billets at once, which can then be drilled into multiple cannon parts, streamlining your production line.
- Automate Loading: For a rapid-firing artillery piece, automate the loading process. Implement Mechanical Hands with rapid-firing bolts and large cartridges to load powder and projectiles swiftly.
- Monitor Cooling Progress: Use Redstone Comparators connected to Nixie Tubes to accurately track the cooling progress of molten metal in your molds, optimizing your timing.
- The Cannon Welder: Don’t underestimate the utility of the Cannon Welder tool. It can be invaluable in assisting with the combination of various cannon components, ensuring a sturdy multiblock structure.
Avoiding Catastrophe: Common Pitfalls to Sidestep
Even seasoned engineers can make mistakes. Be aware of these common errors to prevent frustration and explosive failures in your cast iron cannon endeavors:
- Incorrect Cast Iron Production: A frequent mistake is failing to include coal or charcoal when pressing iron ingots in a heated basin. Without the carbon source, you’ll end up with regular iron blocks instead of cast iron.
- Destroying Parts without Silk Touch: Breaking cast cannon blocks with a non-Silk Touch tool will yield only fragments. Always use a Silk Touch pickaxe for relocation.
- Improper Powder Placement: Never place powder charges directly into the breach. Powder charges belong in the barrel sections. Placing them in the breach can lead to cannon malfunction or a catastrophic explosion.
- Overcharging Your Cannon: Exceeding the safe number of powder charges for a cast iron cannon (more than two) or disregarding the optimal muzzle-to-charge ratio (1:1) is a recipe for disaster. Overcharging will cause your cannon to explode.
- Un-drilled Blanks: Remember, a cast blank is merely a solid block of metal. It is not a functional cannon part until it has been properly drilled and hollowed using the Cannon Drill.
- Unassembled Cannon: The cannon multiblock structure must be correctly “assembled” by activating the lever on the cannon mount before it can be fired. Skipping this step means your cannon will remain an inert collection of blocks.
Mastering cast iron in “Create Big Cannons” is not just about crafting a weapon; it’s about understanding a complex engineering process that blends metallurgy, kinetic automation, and explosive power. From the careful heating of ingots to the precise drilling of barrels and the strategic placement of charges, every step contributes to the creation of a truly formidable piece of artillery. Embrace the challenge, heed these guidelines, and you’ll soon be commanding the blocky battlefield with unparalleled force.
Tags:
YOU MAY ALSO LIKE...