

Create Big Cannons Casting
Many aspiring Minecraft engineers underestimate the sheer destructive potential and intricate engineering required to forge a truly grand cannon. While a simple TNT cannon might suffice for basic demolition, the “Create Big Cannons” mod elevates artillery to an art form, demanding precision, kinetic power, and a deep understanding of its sophisticated casting system. This guide will illuminate the complex process of constructing these magnificent siege weapons, from melting raw materials to assembling the final, formidable barrel.
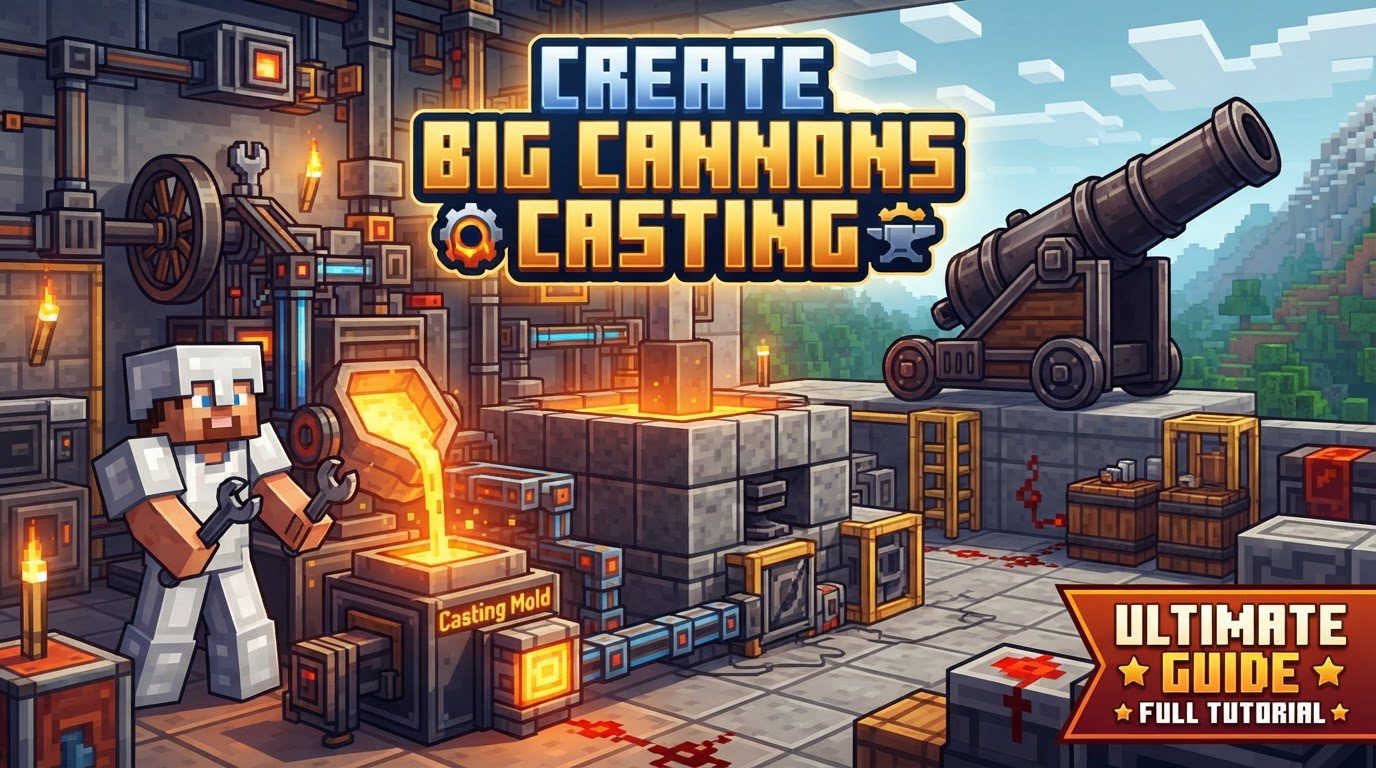
The Heart of Artillery: Understanding Create Big Cannons
The “Create Big Cannons” mod, an essential addon for the popular Create mod, doesn’t just add bigger guns; it introduces an entirely new paradigm for crafting them. Unlike simple block placements, these cannons are multiblock structures, meaning they are built from numerous interconnected components. At its core, the mod seamlessly integrates with Create’s existing kinetic energy system, which powers various cannon mechanisms, including loading projectiles and precise aiming. To even begin your journey into advanced ballistics, you’ll need both the Create mod and Ritchie’s Projectile Library installed, as Big Cannons relies on these foundational elements.
A critical aspect of cannon construction is the selection of material tiers. Cannons can be forged from diverse substances such as cast iron, bronze, steel, and the formidable nethersteel. Each material boasts unique properties, affecting factors like durability, maximum powder charge capacity, and compatibility with different breech types. The very foundation of creating these parts lies within the mod’s intricate casting system. This involves a meticulous process of melting raw materials and then pouring them into specific molds, utilizing specialized casting sand to shape the individual components of your future weapon.
Forge & Form: Preparing Materials for Casting
Before you can cast any cannon part, you must first prepare your raw materials into a molten state. This often involves the strategic use of heat and kinetic presses, leveraging the Create mod’s mechanics.
- Crafting Cast Iron: Cast iron, a foundational material for many early cannons, requires a specific process. Begin by placing iron ingots and any form of vanilla coal (or even coal blocks for efficiency) into a heated basin. A Blaze Burner positioned directly underneath the basin provides the necessary heat. Once the materials are in the heated basin, a mechanical press placed directly above will compact them. This action transforms the raw iron and coal into cast iron blocks or ingots, ready for the next stage of processing.
- Melting Other Materials: For materials like steel, bronze, or nethersteel, the melting process is generally similar but often requires a more advanced setup. You’ll still utilize a heated basin with a Blaze Burner providing the heat source. However, to achieve the higher temperatures needed for these materials, you might need to equip the basin with a “melting cap” or “foundry lid” – specialized components designed to enhance the melting efficiency and temperature. Once molten, these liquids are crucial for the casting process.
Sculpting the Barrel: The Ground Casting Process
With your molten materials ready, the next step is to shape them into specific cannon components using the ground casting system. This is where precision and correct setup are paramount.
- Mold Creation: You cannot cast a cannon part without its corresponding mold. While the research notes briefly mention using a mechanical saw with a block of wood to create molds (though the outcome can sometimes be random), the key takeaway is that specific “casting molds” are required for each unique cannon part you wish to create. These molds define the shape of the molten material.
- Setting Up the Casting Bed: To begin ground casting, you need to construct a specific structure using casting sand. This involves creating a 3×3 square of casting sand blocks, leaving a single void in the very center. This central void is where your mold will reside.
- Placing the Mold: Once your 3×3 casting sand structure is complete, place the appropriate casting mold (for example, a “front form” for a barrel section) directly into the central void you created.
- Securing the Mold: After placing the mold, right-click the mold again with casting sand. This action properly secures the mold within the casting bed, indicating it’s ready to receive molten material.
- Pouring and Cooling: Now, carefully pour the correct molten liquid (e.g., molten cast iron for a cast iron barrel section) into the prepared mold. The molten material will begin to cool naturally over time. For those in creative mode or wanting to speed up the process, a “creator’s magic wand” can be used to instantly cool the molten material, transforming it into a solid blank cannon part.
Precision Engineering: Boring, Layering, and Assembly
Casting a blank is just the beginning. To transform it into a functional cannon part, further mechanical processes are required.
- Boring/Drilling the Blank: Once you have a solid cannon blank from the casting process, it needs to be bored out to create the internal barrel. This is achieved using a cannon drill. Position the cannon drill with a mechanical bearing, which provides the kinetic power for the drilling action. Crucially, the entire cannon section that is being bored often needs to be “glued” together with super glue (from the Create mod) to ensure it acts as a single, stable unit during the drilling process. This prevents parts from detaching or shifting, ensuring a precise bore.
- Layering/Blasting for Advanced Materials: For higher-tier materials like steel or nethersteel, additional processing steps, referred to as “layering” or “blasting,” are often necessary. These processes typically involve exposing the cannon parts to extreme conditions, often using a fan with indirect lava. The fan will push air through the lava, creating superheated air that can refine and strengthen the material, preparing it for the immense pressures of firing.
- Final Assembly: After all individual parts have been cast, bored, and potentially layered, the final step is to assemble them into a complete cannon. This involves combining components such as the cannon mount (which anchors the cannon), various barrel sections, the muzzle (the front end), and the all-important breech (the rear loading mechanism). Each piece must fit together correctly to form a functional and stable artillery piece.
Artillery Masterclass: Essential Tips for Success
Mastering Create Big Cannons requires more than just following steps; it demands careful planning and attention to detail. Here are some crucial tips to ensure your cannons are built for success, not spectacular failure.
- Consult JEI Regularly: The world of Create Big Cannons is complex, with many specific recipes and processes. Always keep Just Enough Items (JEI) open and consult it frequently for precise crafting recipes, melting conditions, and assembly instructions. Mod versions can also introduce subtle changes, making JEI an invaluable resource.
- Handle Parts with Silk Touch: Cannon parts, especially after casting and boring, are surprisingly fragile when broken incorrectly. Always use a tool enchanted with Silk Touch to break and pick up cannon components. Failing to do so will result in the parts breaking down into mere scrap nuggets, wasting precious resources and time.
- Understand Material Properties: Not all cannons are created equal. Different materials possess varying strengths and can withstand different maximum powder charge capacities. For instance, while cast iron is suitable for moderate powder charges, attempting to fire a very large, high-range projectile might necessitate the superior strength of nethersteel. Always match your material to your intended firepower.
- Precise Powder Charge Management: This is perhaps the most critical aspect of operating a cannon. Loading too little powder can cause the projectile to get stuck in the barrel, rendering the cannon temporarily useless until you retrieve it with a “Worm” tool. Conversely, loading too much powder will inevitably lead to a catastrophic explosion of your cannon. Pay close attention to the mod’s built-in hints regarding acceptable powder charge limits for your specific cannon configuration.
- Breech Loading vs. Barrel Loading: Be aware of your cannon’s design. Some cannons are designed for breech loading, where projectiles and powder are inserted from the rear. Others are barrel-loaded, requiring loading from the front. Understand your cannon’s mechanism to ensure proper operation.
- Embrace Automation: While incredibly challenging and requiring extensive knowledge of Create’s automation systems, it is possible to automate the entire cannon production line. This includes casting, boring, layering, and blasting processes. Such complex setups can significantly boost efficiency for large-scale artillery production.
Avoiding Catastrophe: Common Pitfalls in Cannon Crafting
Even the most experienced engineers can make mistakes. Understanding common pitfalls can save you countless resources and prevent frustrating explosions.
- Incorrect Powder Charges: As mentioned, this is a major cause of failure. Loading insufficient powder causes the projectile to get stuck, necessitating the use of a “Worm” to clear the barrel. Overcharging, however, is far more destructive, leading to your cannon exploding spectacularly.
- Not Pushing Powder Charges Completely: It’s not enough to just load the powder; it must be pushed fully to the very end of the cannon. If powder charges are left partially inserted, they can cause an explosion upon firing, even if the total amount loaded was within limits. Ensure your ramming mechanism pushes everything home.
- Ignoring Cannon Strength: Every cannon material has a structural limit. Loading more powder charges than your cannon’s material is rated for will inevitably lead to its catastrophic failure and destruction. Always check the material properties and adhere to them.
- Improper Casting Assembly: Issues can arise during the casting process itself. The casting sand structure might not be assembled correctly, or the cooling process might appear excessively long. These issues are often due to an incorrect setup of the 3×3 sand structure, improper mold placement, or sometimes even mod version inconsistencies. Double-check your setup.
- Breaking Cannon Parts Without Silk Touch: A cardinal sin for any cannon builder. Breaking any cannon component without a Silk Touch enchanted tool will cause it to turn into scrap nuggets, forcing you to re-craft the entire part and waste valuable resources.
- Loading in Assembled State: Cannons, particularly those with complex breeches, generally need to be in a partially disassembled or specific loading state for proper projectile and powder insertion. Attempting to load a fully assembled and ready-to-fire cannon can lead to issues or simply not work, requiring you to understand the loading mechanics for your specific cannon design.
The “Create Big Cannons” mod offers a deeply rewarding experience for those who embrace its engineering challenges. By understanding its core mechanics, meticulously following the casting process, heeding expert tips, and learning from common mistakes, you can construct truly powerful and reliable artillery. Go forth, engineer, and dominate the battlefield with your kinetic creations!
Tags:
YOU MAY ALSO LIKE...


