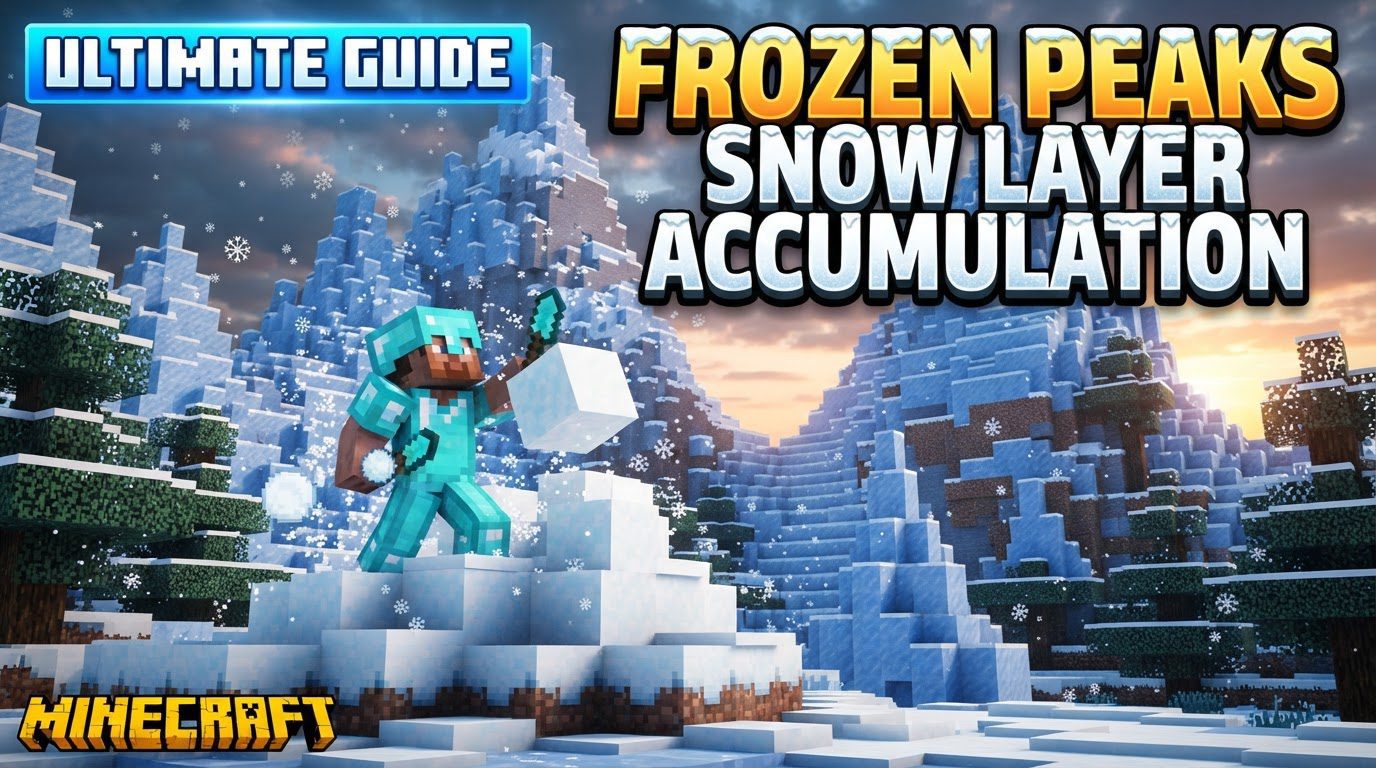
Frozen Peaks Snow Layer Accumulation
A common mistake often made by new players in Minecraft’s snowy biomes is underestimating the persistent nature of snow accumulation, especially in the towering Frozen Peaks. While beautiful, these majestic, frigid landscapes pose unique challenges for builders and explorers alike due to their dynamic weather patterns and the constant layering of snow. Understanding how snow forms, accumulates, and can be managed is crucial for thriving in these icy environments.
The Dynamic Nature of Frozen Peaks Snowfall
The Frozen Peaks biome, characterized by its towering elevations, abundant snow blocks, and stretches of packed ice, is a visually striking environment. However, its aesthetic comes with a constant meteorological phenomenon: snowfall. Snowfall is a temporary and biome-specific weather occurrence that manifests randomly, primarily in snowy biomes like the Frozen Peaks. When snowfall begins, it’s not just a visual effect; it actively contributes to the landscape.
During snowfall, snow layers begin to regenerate and accumulate on any solid block surface exposed to the sky. This means that over time, what might start as a thin dusting can grow into significant snowdrifts. A noticeable side effect of snowfall is its impact on light levels. The world darkens, with sunlight intensity reducing by three levels, settling at a light level of 12. This subtle reduction can affect mob spawning conditions in dimly lit areas, adding another layer of consideration for players.
Edition-Specific Snow Accumulation Mechanics
The way snow accumulates and the tools available to manage it differ significantly between Minecraft’s Java and Bedrock Editions. This distinction is vital for players to understand, as assuming identical behavior can lead to frustration.
Java Edition’s Granular Control
In Java Edition, players benefit from a specific game rule that offers precise control over snow accumulation. The snowAccumulationHeight game rule dictates how high fallen snow will accumulate. Its settings are straightforward yet powerful:
- Setting
snowAccumulationHeightto 0 completely prevents any new snow layers from building up, effectively stopping all snow accumulation. - Setting it to 8 or above allows snow to form up to a full block’s height. Each increment from 1 to 7 allows for a corresponding number of snow layers (e.g., 4 allows up to 4 layers).
This game rule provides Java players with a nuanced way to customize their snowy biome experience, from completely static snow to realistic, deep drifts.
Bedrock Edition’s Default Behavior and Limitations
Bedrock Edition handles snow accumulation differently. Here, snow layers naturally accumulate and grow over time without a direct equivalent to Java’s snowAccumulationHeight. Snow layers will continue to pile up until they form a full snow block. Once a full block is formed, the cycle of accumulation can repeat on top of it, potentially leading to very deep snowdrifts over extended periods.
Bedrock Edition does offer a game rule called doSnowPiling. However, its function is more of an on/off switch: enabling it prevents excessive piling, but it also stops *all* new snow layer formation. This means Bedrock players currently lack the fine-tuned control that Java’s snowAccumulationHeight provides. There is an ongoing request within the community to add snowAccumulationHeight to Bedrock Edition, which would greatly enhance control for its players.
Strategic Prevention: Keeping Your Builds Clear
For those who wish to build and maintain structures in the Frozen Peaks without constantly battling snowdrifts, several effective prevention methods exist:
- Transparent Block Placement: The most straightforward method is to place transparent blocks on surfaces where you want to prevent snow accumulation. Snow will not settle on blocks such as stairs, half slabs, or glass. This is ideal for paths, roofs, or decorative elements.
- String at Build Height: A less visible, but equally effective, method involves placing string. String, being a non-solid, transparent block, prevents snow from accumulating on the block immediately below it. It can be placed directly on surfaces or at a height just above where snow would otherwise settle.
- Strategic Light Source Placement: Snow melts when it’s close to certain light sources.
- Torches melt snow up to 2 blocks away and prevent its regrowth for an additional 2 blocks beyond that.
- Lava and Glowstone are more potent, melting snow up to 3 blocks away and preventing regrowth for an additional 2 blocks.
Placing these strategically can keep areas clear, though torches can be easily destroyed by flowing water.
- Overhead Canopies: A simple architectural solution is to build overhead canopies or roofs. These structures effectively catch any falling snow, preventing it from accumulating on the ground or structures directly beneath them.
- Disabling the Weather Cycle: For a more global solution in a single-player world or server with appropriate permissions, turning off the
doWeatherCyclegame rule will stop all weather events, including snowfall, across the entire world. This is a drastic but effective measure if all weather is undesirable.
Efficient Snow Removal Techniques
Sometimes, prevention isn’t enough, or perhaps you prefer the natural accumulation and only want to clear it periodically. Here are the most efficient ways to remove accumulated snow:
- Water Flow: Water is an incredibly effective and broad-reaching solution. Placing a water source block will cause water to flow outwards, clearing away any accumulated snow layers in its path. This is particularly useful for clearing large areas quickly.
- Shovel for Manual Clearing: The most traditional method is to use a shovel. Equipping a shovel allows players to quickly break snow layers, collecting them as snowballs. This is best for precise clearing or when you need snowballs for crafting.
- Automated Clearing with Dispensers: For automated farms or persistent clearing systems, a dispenser loaded with a water bucket can be triggered to release water, clear snow, and then retract the water, making it a powerful tool for hands-off snow management.
Avoiding Common Snow Accumulation Pitfalls
Understanding these mechanics helps players avoid common mistakes that can lead to frustration in snowy biomes:
- Unwanted Snow Piling on Builds: A frequent issue is finding structures, paths, and farms buried under snow. This typically occurs when players neglect to implement preventative measures like transparent blocks, string, or light sources. Proactive planning is key to keeping your creations visible and functional.
- Assuming Cross-Edition Uniformity: One of the biggest pitfalls is assuming that snow accumulation behaves identically between Java and Bedrock Editions. As highlighted, the game rules and default behaviors are distinct. Java players have more granular control with
snowAccumulationHeight, while Bedrock players currently face more limited options withdoSnowPiling. Always verify the mechanics for the edition you are playing. - Ignoring High Altitude Snowfall Dynamics: In some biomes, especially mountainous ones, weather patterns can vary with altitude. It’s possible for rain to occur at lower Y-levels while snow falls simultaneously higher up. This means that even if you see rain at your base, snow could still be accumulating on the peaks above, necessitating different management strategies for different elevations.
By mastering these mechanics and employing strategic planning, players can transform the challenging Frozen Peaks into a serene and manageable landscape, allowing for creative building and exploration without the constant battle against ever-growing snowdrifts.
Tags:
YOU MAY ALSO LIKE...