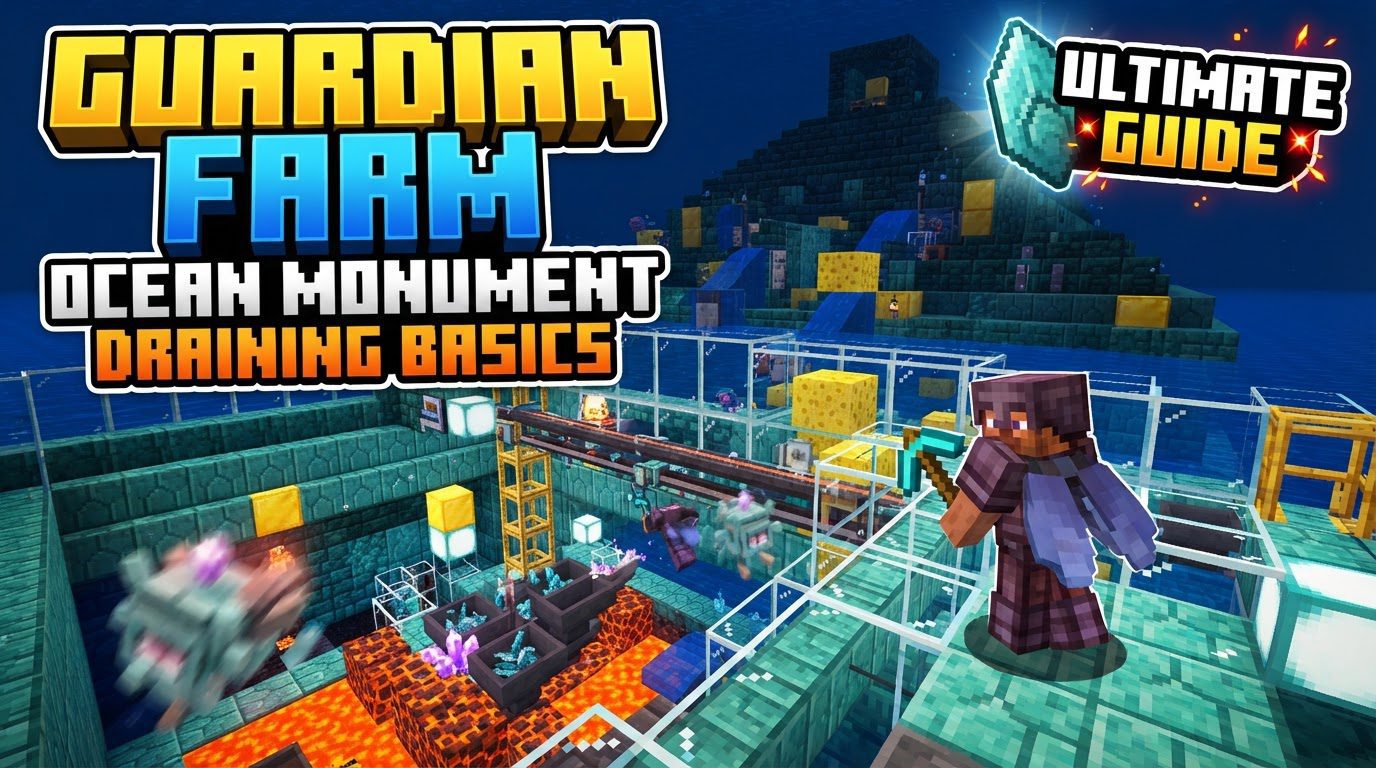
Guardian Farm Ocean Monument Draining Basics
Guardians, the aquatic sentinels of Minecraft’s ocean monuments, exclusively spawn within a precise 58x58x23 block bounding box, a critical detail for anyone planning to construct an efficient farm. This seemingly simple fact underpins the entire process of transforming a sprawling underwater temple into a highly productive source of prismarine and experience. Draining an Ocean Monument is a monumental task, demanding patience, preparation, and a deep understanding of Minecraft’s unique mechanics. This guide will equip you with the knowledge to systematically conquer the watery depths and establish your very own Guardian farm.
The Aquatic Architects: Understanding Guardian Mechanics
Before any draining begins, comprehending how and where Guardians operate is paramount. These hostile mobs are the heart of your future farm, and their spawning conditions dictate the entire build.
- Guardian Spawning Dynamics: Guardians have specific requirements. They will only spawn in water blocks located within the monument’s bounding box, which typically extends from Y=39 to Y=61. Crucially, a valid spawning water block must have either a transparent block, air, or another water block directly above it, and a water block below it. For optimal spawn rates, these water blocks should not be exposed to direct sunlight. This often means covering the entire farm area with solid blocks after draining to maximize efficiency.
- The Elder Guardian Menace: Each Ocean Monument harbors three Elder Guardians. These formidable foes inflict “Mining Fatigue,” a debilitating status effect that drastically slows down block breaking. Defeating all three is not optional; it’s the first critical step, as they do not respawn. Their presence will otherwise turn construction into an agonizing crawl.
Taming the Tides: Minecraft’s Water Physics and Conduit Mastery
The sheer volume of water within and around an Ocean Monument necessitates a strategic approach, informed by the game’s water physics and enhanced by powerful enchantments.
- Understanding Water Physics: Minecraft’s water behaves predictably but can be frustrating if misunderstood. If two water source blocks are diagonal to an empty block, that empty block will quickly become a new water source. This means simply placing a sponge in a vast open area is futile; the water will rapidly refill from surrounding sources. Effective draining requires partitioning large bodies of water into smaller, manageable sections, or completely filling them with solid blocks to prevent this refilling.
- The Power of the Conduit: A Conduit is an invaluable asset for any underwater project. Once activated and strategically placed within the monument (requiring a Heart of the Sea and Nautilus Shells), it grants a suite of vital buffs: indefinite water breathing, enhanced night vision, and a significant 16.7% increase in mining speed. This boost is indispensable for the extensive block breaking and placement involved in draining.
Strategic Preparation: The Essential Pre-Draining Checklist
Success hinges on meticulous planning and initial execution. Rushing these preliminary steps will only lead to frustration and wasted resources.
- Locate Your Monument: First, find an Ocean Monument. This can be achieved through various methods: using explorer maps obtained from cartographer villagers, employing the
/locate monumentcommand in a creative world copy for precise coordinates, or leveraging online tools like Chunkbase for world-specific monument locations. - Defeat the Elder Guardians: This is priority number one. Their Mining Fatigue is an unbearable hindrance. You can blast through walls with TNT (place TNT, then a gravity block like sand or gravel on top, then light the TNT) or carefully mine your way through the monument, ideally under the effects of invisibility potions to avoid constant attacks.
- Establish Conduit Power: With the Elder Guardians vanquished, set up your Conduit. Place it in a central location within the monument to ensure its buffs cover your primary working area. This will make all subsequent underwater work significantly faster and safer.
- Clear Underwater Foliage: Before building any perimeter walls or temporary sections, remove all kelp and seagrass from the area you intend to drain. These plants can break falling sand or gravel, disrupting your construction efforts.
- Define the Draining Perimeter: Plan the outer boundaries of your farm. The monument’s base is 58×58 blocks. Expanding this to a larger square or circle (e.g., 84×84 blocks) maximizes the potential Guardian spawning space. Online plotting tools like Plotz.co.uk can be incredibly helpful for precise measurements and designs for large perimeters.
The Draining Offensive: From Walls to Sponges
With preparations complete, the actual draining process can begin. This is a methodical endeavor that breaks down the vast ocean into manageable segments.
- Construct Perimeter Walls: Build solid walls around your defined perimeter. Sand or gravel are excellent choices due to their gravity-affected nature, allowing them to fall quickly from the ocean surface down to the seafloor, effectively enclosing your chosen area and separating it from the rest of the ocean.
- Section Off Water: Inside your main perimeter, create smaller, temporary sections. Use sand or gravel to build walls, typically creating 3×3 or 4×4 block wide areas. This step is crucial; it reduces vast water bodies into smaller compartments where sponges can work effectively without immediate refilling from adjacent sources.
- Drain with Sponges: Systematically place sponges within these smaller, walled-off sections. Sponges absorb all water sources in a 7x7x7 cube centered on them. Within the monument’s pre-existing rooms, a single sponge often suffices to clear an entire space. Work your way through each section, placing and collecting sponges.
- Dry and Reuse Sponges: Once wet, sponges become ineffective. Collect them and dry them out. The most common methods are smelting them in a furnace or, more efficiently, placing them down in the Nether, where the environment instantly dries them.
- Clear Monument Blocks: After the entire area is drained, remove the monument’s prismarine blocks. The goal is to create a large, open spawning space within the bounding box. You may choose to leave a single perimeter line of blocks if desired for aesthetic or structural reasons.
Efficiency and Foresight: Advanced Tips for Smooth Sailing
Even with a solid plan, certain strategies and tools can significantly streamline the draining process.
- Invisibility Potions: These are invaluable, especially during the initial stages when Elder Guardians are still present or when building perimeter walls. Extended duration invisibility potions (crafted with Redstone Dust) allow you to work largely unmolested. Remember to remove any armor, as it negates invisibility to mobs.
- Abundant Materials: Do not underestimate the resource cost. Stockpile a vast quantity of sand or gravel-hundreds of stacks are not uncommon. Similarly, acquire plenty of sponges. Raiding multiple monuments for sponges is often necessary for large-scale projects.
- Hoe for Sponges: A hoe is the most efficient tool for rapidly breaking and collecting sponges, speeding up the draining process.
- Planning Tools: Utilize online plotting tools like Plotz.co.uk for accurately calculating and placing large circular or square perimeters. These tools save immense time and prevent costly errors in large-scale builds.
- Temporary Blocks: Keep some slime blocks handy. They are useful as temporary scaffolding or markers because they can be instantly broken, even with Mining Fatigue (if you haven’t defeated all Elder Guardians yet).
- Automated Draining: For truly massive draining projects, consider redstone-powered flying machines. These contraptions can automate the placement or removal of blocks over large areas, significantly reducing manual labor, particularly for initial perimeter clearing.
Navigating Treacherous Waters: Common Pitfalls to Avoid
Forewarned is forearmed. Be aware of these common mistakes that can derail your Guardian farm project.
- Neglecting Elder Guardians: This is arguably the biggest mistake. Persistent Mining Fatigue will turn a multi-hour project into a multi-day nightmare. Eliminate them first.
- Insufficient Sectioning: Attempting to drain vast open water areas with sponges without first sectioning them off with temporary walls is a waste of sponges and effort. Water will simply flow back in.
- Not Clearing Foliage: Failing to remove kelp and seagrass before dropping gravity blocks will result in broken walls and frustrating interruptions.
- Lack of Resources: Underestimating the sheer quantity of sand, gravel, and sponges required for a large-scale draining project leads to frequent, time-consuming trips for supplies. Always over-prepare.
- Ignoring Mob Cap: If Guardian spawn rates are unexpectedly low after draining, the issue might be nearby caves. Other hostile mobs spawning in unlit caves within the world’s mob cap can prevent Guardians from appearing. Lighting up these caves will free up the mob cap for your farm.
Draining an Ocean Monument for a Guardian farm is a challenging but immensely rewarding endeavor. By understanding the core mechanics, following a methodical process, and avoiding common pitfalls, you can transform a hostile underwater structure into an efficient engine for valuable resources and experience.
Tags:
YOU MAY ALSO LIKE...