How to Build a Cannon in Minecraft
One of the most common and explosive mistakes a budding Minecraft engineer makes is attempting to detonate TNT without proper containment. The result is often a self-destructive blast, leaving a crater where a functional device should be. This fundamental error highlights the critical role of understanding basic physics within the game, especially when it comes to constructing one of its most satisfying contraptions: the TNT cannon.
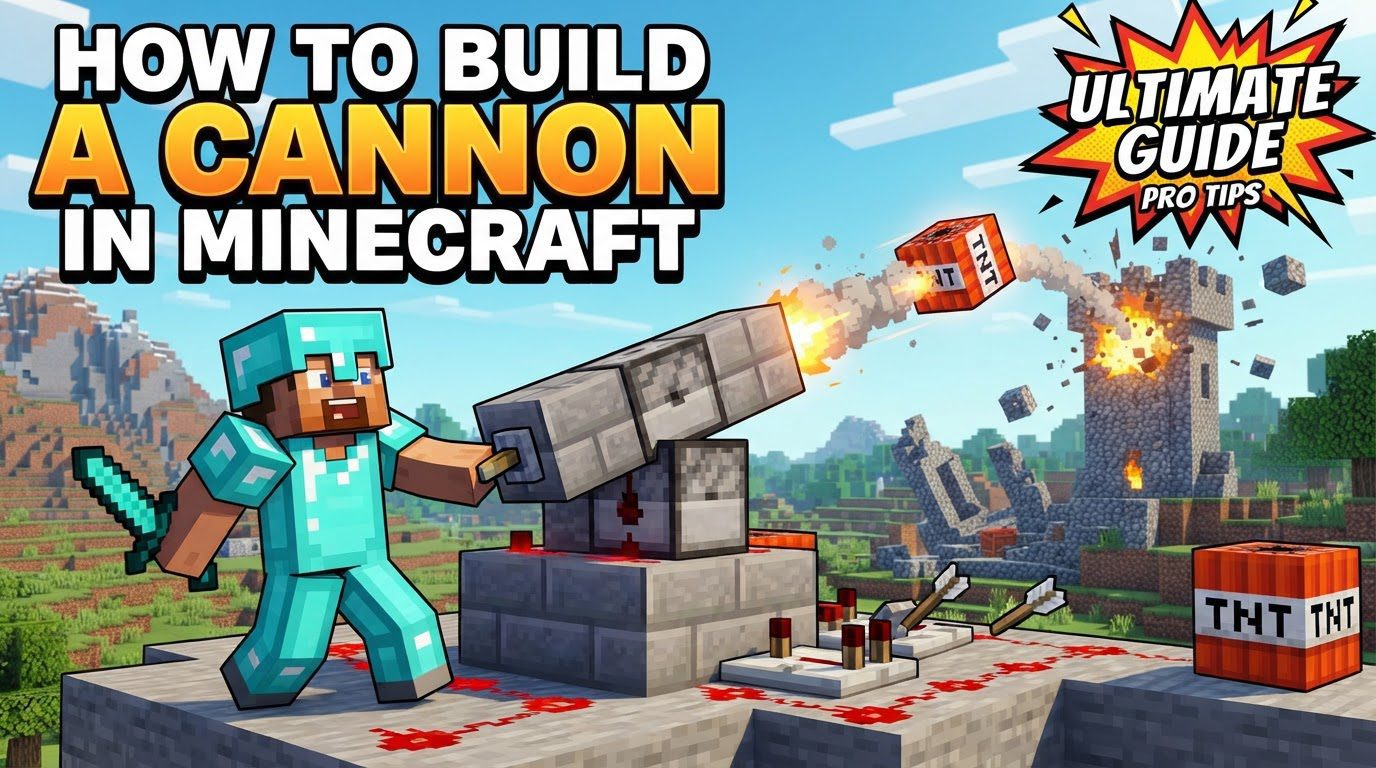
A TNT cannon in Minecraft is a marvel of simple engineering, capable of launching explosive projectiles over considerable distances. Whether you’re breaching enemy fortifications, terraforming landscapes, or simply creating an impressive display, mastering the art of cannon building is a valuable skill. It’s a precise dance between explosive force, water dynamics, and redstone timing, transforming raw power into directed energy.
Understanding the Core Principles of Explosive Artillery
Before you lay your first block, comprehending the fundamental mechanics behind a TNT cannon is paramount. These principles dictate everything from the cannon’s survival to the trajectory of its payload.
- Water Channeling: The Unsung Hero
The most crucial element in any functional TNT cannon is water. When TNT explodes within water, it does not destroy surrounding blocks. Instead, its explosive force is channeled, pushing entities and blocks without causing structural damage. This property is indispensable; without water, your cannon would obliterate itself on the first shot. The water also guides the initial explosion, directing its force toward the projectile. - Dual Roles of TNT: Propellant and Projectile
TNT serves two distinct purposes in a cannon. The “propelling TNT” provides the raw explosive power to launch the projectile. These blocks are typically detonated within the water channel. The “projectile TNT” is the block that will be launched. It sits at the cannon’s mouth, ready to be propelled by the force of the other explosions. - Redstone Timing: The Art of Precision
The effectiveness of your cannon hinges on precise redstone timing. The propelling TNT must detonate fractionally before the projectile TNT. If the timing is off, the projectile might explode in place, fly too short, or not move at all. Adjusting this delay is how you control the launch distance and height, making redstone repeaters your best friend. - Dispensers: For Automated Firepower
While not strictly necessary for a basic cannon, dispensers are key for automation. When powered, a dispenser can automatically place and ignite TNT from its inventory, allowing for rapid-fire or continuous bombardment without manual reloading. - Redstone Repeaters: Your Trajectory Tuners
These humble redstone components are vital for introducing delays into your redstone circuits. Each repeater can add a delay of 0.1 to 0.4 seconds (1 to 4 ticks). By adjusting the delay on repeaters leading to your projectile TNT, you fine-tune when it ignites relative to the propelling TNT, thereby dictating its flight path.
Constructing Your First Functional Cannon
Let’s build a reliable, basic TNT cannon. This design is robust, easy to understand, and forms the foundation for more complex models.
Step-by-Step Construction Guide
- Forge the Foundation: The Blast-Resistant Frame
Begin by constructing a U-shaped trough. This frame should typically be 7 blocks long and 3 blocks wide, with walls 1 block high. Use blocks with high blast resistance, such as obsidian, reinforced deepslate, or even simple cobblestone. Obsidian is ideal for its indestructibility, ensuring your cannon withstands countless blasts. - Introduce the Lifeline: Water Placement
At one end of your U-shaped trough (the closed end), place a single water source block. This will create a continuous flow of water down the channel. This water is critical for preventing the propelling TNT from destroying your cannon and for directing the explosive force. - The Launchpad: Projectile Stop
At the opposite, open end of the U-shaped channel (where the water flow naturally stops), place a half-slab or a fence. This block serves two purposes: it prevents the water from flowing out of the channel and acts as the precise spot where your projectile TNT will rest before launch. - The Nervous System: Redstone Wiring
This is where timing comes into play.- Place a lever or a button at the back of your cannon, connected to the frame.
- Run a line of redstone dust along one of the cannon’s side walls, extending from your activation switch to where the propelling TNT will be placed. This line will ignite the propelling TNT.
- On the opposite side wall, lay out a separate line of redstone repeaters. These repeaters should lead to the half-slab/fence where the projectile TNT will sit. Adjusting the delay (ticks) on these repeaters is crucial. Start with all repeaters set to their maximum delay (4 ticks) and experiment from there. The goal is for the propelling TNT to explode just before the projectile TNT.
- Arming the Device: Loading TNT
Carefully load your cannon:- Place several propelling TNT blocks within the water channel. Ensure they are fully submerged and do not block the water source itself. The more TNT you use here, the more powerful the launch.
- Place a single projectile TNT block directly on the half-slab or fence at the cannon’s mouth. This is the block that will be launched.
- Initiating Launch: Firing Procedure
Once loaded, activate your redstone mechanism. If your design uses two separate switches (one for propellant, one for projectile), activate the propelling TNT switch first, then quickly activate the projectile TNT switch. For designs using repeaters, a single button press or lever flick will manage the timed sequence automatically. Observe the launch and prepare to adjust!
Mastering Your Cannon: Advanced Techniques and Refinements
Once you’ve built and fired your basic cannon, you’ll want to optimize its performance and explore more sophisticated designs.
- Material Choice for Longevity
Always default to the most blast-resistant blocks available for your cannon’s structure. While cobblestone is sufficient for a basic design, obsidian or reinforced deepslate offer unparalleled durability, ensuring your cannon can withstand hundreds of shots without needing repairs. - Redstone Repeaters: Your Trajectory Control Panel
The precise timing provided by redstone repeaters is your key to mastering range and elevation. More delay on the projectile TNT’s ignition means it will be airborne longer before exploding, potentially increasing range or height. Less delay can result in a flatter, faster trajectory. Experiment by adjusting the ticks on your repeaters one by one until you find the perfect launch profile. - Automated Firing: Unleashing Continuous Barrages
For large-scale operations or continuous defense, integrate dispensers to automatically load TNT. Connect these dispensers to a redstone clock (such as an observer clock) to create a fully automatic firing mechanism. This setup allows for sustained bombardment without manual reloading. Remember to stock your dispensers with plenty of TNT! - Experimentation is Key
Minecraft’s physics, while consistent, offer a vast playground for discovery. Don’t be afraid to experiment with the quantity and placement of propelling TNT, the number of repeaters, and their delays. Each adjustment will yield a different result, allowing you to tailor your cannon for specific tasks, whether it’s long-range bombardment or a high-arc lob.
Troubleshooting Common Cannon Conundrums
Even seasoned builders encounter issues. Here are common pitfalls and how to avoid them:
- The Self-Destructing Cannon: Absence of Water
This is the most frequent mistake. If you build a cannon without water in the blasting chamber, the propelling TNT will destroy your cannon’s structure upon detonation. Always ensure the propelling TNT is submerged. - The Dud Shot: Incorrect Timing
If your projectile TNT explodes too early (before being propelled) or too late (after landing), it won’t launch effectively. This is a timing issue. Adjust the delays on your redstone repeaters. The propelling TNT must ignite *just* before the projectile TNT. - The Dry Chamber: Obstructing the Water Source
Ensure nothing is blocking the water source block at the back of your cannon. If the water flow is interrupted, the protective effect is lost, and your cannon will likely self-destruct. - The Fragile Fortress: Using Weak Materials
Building your cannon out of blocks like dirt, wood, or even stone can lead to its destruction after only a few shots. Always use blast-resistant materials like obsidian, reinforced deepslate, or cobblestone for the main structure. - The Misaligned Missile: Improper TNT Placement
Verify that your propelling TNT blocks are correctly placed within the water stream and your projectile TNT is precisely on the half-slab or fence at the launch point. Misplaced TNT can lead to inefficient launches or self-damage.
Building a TNT cannon in Minecraft is a rewarding endeavor that teaches the fundamental principles of in-game physics and redstone engineering. With a solid understanding of water mechanics, TNT roles, and precise redstone timing, you can construct powerful and reliable explosive devices. Practice, experimentation, and attention to detail are your greatest allies in becoming a master of Minecraft artillery.
Tags:
YOU MAY ALSO LIKE...