

Building a Nether Hub Connecting Multiple Portals (Step by Step)
Building a Nether hub in Minecraft is an incredibly efficient strategy for traversing vast distances in the Overworld. By leveraging the unique properties of the Nether dimension, players can dramatically cut down travel times, making exploration, resource gathering, and base expansion significantly more manageable.
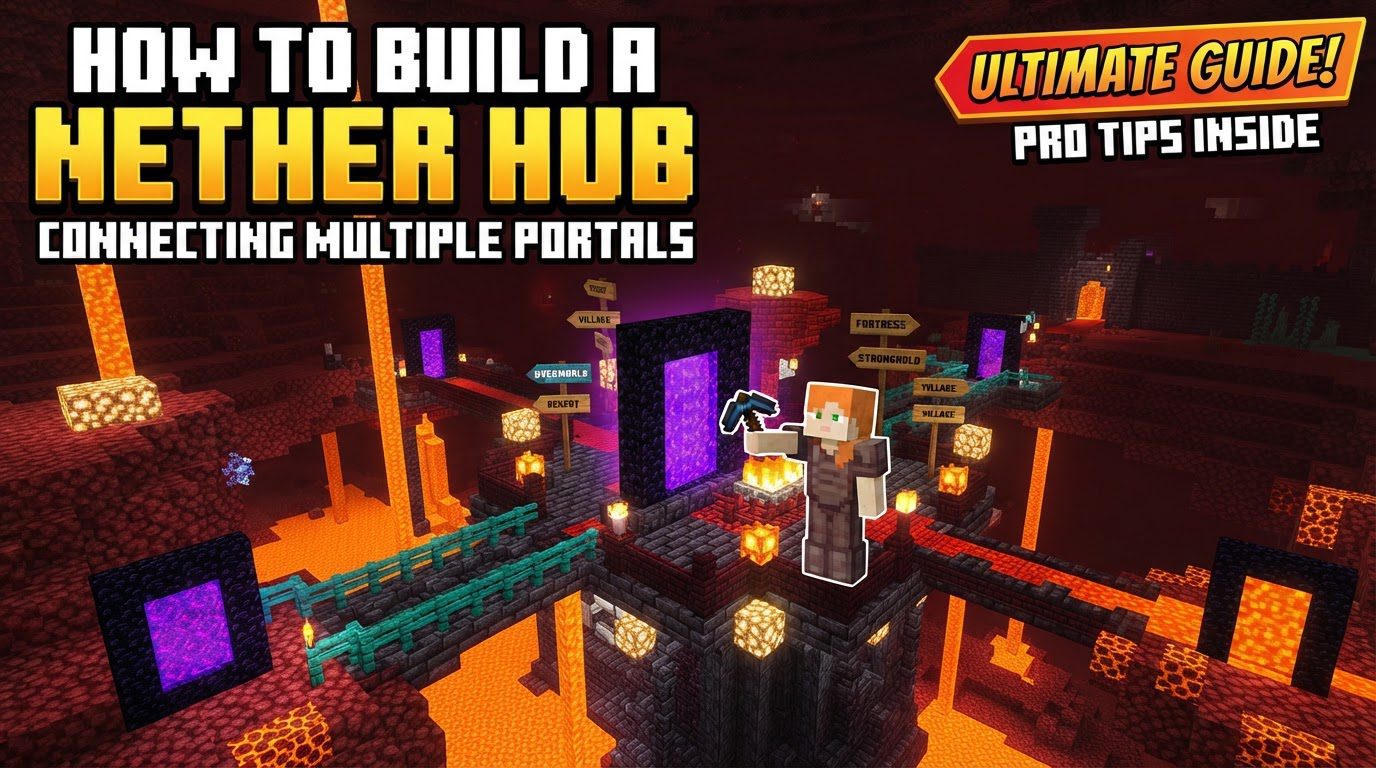
Key Mechanics of Nether Travel
To successfully construct and utilize a Nether hub, it’s crucial to understand the fundamental mechanics that govern portal linking and dimension travel:
- Distance Ratio: The most critical mechanic is the distance ratio. One block traveled in the Nether corresponds to eight blocks in the Overworld for both the X and Z coordinates. This 1:8 ratio is the core reason Nether hubs are so effective for fast travel. While the X and Z coordinates are scaled, the Y (height) coordinate largely remains the same between dimensions, meaning you don’t gain or lose significant vertical distance by traveling through the Nether.
- Portal Linking: Portals in Minecraft link based on their coordinates. When a player enters a portal, the game searches for an existing portal in the destination dimension within a specific radius. In the Nether, this search radius for linking to an Overworld portal is 128 blocks. If no suitable portal is found within this range, the game will automatically create a new one. This automatic generation, however, can often be imprecise, leading to portals appearing in inconvenient or unexpected locations.
- Precise Placement: Due to the potential inaccuracies of automatic portal generation, precise placement is paramount for a functional Nether hub. To ensure accurate and reliable linking between specific Overworld locations and their corresponding Nether portals, you must manually place portals in the Nether at carefully calculated coordinates. Relying on the game to automatically generate portals in the Nether will almost certainly lead to a disorganized and dysfunctional network.
Building Your Nether Hub: A Step-by-Step Guide
Creating an effective Nether hub involves a methodical approach, starting with planning in the Overworld and extending into careful construction within the Nether itself.
- 1. Identify Overworld Locations: Begin by deciding which specific points in your Overworld map you wish to connect via your Nether hub. These could be your main base, a remote mining outpost, a village, or a significant landmark. Having a clear list of destinations is the first step to planning your network.
- 2. Record Overworld Coordinates: For each chosen Overworld location, stand at the exact spot where you intend to place your Overworld portal. Open your debug screen (F3 on Java Edition, or view coordinates on Bedrock Edition) and meticulously note down the precise X and Z coordinates for each of these intended portals. These numbers are essential for all subsequent calculations.
- 3. Calculate Nether Coordinates: With your Overworld coordinates in hand, perform the necessary calculations for each portal. For every Overworld portal’s X and Z coordinate, divide them by 8. The resulting numbers are the target X and Z coordinates for its corresponding Nether portal. For example, an Overworld portal at X=800, Z=1600 would require a Nether portal at X=100, Z=200. While the Y-coordinate doesn’t scale, it’s generally good practice to try and match the Y-coordinate as closely as possible in the Nether to the Overworld portal’s Y-level, or at least place it in a safe, accessible area within the Nether’s common travel Y-levels (often around Y=60-80).
- 4. Establish Central Hub: Before building individual portals, construct a main, safe, and easily navigable area in the Nether. This will serve as your central hub, from which all your connecting tunnels will branch out. This central area should be well-lit, mob-proofed, and spacious enough to accommodate multiple portal entrances and pathways.
- 5. Construct Nether Portals: Now, travel to each set of calculated Nether X and Z coordinates. At each precise location, build a new Nether portal. Ensure these portals are properly constructed and activated. It’s crucial to build them exactly at the calculated coordinates to guarantee proper linking.
- 6. Verify Connections: After building a Nether portal, step through it. It should ideally link back to its intended Overworld counterpart. If the game generates a new Overworld portal in an incorrect or unintended location, immediately destroy that newly generated Overworld portal. Then, return to the precise Overworld coordinates you recorded in step 2 and rebuild your Overworld portal there. Repeat this verification process for every portal pair until all connections are correctly established.
- 7. Build Pathways: Once all your portals are correctly linked and verified, the final structural step is to create safe, enclosed tunnels connecting all the Nether portals within your central hub. These tunnels will allow you to travel safely and efficiently between different destinations in the Nether, and by extension, the Overworld.
Essential Tips for an Optimized Nether Hub
Beyond the core construction, several considerations can significantly improve the functionality, safety, and aesthetics of your Nether hub.
- Centralization: Always design your Nether hub to be a centralized, easily accessible point within the Nether. This minimizes travel time within the Nether itself, maximizing the efficiency of your network. A compact, well-organized hub prevents unnecessary detours.
- Mob-Proofing: The Nether is a dangerous place. To prevent hostile mobs from spawning within your hub and its connecting tunnels, use non-spawnable blocks such as glass, slabs (placed on the top half of a block), or carpets for floors and ceilings. Additionally, ensure adequate lighting throughout the entire structure. Torches, glowstone, or sea lanterns are excellent choices.
- Labeling: As your hub grows and connects to more locations, it’s easy to get disoriented, especially if your tunnels look similar. Label each tunnel clearly with its Overworld destination. Item frames with maps, signs, or even banners can be used effectively for this purpose.
- Aesthetics: While functionality is key, don’t neglect the visual appeal. Maintain a consistent design and material palette for your tunnels and the central hub. This not only makes your hub more enjoyable to use but also helps with navigation and gives it a sense of permanence and quality.
- Fast Travel Options: To further enhance travel speed within your Nether tunnels, consider implementing fast travel options. Ice boat highways, utilizing packed ice or blue ice for maximum speed, are incredibly efficient. Alternatively, a well-designed minecart railway system can also provide ultra-fast transit, especially for longer tunnel segments.
- Blast Resistance: The Nether is home to Ghasts, whose fireballs can destroy many common building blocks. Construct your hub and tunnels with blast-resistant materials like obsidian, cobblestone, or nether brick to protect it from Ghast attacks and other environmental hazards.
- Y-level Matching: While the 1:8 ratio applies only to X and Z, matching the Y-coordinate as closely as possible between linked Overworld and Nether portals can improve the reliability of the portal connection. It helps the game find the most appropriate existing portal rather than creating a new one or linking to an unintended portal.
Common Pitfalls to Steer Clear Of
Awareness of common mistakes can save you significant time and frustration during the construction of your Nether hub.
- Incorrect Coordinate Calculation: One of the most frequent errors is failing to accurately divide the Overworld X and Z coordinates by 8 for Nether placement. Even a small miscalculation can lead to portals linking to the wrong places or creating new, unwanted portals. Double-check all your math.
- Portals Too Close in Overworld: Placing Overworld portals too close together can cause them to link to the same Nether portal, disrupting your carefully planned network. As a general rule, Overworld portals should be at least approximately 1024 blocks apart (which translates to 128 blocks in the Nether) to ensure they each get a unique Nether counterpart without interference.
- Careless Mining: The Nether is riddled with dangers, particularly vast lava pockets. Always dig safely, especially when tunneling. Carry plenty of non-flammable blocks (like cobblestone or netherrack) to quickly seal off unexpected lava flows or ghast attacks. Always “pillar up” or “dig down” safely.
- Forgetting Coordinates: The Nether’s often monotonous terrain can make it incredibly easy to get lost. Always write down important coordinates for your hub, portals, and any significant landmarks you discover. This prevents aimless wandering and ensures you can always find your way back.
- No Mob-Proofing: An unlit or exposed Nether hub and its tunnels will quickly become infested with hostile mobs like Zombie Piglins, Ghasts, and Blazes. This turns what should be a safe travel route into a constant gauntlet of danger, making travel extremely hazardous and inefficient. Prioritize comprehensive mob-proofing from the outset.

