

Building a Rotating Turntable Using a Mechanical Bearing — A Quick Guide
The Mechanical Bearing, a core component within Minecraft’s Create mod, empowers players to construct dynamic rotating structures known as contraptions. These versatile mechanisms are indispensable for automating various in-game tasks and bringing intricate creative builds to life, offering a new dimension of interaction and functionality within your world.
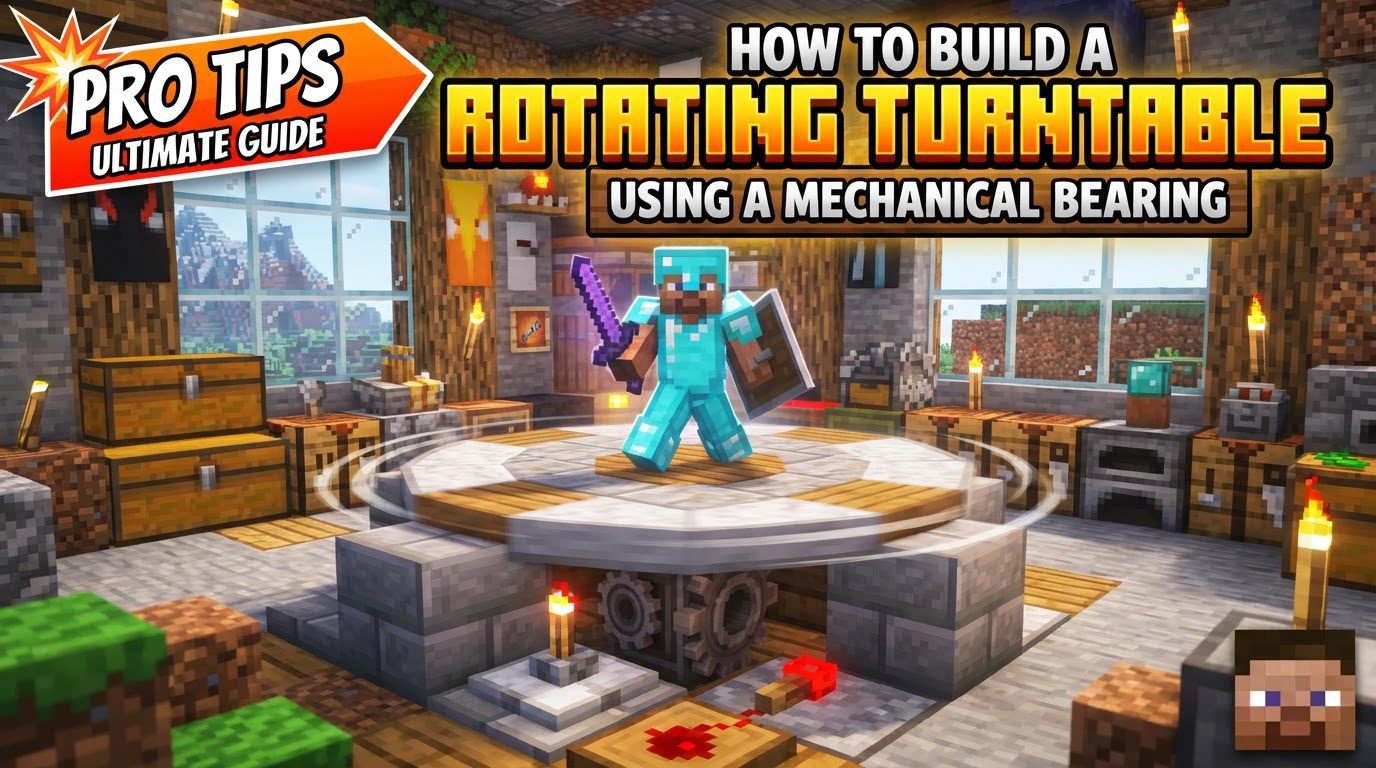
Understanding the Mechanical Bearing’s Core Mechanics
To effectively utilize a Mechanical Bearing, it’s crucial to grasp its fundamental operational principles. This device is designed to translate static structures into rotating entities, but it requires specific conditions and components to function correctly.
- Rotational Force Requirement: The Mechanical Bearing does not generate power on its own; it merely transmits and applies it. Therefore, it necessitates an external source of rotational force to operate. This power can be supplied by a variety of Create mod components. Examples include simple Hand Cranks, which offer manual control, or more sophisticated systems like Water Wheels, which provide consistent power. Alternatively, complex networks of powered shafts and gearboxes, driven by various engines, can deliver the necessary rotational energy.
- Contraption Attachment with Super Glue: For any blocks to rotate alongside the bearing, they must be firmly attached to it. This crucial connection is established using Super Glue. Without Super Glue, only the block directly adjacent to the bearing’s “sticky side” would move, leading to an incomplete or non-functional contraption.
- Crafting the Bearing: The Mechanical Bearing itself is crafted from a combination of basic materials. Its recipe includes a slab, an Andesite Casing, and a shaft, making it relatively accessible early in your Create mod progression.
- Activation and Connection: Once the Mechanical Bearing is powered and a structure is properly connected to its front (the “sticky side”), its rotation can be initiated. This is achieved by right-clicking the bearing with an empty hand.
- Configurable Stopping Behavior: The behavior of the contraption when it ceases movement is highly customizable via the bearing’s settings. These settings dictate how the rotating structure settles back into the world as solid blocks:
- “Always Place when Stopped”: This setting ensures that when the contraption stops, it will snap to the nearest square angle (e.g., 0, 90, 180, 270 degrees) and place its blocks as solid entities. This is useful when you need the contraption to integrate seamlessly with its surroundings upon stopping.
- “Only Place near Initial Angle”: This option provides more control, allowing the contraption to place its blocks only if it stops within a 23-degree range of its starting angle. This prevents accidental placement at inconvenient orientations.
- “Only Place when Anchor Destroyed”: This is the most restrictive setting. With this enabled, the contraption will never place its blocks as solid entities until the Mechanical Bearing itself is broken, effectively keeping the contraption in its dynamic, rotating state indefinitely until manual intervention.
Step-by-Step Guide to Building Your Turntable
Creating a rotating turntable with a Mechanical Bearing involves a straightforward sequence of steps:
- Place the Mechanical Bearing: Begin by positioning the Mechanical Bearing in the exact location where you intend the center of your rotating turntable to be. Ensure its “sticky side” (the side that will connect to your contraption) faces the direction you want your structure to extend.
- Apply Rotational Force: Next, connect a power source to the Mechanical Bearing. This is critical for its operation. Depending on your power generation setup, this could involve directly attaching a hand crank for testing, or integrating it into a larger power network with a series of shafts and gearboxes leading from an engine, such as a water wheel, to provide continuous rotational energy.
- Construct the Turntable Base: Directly on the “sticky side” of the Mechanical Bearing, begin constructing the structure that will form your turntable. This can be any arrangement of blocks you wish to rotate, forming the platform or mechanism.
- Apply Super Glue: This is a critical step for ensuring the entire structure rotates as a single unit. Use Super Glue to connect all individual blocks of your turntable structure to each other, and crucially, to the bearing itself. To apply, right-click one edge of a block, and then right-click an adjacent edge of another block (or the bearing). A distinct green area will appear, visually confirming that the glue has been successfully applied and the blocks are now linked for rotation. Ensure every part of your contraption is glued.
- Activate Rotation: Once your power source is connected, the contraption is fully assembled, and all components are properly glued, you can initiate the rotation. With an empty hand, simply right-click the Mechanical Bearing. The contraption should then begin to spin according to the supplied rotational force.
Important Tips for Optimal Turntable Performance
To ensure your rotating turntable operates smoothly and efficiently, keep these essential tips in mind:
- The Absolute Necessity of Super Glue: Reiterate this point: Super Glue is paramount. It acts as the structural adhesive for your contraption. Without proper application to all parts, only the block directly attached to the bearing will move, leaving the rest of your intended turntable stationary. Always double-check that the green glue indicator is present across all desired connections.
- Strategic Power Management: Understanding Create’s power system, specifically Stress Units (SU) and Rotational Speed (RPM), is vital. Each contraption has a stress requirement, and your power source must be capable of providing sufficient SU to operate it without issues. Insufficient power can lead to the bearing stuttering, slowing down, or even breaking under the strain. Conversely, managing RPM allows you to control the speed of your turntable.
- Mastering Stopping Behavior: The “Value Settings” on the Mechanical Bearing are crucial for defining how your contraption behaves when it comes to a halt. If your turntable needs to align perfectly with its surroundings when stopped, use “Always Place when Stopped.” If you want to prevent accidental placement, especially over valuable blocks like farmland, consider “Only Place near Initial Angle” or “Only Place when Anchor Destroyed.” Furthermore, to achieve a controlled stop without forcing the contraption to place its blocks, consider integrating a clutch behind the bearing. A clutch allows you to cut off rotational power without directly interacting with the bearing itself, offering finer control.
- The Wrench for Adjustments: The Wrench is an invaluable tool for working with Mechanical Bearings. If you need to reposition your bearing, correct a placement error, or simply retrieve it, simply Shift-right-clicking the Mechanical Bearing with a Wrench will safely destroy it and return it to your inventory, allowing for easy re-placement or modification.
- Achieving Gradual Speed Changes: For more sophisticated applications where sudden stops or starts are undesirable, you can implement gradual acceleration and deceleration. This can be accomplished by utilizing Adjustable Chain Gearshifts, which can be controlled by varying redstone signal strengths. For even more complex and precise speed control, integration with ComputerCraft setups can provide programmable and highly customizable speed ramps.
Common Mistakes to Avoid
Even experienced players can fall prey to certain pitfalls when constructing Mechanical Bearing contraptions. Being aware of these common errors can save you time and resources:
- Forgetting Super Glue: As repeatedly emphasized, this is the most frequent mistake. A turntable where not all components are glued will result in only a single block rotating, while the rest remain static, defeating the purpose of the contraption. Always confirm all connections are glued.
- Insufficient Power: Failing to provide adequate rotational force (Stress Units) to your Mechanical Bearing will lead to operational problems. The contraption might stutter, spin erratically, or even visibly struggle and break under the load, necessitating repairs or a more robust power source.
- Confusing Bearing Types: Ensure you are specifically using a Mechanical Bearing for your rotating turntable. The Create mod also features a Clockwork Bearing, which, despite its similar appearance, is designed for time-based mechanisms and functions very differently. Using the wrong bearing will not yield the desired rotational contraption.
- Bearing Grabbing Itself: If you are using chassis blocks as part of your contraption and their range is set too broadly, there’s a risk they might attempt to grab the Mechanical Bearing they are attached to. This self-grabbing can cause the bearing to break. Always use a Wrench to carefully adjust the ranges of any chassis blocks to prevent them from interfering with their own anchor.
- Incorrect Stopping Behavior Leading to Damage: Directly right-clicking the Mechanical Bearing to stop it, especially with the “Always Place when Stopped” setting enabled, will cause the contraption to place its blocks as solid entities. This can inadvertently destroy other blocks in its path, such as valuable farmland, or create unwanted obstructions. To mitigate this, always use a clutch to cut power and carefully adjust the bearing’s stopping settings to prevent unintended block placement.
By understanding these mechanics, following the construction steps, and heeding the important tips and common pitfalls, you can effectively build and utilize robust rotating turntables for a myriad of applications within your Minecraft world, greatly enhancing your automation and creative endeavors.

