Checking Mod Compatibility Before Updating Minecraft, Explained
Updating Minecraft can be an exciting prospect, bringing new features and content to your favorite blocky world. However, for players who rely on mods to enhance their gameplay experience, this process can introduce complexities. To ensure a smooth transition and prevent frustrating crashes or world corruption, it is absolutely crucial to verify mod compatibility before updating Minecraft. This guide will walk you through the essential mechanics, a step-by-step process, important tips, and common pitfalls to avoid when navigating the world of modded Minecraft updates.
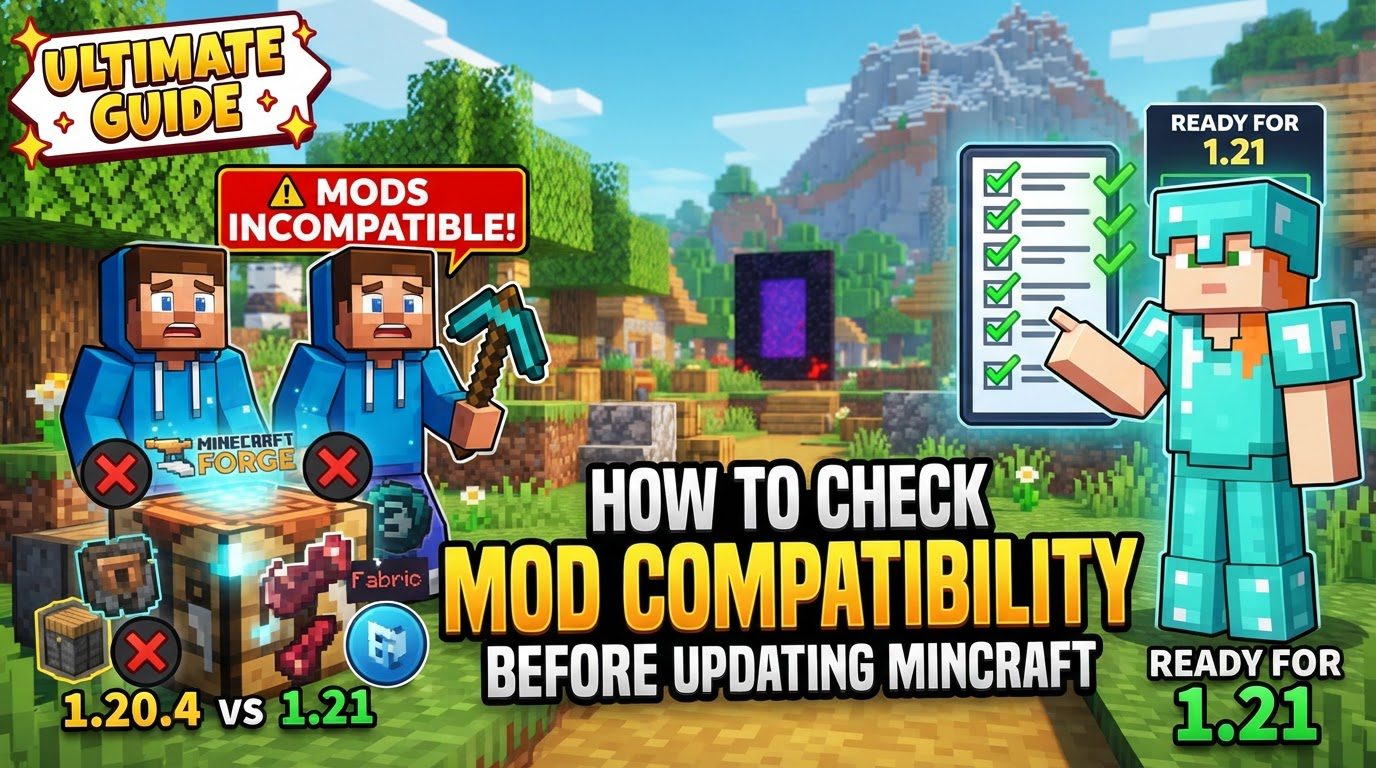
Understanding Key Mechanics of Mod Compatibility
Before diving into the update process, it’s vital to grasp the underlying mechanics that govern mod compatibility. A clear understanding of these principles will empower you to make informed decisions and troubleshoot issues more effectively.
-
Version and Loader Specificity: Mods are meticulously crafted for specific versions of Minecraft. They are also designed to integrate with particular mod loaders, such as Forge, Fabric, NeoForge, or Quilt. Attempting to use a mod with an incompatible Minecraft version or the wrong mod loader will invariably lead to game crashes, errors, or the mod simply failing to function as intended. Each mod file is essentially a custom modification tailored to a precise environment.
-
Conflicts Between Mods: Conflicts arise when two or more mods attempt to alter the same core game components in ways that are mutually exclusive or contradictory. For example, if multiple mods try to modify the same block ID, item recipe, or fundamental game logic, the game may not know which modification to prioritize, leading to instability or crashes. Identifying and resolving these conflicts is a key part of maintaining a stable modded setup.
-
Dependency Requirements: Many mods do not operate in isolation. Instead, they require other specific “dependency” mods to be present and functional. These dependencies often provide foundational code, APIs (Application Programming Interfaces), or shared resources that the main mod utilizes. A prime example is the Fabric API, which is a necessary dependency for the vast majority of mods built for the Fabric mod loader. Failing to install these required dependencies will prevent the main mod from loading or working correctly.
-
Framework and API Compatibility: Mods that are designed for the same underlying framework or API tend to exhibit a higher degree of compatibility with each other. This is because they are built upon a common set of rules and interfaces, reducing the likelihood of direct conflicts. Conversely, mixing mods from different frameworks (e.g., trying to run Forge mods with Fabric mods without specific bridge solutions) is generally not supported and will cause issues.
-
Examining Class Files for Overlaps: For advanced users or those attempting deep troubleshooting, examining a mod’s
.classfiles can offer insights into potential conflicts. Overlaps in these core game files, where multiple mods target identical code segments, can be a strong indicator of an impending conflict. While this method requires technical expertise, it serves as a powerful diagnostic tool for predicting instability.
Step-by-Step Process for Checking Mod Compatibility
Following a structured approach is paramount to successfully updating your modded Minecraft experience. This step-by-step guide will help you navigate the process methodically.
-
Backup Your Current Minecraft World(s) and Mod Profiles: This is arguably the most critical first step. Before initiating any updates or changes, create comprehensive backups of all your existing Minecraft worlds and your current mod profiles. This safeguard ensures that if anything goes wrong during the update process, you can revert to your previous, stable setup without losing valuable progress or configurations. Store these backups in a safe, easily accessible location.
-
Identify Your Current Minecraft Version and Mod Loader: Understand your starting point. Clearly identify which version of Minecraft you are currently playing (e.g., 1.18.2, 1.19.4) and which mod loader you are using (e.g., Forge, Fabric, NeoForge). This information is essential for determining your target update path and finding compatible versions of your mods.
-
Research Each Mod Individually: This step requires diligence. For every mod you intend to carry over to the new Minecraft version, you must perform individual research:
-
Visit Official Download Pages: Navigate to the mod’s official download page, typically on platforms like CurseForge or Modrinth. These sites are the authoritative sources for mod files and information.
-
Check for Compatible Versions: On the mod’s page, look for releases or versions that explicitly state compatibility with your desired target Minecraft update and your chosen mod loader. Do not assume older versions will work.
-
Look for Dependencies and Incompatibilities: Scrutinize the mod’s description, documentation, or “relations” tab for any explicitly stated dependencies (other mods required for it to run) or known incompatibilities with other popular mods. This information is usually provided by the mod author.
-
Inter-Mod Compatibility: For mods that integrate with others, check the “dependents” section on mod pages. You might also need to search for specific integration mods (e.g., “Ars X” for addons that extend the functionality of Ars Nouveau) if you rely on such interactions.
-
-
Utilize Compatibility Tools (If Available): Several tools can assist in streamlining the compatibility checking process:
-
Online Compatibility Checkers: Tools such as HapFinds’ Mod Compatibility Checker can analyze a list of Modrinth mods, identifying potential conflicts and missing dependencies for a specified Minecraft version and mod loader. This can save significant manual effort.
-
Mod Launchers: Popular mod launchers like Prism Launcher or the official CurseForge app often incorporate features designed to help manage mod updates and assess compatibility, sometimes indicating which mods have available updates for your target version.
-
File-Based Checkers: Utilities like PlugCheck allow users to drag and drop individual
.jarfiles to quickly check their compatibility against a chosen target Minecraft version and mod loader, providing immediate feedback on a mod’s viability.
-
-
Create a New, Separate Instance: Rather than modifying your existing modded setup directly, create a completely new and separate instance within your mod launcher for the updated Minecraft version. This isolation prevents potential corruption of your old instance and provides a clean slate for testing.
-
Add and Test Mods Incrementally: Once your new instance is set up, begin adding your updated mods in small, manageable batches. Install a few updated mods, launch the game, and thoroughly verify their functionality. If everything works, add another small batch. This incremental approach is invaluable for isolating problematic mods; if a crash occurs, you’ll know that one of the recently added mods is the culprit, making troubleshooting significantly easier.
-
Examine Crash Reports: Should your game crash, do not panic. Minecraft generates a crash report that is usually saved in your game directory. Review this error log carefully; it almost always contains crucial information, often directly pointing to the specific mod or conflict that caused the issue, providing a clear path for resolution.
Important Tips for a Smooth Modded Update
Beyond the core process, several best practices can significantly improve your chances of a successful and stable modded Minecraft update.
-
Download Mods from Trusted Platforms: Always download your mods exclusively from reputable and trusted platforms such as CurseForge or Modrinth. These sites have moderation systems in place to minimize the risk of malware, outdated files, or improperly packaged mods, ensuring the integrity of your game files.
-
Read Mod Creator’s Notes: Prioritize reading all notes, installation instructions, and any reported issues or known bugs on a mod’s official page. Mod authors frequently provide critical information regarding compatibility, specific setup requirements, or temporary workarounds that can save you hours of troubleshooting.
-
Ensure Up-to-Date Java Installation: Verify that your Java installation is current and appropriate for your target Minecraft version. Different Minecraft versions may require specific Java versions (e.g., Java 17 for Minecraft 1.18+). An outdated or incorrect Java version can prevent Minecraft or your mods from launching.
-
Update Your Mod Loader: Always ensure that your chosen mod loader (Forge, Fabric, NeoForge, etc.) is updated to the specific version that corresponds with your target Minecraft update. Mod loaders are constantly updated to support new Minecraft versions and often include bug fixes and performance improvements.
-
Prioritize Library Mods and APIs: When updating, give precedence to essential library mods and APIs, such as Fabric API, CoFH Core, or similar foundational mods. Many other mods depend on these core libraries, so ensuring their compatibility and presence first is crucial for the stability of your entire modpack.
-
Test in a Fresh Minecraft World: Before risking your beloved, long-term modded worlds, always test your newly updated mod setup in a completely fresh Minecraft world. This precaution helps to identify any potential issues, such as missing blocks, world generation errors, or item ID conflicts, without the risk of corrupting your valuable existing saves.
Common Mistakes to Avoid
Being aware of common pitfalls can save you considerable time and frustration during the mod update process. Avoiding these mistakes will lead to a much smoother experience.
-
Ignoring Version Compatibility: One of the most frequent errors is attempting to use mods that are not specifically designed for your target Minecraft version or your chosen mod loader. This oversight is a guaranteed path to crashes and non-functional mods.
-
Installing Too Many Mods at Once: While tempting, installing a large number of updated mods simultaneously is a major mistake. If a problem arises, pinpointing the exact mod causing the conflict becomes an almost impossible task, turning troubleshooting into a lengthy and frustrating ordeal.
-
Overlooking Dependencies: Forgetting to download and install all required supporting or “dependency” mods is a common oversight. Many mods rely on other specific files or APIs to function, and their absence will prevent the main mod from working, often resulting in startup crashes.
-
Directly Loading Updated Mods into Old Worlds: Directly loading an existing, heavily modded world with a newly updated set of mods can lead to severe world corruption, missing blocks, lost progress, or even make the world unplayable. Always test in a new world first and understand the implications of loading old saves with new mod versions.
-
Assuming Cross-Version Compatibility: A mod working on Minecraft 1.18 does not mean it will automatically work on 1.19 or 1.20. Mods are generally not compatible across different major Minecraft versions due to significant changes in the game’s underlying code. Each major version typically requires specifically updated mod versions.
-
Not Backing Up Your Worlds: The failure to create comprehensive backups of your existing worlds and mod profiles before attempting any updates is a critical error. Without backups, any unforeseen issue or corruption can result in irreversible data loss, making all your hard work and progress disappear permanently.
Tags:
YOU MAY ALSO LIKE...