Checking Which Java Version a Modpack Needs (Step by Step)
Understanding Java Requirements for Minecraft Modpacks
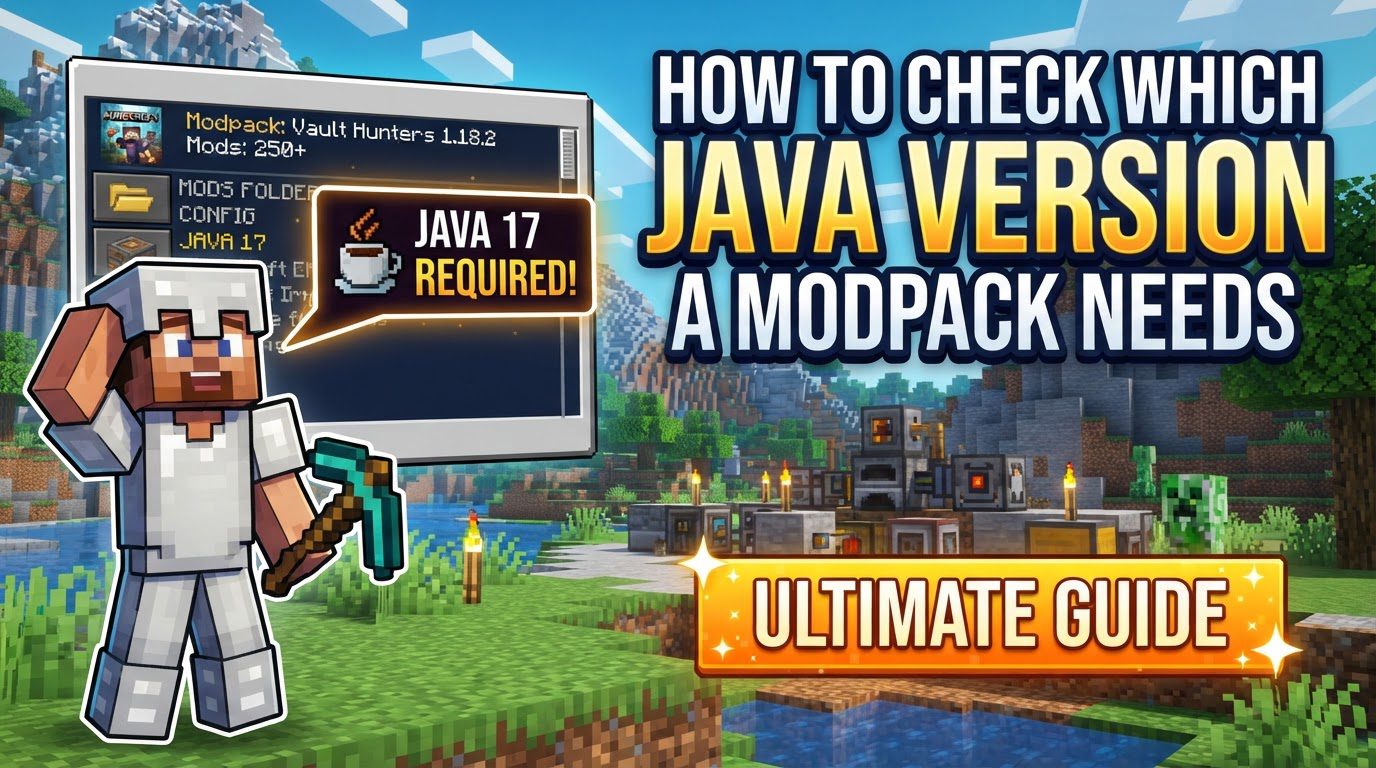
Minecraft modpacks, while offering an enriched gameplay experience, often come with specific technical requirements, paramount among which is the correct Java version. The success of launching and running your favorite modpack hinges significantly on using the appropriate Java Development Kit (JDK). This comprehensive guide will walk you through the process of identifying, downloading, and configuring the correct Java version for any Minecraft modpack, ensuring a smooth and error-free launch.
Key Mechanics of Java and Modpacks
The relationship between Minecraft versions and Java is fundamental. Each major Minecraft update is typically developed and compiled using a specific Java version, and modpacks inherit these foundational requirements. In some cases, modpacks might even impose stricter Java version demands than the base game, often due to specific mods included within the pack.
- Minecraft Version Dictates Java: The core principle is that the Minecraft version a modpack is built for directly dictates its primary Java version requirement. Modpacks, being extensions of Minecraft, must adhere to these underlying specifications.
- Newer Minecraft, Newer Java: A general trend to remember is that recent Minecraft versions (specifically 1.17 and above) necessitate newer Java environments. This means you’ll typically need Java 16, Java 17, or even Java 21 to run these modern iterations of the game and their associated modpacks.
- Older Minecraft, Older Java: Conversely, older Minecraft versions, spanning from 1.7.10 up to 1.16.5, are predominantly designed to operate on Java 8. Very legacy Minecraft versions might, in rare instances, require Java 7, though Java 8 is far more common for historical modpacks.
- Consequences of Incorrect Java: Attempting to launch a modpack with an incompatible Java version will invariably lead to launch failures. You might encounter cryptic error messages such as “JNI error” or warnings indicating that the code was “compiled in a newer version,” both clear indicators that your Java setup is not correct.
- Launcher Control: Fortunately, most dedicated modpack launchers provide robust settings that allow you to specify and manage the Java executable for each individual modpack instance. This flexibility is crucial for running multiple modpacks that might have different Java requirements without system-wide conflicts.
Step-by-Step Process to Determine Java Version
To successfully run your modpack, follow these steps to identify and configure the correct Java environment:
1. Identify the Minecraft Version
The very first step is to ascertain which specific Minecraft version your modpack is designed for. This information is almost always prominently displayed in the modpack’s description, on its official download page, or within its documentation. For instance, it might state “Minecraft 1.16.5” or “Minecraft 1.19.2.” This detail is the cornerstone for determining the required Java version.
2. Determine the Java Requirement
Once you know the Minecraft version, you can match it to the corresponding Java version based on the following guidelines:
- For Minecraft 1.7.10 – 1.11.2: For modpacks built on these older Minecraft versions, Java 8 is the universally recommended and compatible version.
- For Minecraft 1.12 – 1.16.5: Modpacks in this range generally function well with either Java 8 or Java 11. However, Java 8 remains the most widely compatible and recommended choice for broader stability across various mods.
- For Minecraft 1.17 – 1.18.2: These newer Minecraft iterations necessitate a more modern Java environment. You will need either Java 16 or Java 17. Among these, Java 17 is generally recommended as it is a Long-Term Support (LTS) release, offering better stability and ongoing support.
- For Minecraft 1.19 and later: For the most recent Minecraft versions, including 1.19 and beyond, you should target Java 17 or Java 21. Java 17 is officially recommended by Mojang for these versions, while Java 21 represents the latest LTS release, offering cutting-edge performance and features.
3. Download the Appropriate Java Development Kit (JDK)
After pinpointing the exact Java version needed, you must download the correct 64-bit JDK. It is crucial to obtain this from a reputable and trusted source to ensure security and stability. Recommended sources include:
- Adoptium (Eclipse Temurin): A popular choice for open-source, high-performance JDKs.
- OpenJDK: The primary open-source reference implementation of the Java Platform.
- Oracle: The official maintainer of Java, offering commercial and free versions of their JDK.
Always ensure you are downloading the 64-bit version, as Minecraft modpacks require this for optimal performance and memory allocation.
4. Install Java
Once the JDK installer is downloaded, run it. The installation process is typically straightforward, following standard software installation procedures. It’s often beneficial to note the installation directory, as you will need to point your launcher to this location later.
5. Configure Your Launcher
The final, and perhaps most critical, step is to direct your chosen Minecraft launcher to use the newly installed Java version. The process varies slightly depending on which launcher you are using:
- Default Minecraft Launcher:
- Open the Minecraft Launcher.
- Navigate to the “Installations” tab.
- Locate the specific modpack’s profile (or create a new one if necessary) and click on the “Edit” button (pencil icon).
- In the profile settings, click on “More Options.”
- Find the “Java Executable” field. Here, you’ll need to browse to the location of the
javaw.exefile within your newly installed Java directory. This file is typically found in a path similar toC:\Program Files\Java\jdk-[version]\bin\javaw.exe. - Save your changes.
- CurseForge App:
- Open the CurseForge App.
- Go to “Settings” (usually a gear icon).
- Select “Minecraft” from the left-hand menu.
- Under the “Java Settings” or “Java Versions” section, you can either select from a dropdown list of detected Java installations or use the “Browse” option to manually point to the
javaw.exeof your desired Java version.
- ATLauncher:
- Launch ATLauncher.
- Click on “Settings” in the main menu.
- Navigate to the “Java/Minecraft” tab.
- Locate the “Java Path” setting and use the browse function to select the
javaw.exefile for your correct Java installation.
- Technic Launcher:
- Open Technic Launcher.
- Click on “Launcher Options” in the top right corner.
- Go to the “Java Settings” tab.
- Here you can adjust the Java version by selecting from detected installations or manually specifying the path to your Java executable.
- Prism Launcher:
- Prism Launcher is highly regarded for its excellent Java management capabilities. It often automatically detects multiple Java installations and allows you to easily assign a specific Java version to each modpack instance directly within its instance settings. Simply edit the instance, and you’ll find clear options for Java selection.
Important Tips for Modpack Management
- Always Use 64-bit Java: This cannot be stressed enough. Minecraft modpacks, especially those with many mods, require significant memory. A 64-bit Java installation is essential to access and utilize more than 2GB of RAM, which is standard for most modpacks.
- Leverage Dedicated Modpack Launchers: While the default Minecraft launcher works, dedicated launchers like CurseForge, ATLauncher, MultiMC, and Prism Launcher are specifically designed to simplify the complexities of modpack and Java management. They often provide more intuitive interfaces for setting Java paths and allocating RAM.
- Check Modpack Documentation: Before embarking on extensive troubleshooting, always consult the modpack’s official page or documentation. Many modpack creators explicitly state the required Java version, saving you time and effort.
- Allocate Sufficient RAM: Modpacks are resource-intensive. Ensure you allocate enough RAM within your launcher settings – typically 6-8 GB for demanding modpacks. However, be cautious not to allocate more than half of your system’s total RAM, as this can lead to system instability and performance issues rather than improvements.
- Watch for “Java Checker” Mods: Some well-developed modpacks include a “Java Checker” mod. If present, this mod will provide user-friendly warnings or messages directly in-game or during launch if it detects an outdated or incorrect Java version, guiding you towards the solution.
Common Mistakes to Avoid
Navigating the world of modpacks can be tricky, and certain pitfalls are common. Being aware of these can save you a lot of frustration:
- Using Incorrect or Outdated Java: This is by far the most frequent cause of modpack launch failures. Always double-check the Minecraft version and cross-reference it with the required Java version. A mismatch will almost certainly prevent the modpack from starting.
- Failing to Direct the Launcher: Many users install the correct Java version but forget to tell their launcher to use it. The launcher might default to a system-wide Java installation that is incompatible. Always configure your launcher to specifically point to the Java executable you’ve installed for the modpack.
- Ignoring Version Compatibility: Do not attempt to run a modpack designed for a newer Minecraft version (and thus newer Java) with an older Java version, or vice-versa. For example, trying to run a Minecraft 1.19 modpack with Java 8 will not work. Always verify compatibility before launching.
- Allocating Excessive RAM: While it’s good to allocate enough RAM, allocating too much (e.g., more than half of your physical RAM) can paradoxically lead to performance problems, system slowdowns, and crashes, rather than enhancing your gameplay experience. Find a balance that suits your system’s capabilities.
By carefully following these steps and heeding the advice, you will be well-equipped to manage Java versions for any Minecraft modpack, ensuring a smooth and enjoyable modded adventure.
Tags:
YOU MAY ALSO LIKE...