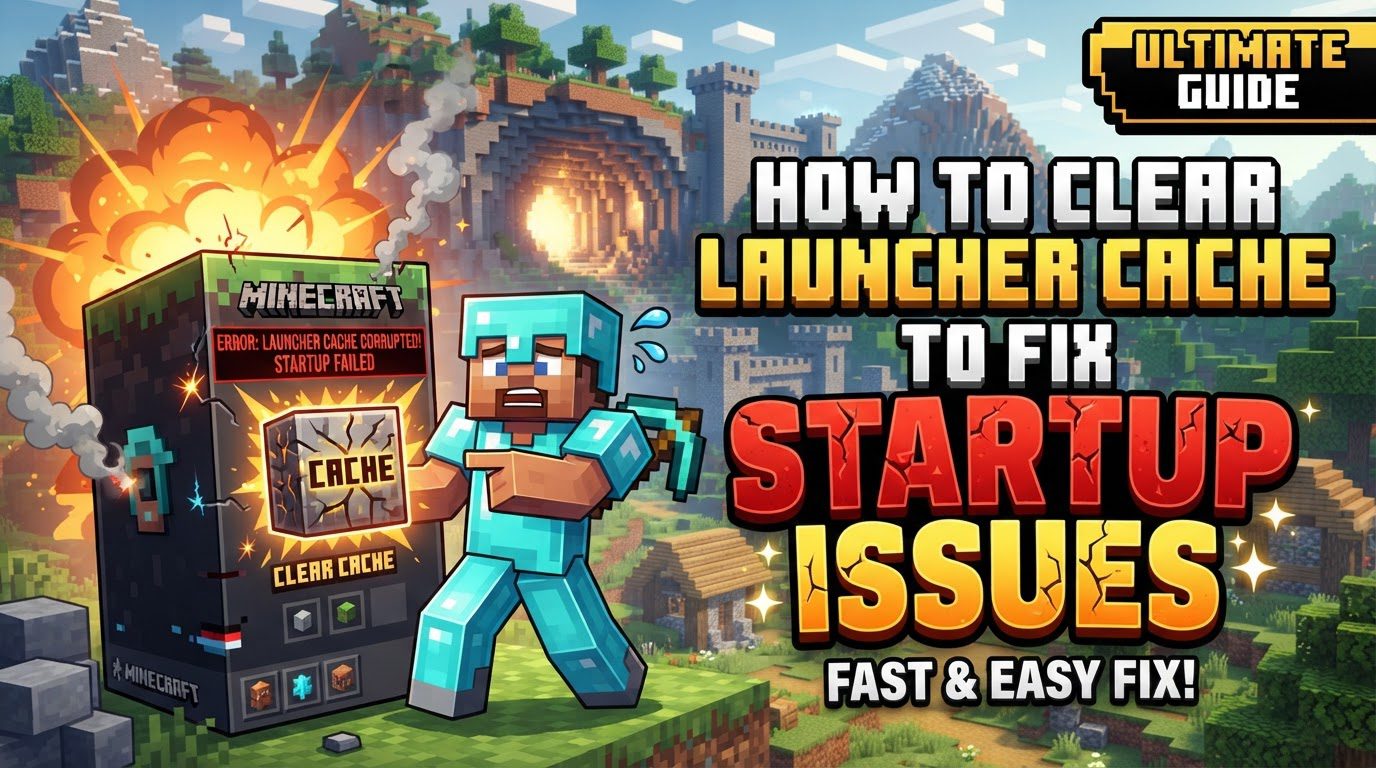
Clearing Launcher Cache to Fix Startup Issues (Step by Step)
Minecraft, a globally beloved game, occasionally encounters startup issues with its launcher. When the launcher refuses to open, crashes unexpectedly, or exhibits other erratic behavior, a common and highly effective first troubleshooting step is to clear its cache. This guide will walk you through the comprehensive process of clearing the Minecraft launcher’s cache and related temporary files, addressing common underlying issues, and ensuring a smoother gaming experience.
Understanding Why Clearing the Cache Helps
The Minecraft launcher, like many applications, utilizes temporary files to store data it frequently accesses. This cache helps speed up loading times and improve overall performance. However, these temporary files can sometimes become corrupted over time. When this happens, the corrupted data can interfere with the launcher’s normal operations, leading to a variety of startup problems, including freezing, crashing, or an inability to launch the game at all.
Clearing the cache specifically targets these temporary files. It’s crucial to understand that this process is designed to be safe and non-destructive to your game progress. It does not erase your Minecraft worlds, nor does it delete your login credentials or custom game settings. Instead, it removes the potentially problematic temporary data. Once the cache is cleared, the launcher will automatically redownload any necessary temporary files the next time it runs, ensuring it has a fresh, uncorrupted set of data to work with.
Beyond simple temporary files, corrupted configuration files within the launcher itself can also be a source of issues. Furthermore, the modern Minecraft Launcher relies heavily on underlying Microsoft services, specifically the Microsoft Store and Xbox services. Problems with these integrated services can directly impact the launcher’s ability to function correctly, making it necessary to clear their associated caches as well.
Before You Begin: Essential Preparations and Tips
Before diving into the cache-clearing steps, a few preliminary actions and checks can often resolve minor issues or prevent further complications:
- Restart Your PC: Often overlooked, a simple computer restart can resolve many temporary glitches and background process conflicts that might be affecting the launcher.
- Back Up Your Worlds: While clearing the cache does not affect your game worlds, more drastic troubleshooting steps like reinstalling the launcher (if necessary) could potentially impact game files if not handled carefully. It’s always a good practice to back up your Minecraft worlds periodically, especially before undertaking significant troubleshooting. Your worlds are typically located in the
.minecraft/savesfolder within your%appdata%directory. - Run as Administrator: Always try running the Minecraft Launcher as an administrator. This grants it the necessary permissions to access and modify system files, which can prevent many permission-related errors.
- Verify System Date and Time: Ensure your PC’s date, time, time zone, and region settings are correct. Incorrect settings can sometimes interfere with online services and authentication processes that the launcher relies on.
Step-by-Step Guide to Clearing the Launcher Cache
Follow these steps in the order provided for the most effective troubleshooting. Each step targets a different aspect of the launcher’s cached data or related services.
1. Clean Cached Account Tokens (Within Launcher)
This is the most direct way to clear account-specific cached data within the launcher itself.
- Open the Minecraft Launcher.
- Navigate to ‘Settings‘ (usually a gear icon).
- Click on ‘Accounts‘.
- Select ‘Advanced Options‘.
- Click on ‘Clean up cached account tokens‘. This action removes stored login information that might be corrupted, forcing a fresh authentication the next time you log in.
2. Delete Webcache Folder
The Webcache folder stores temporary web-related data that the launcher uses, similar to a browser cache. Corrupted files here can prevent the launcher from displaying content or logging in correctly.
- Press the
Windows key + Rsimultaneously to open the Run dialog. - Type
%appdata%and pressEnter. This will open your AppData Roaming folder. - Navigate back one level to the
AppDatafolder if you are inRoaming, then go intoLocal. Alternatively, you can directly type%localappdata%in the Run dialog. - Locate and open the
.minecraftfolder. - Inside
.minecraft, find the folder namedWebcache. - Delete all its contents. You can select all files and folders within
Webcacheand pressDelete. Do not delete theWebcachefolder itself, only its contents.
3. Delete Microsoft Store Local Cache Files
Since the Minecraft Launcher is often installed via the Microsoft Store and interacts with it, clearing the Store’s local cache can resolve issues stemming from its own temporary data.
- Navigate to the following directory in File Explorer:
C:\Users\YourUsername\AppData\Local\Packages\Microsoft.WindowsStore_8wekyb3d8bbwe. (ReplaceYourUsernamewith your actual Windows username). - Inside this folder, locate the folder named
LocalCache. - Delete the entire
LocalCachefolder. This will remove all temporary files associated with the Microsoft Store’s local operations.
4. Clear TokenBroker Folder
The TokenBroker folder is associated with the Xbox Identity Provider, which handles authentication for Microsoft services, including the Minecraft Launcher. Corrupted data here can cause login failures.
- Navigate to the following directory in File Explorer:
C:\Users\YourUsername\AppData\Local\Packages\Microsoft.XboxIdentityProvider_8wekyb3d8bbwe\AC\TokenBroker. (Again, replaceYourUsername). - Delete all contents within this
TokenBrokerfolder. This forces a fresh acquisition of authentication tokens.
5. Run WSRESET Command
This command is a built-in Windows utility specifically designed to reset the Microsoft Store cache. It can often resolve issues where the Store itself is malfunctioning, which in turn affects the Minecraft Launcher.
- In the Windows search bar (usually next to the Start button), type
WSRESET. - The ‘WSRESET’ command will appear. Run this command.
- A blank Command Prompt window will appear for a moment, and then the Microsoft Store app will automatically launch. This indicates the cache has been reset.
6. Repair/Reset Launcher (App Settings)
Windows provides built-in options to repair or reset applications, which can fix corrupted app data without a full reinstallation.
- In the Windows search bar, type “Minecraft Launcher”.
- Right-click on “Minecraft Launcher” in the search results and select ‘App settings‘.
- Scroll down to the ‘Terminate’ section. Click ‘Terminate‘ to ensure the launcher and all its background processes are completely shut down.
- Next, under the ‘Reset’ section, first try ‘Repair‘. This attempts to fix any minor issues without deleting app data.
- If ‘Repair’ doesn’t resolve the issue, return to ‘App settings’ and try ‘Reset‘. This will delete the app’s data, effectively giving it a fresh start (though still retaining core installation files).
7. Reinstall Launcher (If Other Steps Fail)
If none of the above steps have resolved your startup issues, a complete reinstallation of the launcher is the next logical step. This ensures you have a completely fresh, uncorrupted installation.
- First, uninstall the Minecraft Launcher from your system. You can do this via ‘Apps & features’ in Windows Settings, or by right-clicking the launcher in the Start menu and selecting ‘Uninstall’.
- Restart your PC after uninstalling. This helps clear any residual files or processes.
- Finally, download and reinstall the launcher. You can obtain it from the official Minecraft website or directly from the Microsoft Store. Ensure you download the correct version for your account (e.g., Minecraft for Windows or the universal launcher).
Important Considerations and Common Mistakes
- Service Status: Ensure that ‘Gaming Services’ and ‘Xbox Identity Provider’ are installed and up-to-date on your system. These are critical components for the launcher’s functionality. You can often check and update them via the Microsoft Store.
- Account Consistency: Verify that you are signed into the same Microsoft account across all relevant applications: the Minecraft Launcher, the Microsoft Store, and the Xbox app. Inconsistent logins can cause authentication problems.
- Gaming Services Repair Tool: If Xbox-related issues persist, consider using the ‘Gaming Services Repair Tool’ which is sometimes provided by Xbox support. This can diagnose and fix deeper issues with Xbox services.
- Avoid Deleting Game Data: A common mistake is to confuse temporary cache files with essential game data. Do not delete the game’s “Data” files (e.g., your
savesfolder or entire.minecraftdirectory, unless specifically instructed for a full reinstallation). Deleting data can lead to permanent loss of your Minecraft worlds and other game progress. Always confirm you are in the correct cache or temporary folder before deleting. - Background Services: Neglecting to ensure essential background services are running can prevent the launcher from functioning correctly. Services like IP Helper, various Xbox Live services, and Windows Update should be enabled and running.
By systematically following these steps, you significantly increase your chances of resolving Minecraft launcher startup issues by clearing corrupted cache and related temporary files. Remember that persistence and careful attention to detail are key to successful troubleshooting.
Tags:
YOU MAY ALSO LIKE...