Comparing Vanilla Shaders Versus RTX Visuals, Explained
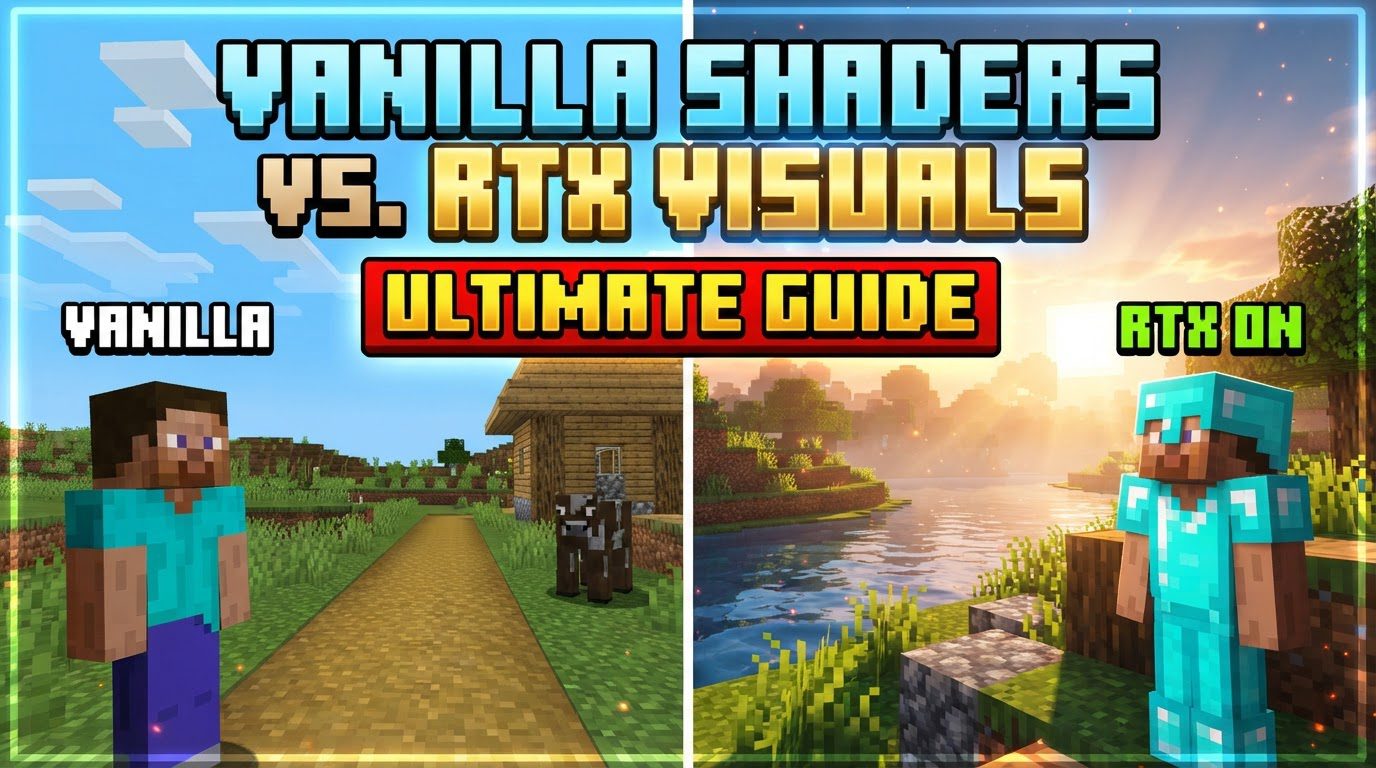
Minecraft offers players diverse avenues to elevate its visual fidelity, ranging from extensive community-made modifications to cutting-edge graphics technology. This guide provides a comprehensive comparison between traditional vanilla shaders and the advanced real-time ray tracing (RTX) visuals. While both aim to transform Minecraft’s appearance, they operate on fundamentally different principles, cater to distinct game editions and hardware, and offer unique visual experiences.
Vanilla Shaders
- Key Mechanics
- Shaders are community-made modifications that significantly enhance Minecraft’s visuals, introducing effects like realistic lighting, dynamic shadows, detailed reflections, waving foliage, and improved water rendering.
- Their primary function involves modifying how light is perceived and subsequently rendered within the game environment.
- Many shader packs are designed to maintain Minecraft’s core aesthetic, focusing on improving clarity and realism to deliver a “vanilla-like” experience.
- It is important to note that shaders do not perform real-time ray tracing; instead, they apply programmed visual effects over the game’s existing rendering pipeline.
- Shaders are predominantly used with Minecraft Java Edition due to its robust modding ecosystem.
- Shaders and resource packs are separate entities, allowing for flexible combinations to customize both textures and visual effects.
- Step-by-step Process (for Java Edition)
- First, install a mod loader and a dedicated shader loader such as OptiFine or Iris Shaders.
- Next, download your desired shader pack, typically from platforms like CurseForge or Modrinth.
- Place the downloaded shader pack file (usually a .zip) into the `shaderpacks` folder located within your Minecraft directory.
- Launch Minecraft using the specific profile associated with your installed mod loader (e.g., OptiFine/Iris profile).
- In-game, navigate to Options > Video Settings > Shader Packs and select your chosen shader from the list.
- Finally, click “Apply” and allow the shader to load, which may take a few moments.
- Important Tips
- Always ensure your chosen shader pack is compatible with both your specific Minecraft version and your mod loader version to avoid issues.
- Adjust the in-game shader settings for elements like shadows, reflections, clouds, and water to optimize performance and achieve your preferred visual style.
- Be aware that some shaders offer specific profiles, such as “default high” or “lite,” designed to cater to varying PC capabilities.
- To retain a “vanilla” look, opt for shaders that enhance clarity and smoothness without introducing overly dramatic or transformative effects.
- Common Mistakes to Avoid
- A common error is not having a compatible mod loader (like OptiFine or Iris) properly installed for Java Edition.
- Downloading shader packs intended for an incorrect Minecraft version will lead to incompatibility.
- Do not expect Java shaders to function on Bedrock Edition, or vice-versa, as they are distinct platforms.
- Overlooking the potential performance impact is crucial; highly demanding shaders can cause significant FPS drops, especially on less powerful hardware.
- Incorrectly placing the shader pack file or failing to activate it within the video settings will prevent it from working.
RTX Visuals
- Key Mechanics
- Minecraft with RTX utilizes real-time ray tracing, enabled by Minecraft’s Render Dragon graphics engine, to precisely simulate how light behaves in the environment.
- This technology introduces highly realistic lighting capabilities, including global illumination, per-pixel lighting, accurate reflections, refractions, and physically correct shadows.
- Experiencing RTX requires a dedicated RTX-capable graphics card, specifically an NVIDIA GeForce RTX 20 Series or higher, or an AMD Radeon RX 6000 Series or higher.
- RTX visuals are significantly enhanced by Physically Based Rendering (PBR) textures, which contain extra surface detail and can emit light, contributing to heightened realism.
- RTX visuals are exclusively available for Minecraft Bedrock Edition, specifically on Windows 10/11 operating systems.
- Step-by-step Process (for Bedrock Edition on Windows)
- First, ensure you have Minecraft Bedrock Edition for Windows 10/11 and a compatible RTX graphics card installed.
- Download an RTX-enabled resource pack (often called “RTX texture packs” or “RTX conversion packs”) from the Minecraft Marketplace or trusted third-party sites like CurseForge or MCPE Central.
- Install the resource pack by simply double-clicking the `.mcpack` file, which should automatically import it into Minecraft.
- In Minecraft, navigate to Settings > Global Resources > My Packs and proceed to activate the newly imported RTX resource pack.
- For specific worlds, ensure the RTX pack is also active within its individual Resource Packs settings.
- Finally, in-game, go to Video Settings and toggle the “Ray Tracing” option, which becomes available only when a compatible pack is active. A game restart might be needed if visuals appear glitched after activation.
- Important Tips
- Always ensure your GPU drivers are up to date to guarantee optimal performance and compatibility with RTX features.
- If you aim to preserve the original Minecraft aesthetic, look for “Vanilla RTX” packs, which apply ray tracing enhancements while retaining the familiar visual style.
- If you experience low frame rates, consider disabling Minecraft’s in-game VSync and instead manage VSync through your graphics card’s control panel.
- Verify that “Allow in-game graphics mode switching” is enabled in your video settings, as this can be important for proper RTX functionality.
- Common Mistakes to Avoid
- A critical mistake is attempting to use RTX on Minecraft Java Edition or with incompatible hardware, such as non-RTX GPUs, mobile devices, or console editions.
- RTX cannot simply be toggled on; failing to download and activate an RTX-enabled resource pack is a common oversight.
- Using outdated Minecraft versions can lead to issues, as RTX features are continuously updated and improved.
- Be aware of potential visual bugs like incorrect textures, overly reflective surfaces, dark scenes, or broken clouds, which are often fixable by ensuring the correct RTX pack is loaded or by restarting the game.
In summary, both vanilla shaders and RTX visuals offer compelling ways to enhance Minecraft’s graphical presentation, yet they cater to different platforms and utilize distinct rendering technologies. Vanilla shaders, primarily for Java Edition, are community-driven modifications that apply programmed visual effects to achieve realistic lighting, shadows, and reflections without true ray tracing. They offer broad compatibility with various hardware and prioritize maintaining the game’s core aesthetic.
Conversely, RTX visuals, exclusive to Bedrock Edition on Windows, employ real-time ray tracing technology and require specific RTX-capable hardware. This approach physically simulates light, delivering unparalleled realism in global illumination, reflections, and shadows, often utilizing Physically Based Rendering (PBR) textures. The choice between these two powerful visual enhancements ultimately depends on your Minecraft edition, available hardware, and the desired level of visual fidelity and realism you wish to achieve in your blocky world.
Tags:
YOU MAY ALSO LIKE...