Configuring a Modpack Using a Launcher, Explained
Understanding Minecraft Modpacks and Launchers
Minecraft offers an unparalleled level of customization, and at the heart of its expanded gameplay experiences lies the concept of a modpack. A modpack is a meticulously curated collection of Minecraft mods, along with specific game settings and configurations, all bundled together. This comprehensive package is designed to deliver a unique and cohesive gameplay experience, which can range from extensive overhauls that transform the entire game to more niche themes, such as dedicated farming simulations or focused exploration adventures.
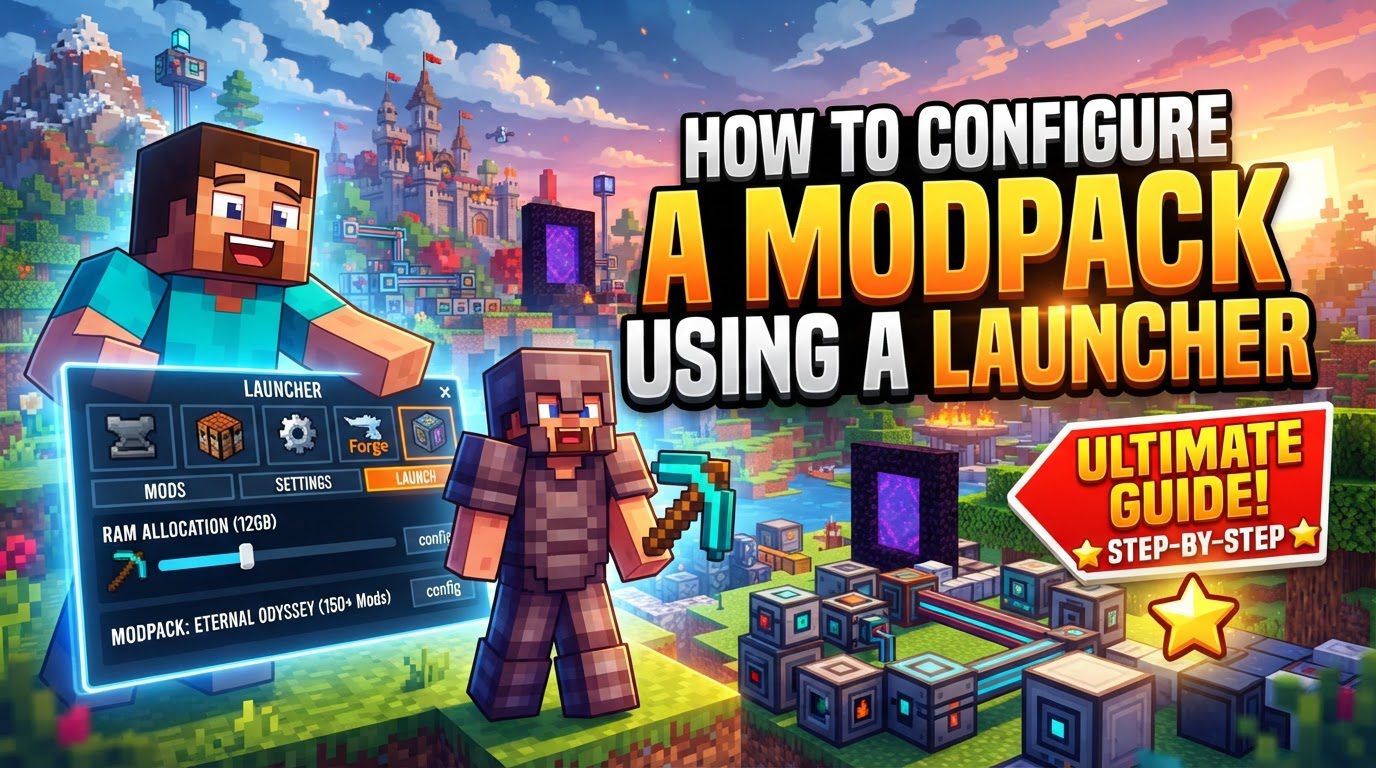
To effectively manage and launch these intricate collections, modpack launchers are indispensable tools. These applications are specifically engineered to simplify the otherwise complex processes of installing, managing, and launching modpacks. The necessity for these dedicated launchers arises because Minecraft’s default launcher, while functional for vanilla play, does not inherently support the installation and management of modpacks. Modpack launchers bridge this gap, providing a user-friendly interface for an enhanced modded experience.
Central to any modded Minecraft setup are mod loaders. These are essential frameworks that act as the backbone, enabling Minecraft to run mods. Prominent examples of mod loaders include Forge, Fabric, NeoForge, and Quilt. It is crucial to understand that a modpack requires a specific mod loader and a particular version of Minecraft to function correctly. Furthermore, mods designed for one loader are generally incompatible with others. For instance, a mod built for Forge will not work with a Fabric installation, and vice-versa. This fundamental compatibility requirement is a cornerstone of successful modpack configuration.
Beyond just the collection of mods, modpacks frequently incorporate additional files and elements to create a truly integrated experience. These can include custom configuration changes that fine-tune how mods interact, specialized scripts (such as those written for CraftTweaker or KubeJS) that modify recipes or add new game mechanics, and even integrated quest lines that guide players through the modpack’s unique content. These supplementary components work in concert to ensure that the various mods within the pack not only function together but also contribute to a coherent and engaging gameplay narrative.
Step-by-Step Guide to Configuring Your Modpack
Configuring a Minecraft modpack through a launcher is a streamlined process designed to get you into your customized game world quickly. Follow these steps for a successful setup:
- Choose a Launcher: The first critical step is to select a modpack launcher that aligns with your needs and supports the modpacks you wish to play. The modding community offers several robust options. Popular choices include the CurseForge App, which hosts a vast library of modpacks; the Modrinth App, another growing platform; the FTB App, known for its exclusive modpacks; Prism Launcher, a highly customizable and efficient option; and the Technic Launcher, which hosts its own unique collection of packs. Your choice will often depend on which modpacks you intend to play, as some are exclusive to certain launchers.
- Download and Install the Launcher: Once you’ve decided on a launcher, navigate to its official website to download the installer. Follow the on-screen instructions to install the launcher application on your operating system. The installation process is typically straightforward and similar to installing any other software.
- Log In: After the launcher is installed and opened, you will need to log in using your Minecraft account details. This usually involves providing your Mojang account credentials or, more commonly now, your Microsoft account details. This step authenticates your ownership of Minecraft and allows the launcher to manage game instances on your behalf.
- Browse/Discover Modpacks: Within the launcher’s interface, locate the section dedicated to discovering or browsing modpacks. This is often labeled as “Browse Modpacks,” “Discover Content,” or something similar. This area will display a wide array of modpacks available through the launcher’s platform.
- Select and Install Modpack: Browse through the available modpacks until you find one that captures your interest. Once you’ve made your selection, typically by clicking on the modpack’s entry, you will find an “Install” button. Clicking this button initiates the automated installation process. The launcher will then take over, downloading all the necessary mods, their dependencies, the correct mod loader, and any associated configuration files required for the modpack to run. This process can take some time, depending on the size of the modpack and your internet connection speed.
- Allocate RAM (if needed): Modded Minecraft, especially with larger modpacks, can be very demanding on your computer’s memory. Most launchers provide an option within their settings or specific modpack profile settings to adjust the amount of RAM (Random Access Memory) allocated to Minecraft. For optimal performance with substantial modpacks, it is often crucial to increase the default RAM allocation. This step is vital for preventing performance issues and crashes.
- Launch and Play: Once the installation is complete and any necessary RAM adjustments have been made, locate the installed modpack in your launcher’s library. You will typically find a prominent “Play” button. Click this button to launch Minecraft with your chosen modpack. The launcher will handle the execution of the game with all the configured mods.
- Manual Modpack Installation (Advanced): In situations where a modpack is not readily available through a popular launcher, or if you are creating a custom pack, a manual installation approach is necessary. This advanced method involves first installing the correct Minecraft version and the appropriate mod loader (e.g., Forge, Fabric) manually. After the mod loader is set up, you then need to place the individual mod files, which are typically `.jar` files, directly into the designated `mods` folder within your Minecraft instance directory. For configuration files, it’s common for many mods to generate their default configuration files in a `config` folder after the modpack is run for the first time.
Important Tips for a Smooth Modded Experience
To ensure a stable and enjoyable experience with modded Minecraft, keep the following important tips in mind:
- Allocate Sufficient RAM: This is perhaps one of the most critical tips for modded Minecraft. The game, especially when heavily modded, can be incredibly memory-intensive. To achieve optimal performance and prevent frustrating lag or crashes, it is highly recommended to allocate at least 6-8 GB of RAM for larger modpacks. Insufficient RAM is a common bottleneck.
- Correct Java Version: Minecraft relies on Java, and using the correct version is paramount for modpack compatibility. For Minecraft versions 1.18 and newer, Java 17 is generally the required version. Older versions of Minecraft, such as 1.16, often necessitate Java 8. Ensure your system and launcher are configured to use the appropriate Java runtime environment for your specific modpack.
- Check Mod Loader Compatibility: Always double-check that the mods you are using are compatible with the specific mod loader (Forge, Fabric, NeoForge, Quilt) and the exact Minecraft version that your modpack is built upon. Mixing mods from different loaders or using mods for incorrect Minecraft versions will inevitably lead to launch failures or in-game crashes.
- Configure Mods: Many mods generate configuration files, typically found in a `config` folder within your modpack’s instance directory. These files allow for extensive customization of mod features and behavior. You can edit these files using a simple text editor like Notepad++ to fine-tune your gameplay. Additionally, some mods offer convenient in-game configuration menus, providing an easier way to adjust settings without restarting the game.
- Install Performance Enhancers: For smoother gameplay, particularly with larger or graphically intensive modpacks, consider adding performance-enhancing mods. Examples include Sodium (often for Fabric), Optifine (for both Forge and Fabric, though sometimes with compatibility considerations), or Embidium (a Forge alternative to Sodium). These mods can significantly improve frame rates and reduce stuttering.
- Backup Worlds: Before you make any significant changes to your modpack, such as adding new mods, updating existing ones, or changing core configurations, always back up your Minecraft worlds. This simple precaution can save you from potential data loss if a mod conflict or corruption occurs.
- Server-Side vs. Client-Side Mods: When playing on multiplayer servers, it’s crucial to understand the distinction between client-side, server-side, and universal mods. Client-side mods are only needed by the player (e.g., minimaps, visual enhancements). Server-side mods are only needed on the server (e.g., administrative tools). Many gameplay-altering mods are required on both the client and the server. Knowing which is which helps avoid connection issues or unexpected behavior on multiplayer servers.
Common Mistakes to Avoid for Modpack Stability
Even with careful planning, it’s easy to fall into common pitfalls when dealing with modpacks. Being aware of these can save you a lot of troubleshooting time:
- Adding Too Many Mods at Once: A frequent mistake is to install a large number of mods simultaneously. When issues arise, such as crashes or unexpected behavior, it becomes exceedingly difficult to pinpoint which specific mod or interaction is causing the problem. A better practice is to add mods in small batches, testing the game after each addition to identify conflicts early.
- Mixing Mod Loaders: This is a critical incompatibility. You absolutely cannot mix Forge and Fabric mods within the same Minecraft instance. These mod loaders are fundamentally different in how they interact with the game, and attempting to combine their respective mods will inevitably lead to crashes and prevent your game from launching.
- Ignoring Dependencies: Many mods are not standalone; they require other specific mods, known as dependencies, to function correctly. Failing to install these required dependencies will cause the primary mod to not work, or worse, crash your game. Always consult a mod’s page for a list of its dependencies and ensure they are all present in your modpack.
- Incorrect Minecraft or Mod Loader Version: Using mods or a mod loader that is not compatible with your exact Minecraft version is a guaranteed way to encounter problems. Whether it’s a mod designed for a different Minecraft version or a mod loader that doesn’t match the modpack’s requirements, these mismatches will prevent the game from launching or cause frequent crashes.
- Outdated Java: As mentioned earlier, Minecraft and its mod loaders have specific Java version requirements. An outdated or incorrect Java version installed on your system can be a silent killer, causing modpacks to fail to launch or experience various runtime errors without clear explanation.
- Not Allocating Enough RAM: This mistake is so common and impactful that it bears repeating. Insufficient RAM allocation is a primary and pervasive cause of poor performance, stuttering, out-of-memory errors, and crashes in modded Minecraft, particularly with larger modpacks. Always ensure you’ve allocated enough memory.
- Corrupted Files: Over time, or due to improper shutdowns, modpack files can become corrupted, leading to launch failures or in-game errors. Fortunately, most modpack launchers provide convenient options to repair a corrupted profile or to completely reinstall the modpack, which often resolves such issues.
- Ignoring Crash Reports/Logs: When a modpack crashes, it generates invaluable diagnostic information in the form of crash reports or log files. Many players overlook these. However, reviewing these files is crucial, as they often contain specific error messages or stack traces that directly pinpoint the exact cause of the problem, such as a missing dependency, a conflicting mod, or a memory issue. Learning to read these logs is a powerful troubleshooting skill.
Tags:
YOU MAY ALSO LIKE...