Configuring Particle Density Settings, Explained
Minecraft’s dynamic world is brought to life by countless visual effects, many of which are represented by particles. These small, 2D graphical elements convey everything from the splash of water to the smoke of a torch or the explosion of TNT. Understanding how to configure particle density settings is crucial for both optimizing game performance and tailoring your visual experience. Whether you’re aiming for maximum Frame Rate Per Second (FPS) or crafting intricate custom effects, mastering particle control is a valuable skill for any Minecraft player.
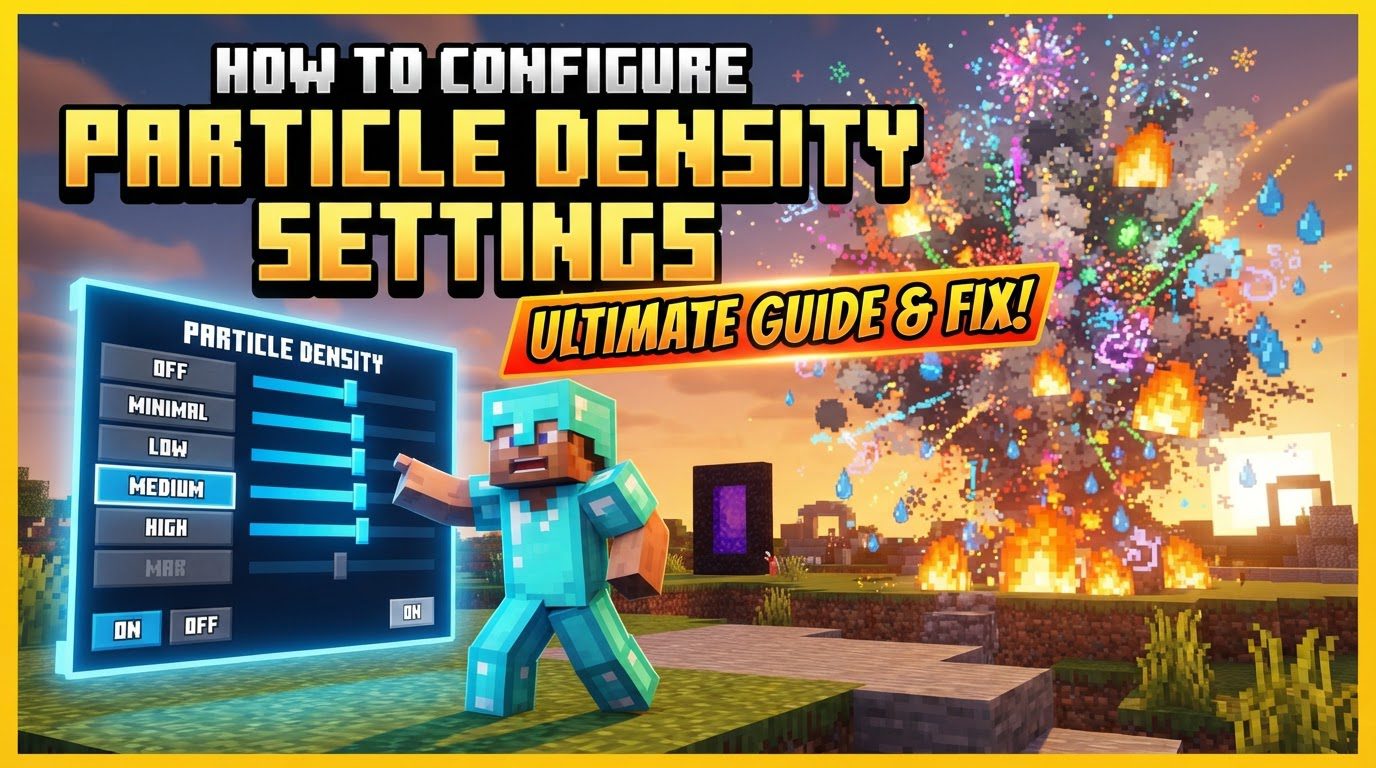
Understanding Minecraft Particles
Particles are essential visual cues that enhance gameplay and immersion. They are 2D graphical effects that represent various in-game events, such as explosions, weather phenomena like rain or snow, and actions performed by mobs or players. While aesthetically pleasing, a high density of particles can significantly impact your game’s performance, especially on less powerful hardware or in complex environments.
Minecraft offers built-in settings to manage this density:
- All: This setting displays the full range of particle effects available in the game, providing the richest visual experience.
- Decreased: This option reduces the number of particles shown, striking a balance between visual fidelity and performance.
- Minimal: Only essential particles are displayed with this setting. This is often chosen for maximum performance gains.
Lowering particle density, particularly to “Decreased” or “Minimal,” can significantly improve your Frame Rate Per Second (FPS) and overall game performance, making gameplay smoother and more responsive.
Adjusting Particle Density In-Game
The most straightforward way to control particle density is through Minecraft’s in-game video options. This method allows you to quickly switch between general particle settings to suit your immediate needs or system capabilities.
- From the Minecraft main menu, navigate to “Options”.
- Select “Video Settings”.
- Locate the “Particles” option within the video settings menu.
- Choose your desired density from the available options:
- All: For players who prioritize visual detail and have a system capable of handling extensive particle effects without performance degradation.
- Decreased: A good middle-ground for most players. It reduces visual clutter while maintaining a decent aesthetic.
- Minimal: Ideal for performance-critical situations, competitive play, or on lower-end hardware. It ensures that only the most crucial particles are rendered, maximizing FPS.
Once selected, the changes take effect immediately, allowing you to observe the impact on your game’s visuals and performance.
Advanced Control with the /particle Command
For players, map makers, and server administrators who require more precise control over particle effects, the /particle command offers extensive customization. This command allows you to create custom particle effects, specifying their type, exact position, spread, speed, and count. It’s important to remember that particles created via commands are client-side, meaning they are rendered by each player’s individual computer, and the server is not directly aware of their visual presence beyond sending the command.
To use the /particle command:
- Open the chat in Minecraft, typically by pressing ‘T’ or ‘/’.
- Enter the command using the following format:
/particle <particle_type> <x> <y> <z> <delta_x> <delta_y> <delta_z> <speed> <count> [force|normal] - Here’s a breakdown of each argument:
<particle_type>: This specifies the exact particle you wish to spawn. Minecraft has a wide array of particle types, such asminecraft:flame,minecraft:heart,minecraft:smoke, orminecraft:splash. You must use the correct identifier for the desired effect.<x> <y> <z>: These are the coordinates in the game world where the particle effect will originate. Particles will generally spawn around this central point.<delta_x> <delta_y> <delta_z>: These values define the spread or radius of the particle effect along each dimension (X, Y, and Z) around the specified origin coordinates. A higher delta value means particles will spawn further away from the central point, creating a wider, more dispersed effect. It is crucial not to confuse these delta values with additional spawn locations; they dictate the spread from the single origin point.<speed>: This argument controls how fast the individual particles move after being spawned. A value of 0 will result in particles that move very slowly or appear almost stationary, often just fading away. Higher values will cause particles to shoot out more rapidly.<count>: This determines the total number of particles to be spawned with this single command execution. This directly impacts the density of the effect. Be cautious with extremely high counts, as they can cause significant lag.[force|normal]: This is an optional but very important argument that dictates how the command interacts with individual player particle settings:force: If this mode is selected, the particles will be displayed regardless of a player’s individual particle settings (e.g., even if they have “Minimal” particles selected). This is ideal for crucial gameplay indicators.normal: In this mode, the particles will respect a player’s individual particle settings. If a player has “Decreased” or “Minimal” particles enabled, these command-spawned particles might be reduced or not shown at all. This is suitable for purely aesthetic effects.
- It’s worth noting that some specific particle types, such as
dust, require additional arguments to specify properties like color and size, which would be appended after the standard arguments.
Optimizing Particle Settings for Performance and Aesthetics
Effective management of particle settings involves balancing visual appeal with game performance and gameplay clarity.
- Boost FPS by Reducing Settings: To significantly improve your FPS, especially when playing with many mods, in large automated builds, or in areas with numerous natural particle effects, always consider reducing your particle settings to “Decreased” or “Minimal”. This is one of the most effective ways to smooth out gameplay.
- Strategic Use of
forcevs.normal:- For purely aesthetic particle effects created with commands, such as decorative waterfalls or ambient dust, use the “normal” mode. This ensures that players with lower-end systems can optimize their performance by choosing to disable or reduce these non-essential visuals through their individual settings.
- If particles are crucial for gameplay mechanics – for instance, indicating the presence of an invisible mob, highlighting an important quest area, or signaling a dangerous zone – use the “force” mode in your commands. This guarantees that these vital visual cues are always visible to all players, regardless of their personal particle settings.
- Consider Performance Optimization Mods: For even more granular control and advanced rendering optimizations, explore performance-enhancing mods. Popular choices include Optifine, Sodium, or Particle Core. These mods often provide extensive customization options for particle rendering, including culling (not rendering particles that are out of sight) and other tweaks that vanilla Minecraft doesn’t offer.
- Combine with Command Blocks and
execute: For complex and dynamic particle animations, leverage the power of the/particlecommand in conjunction with command blocks and theexecutecommand. This allows you to create intricate, moving, or timed particle effects that can follow entities, trace paths, or activate under specific conditions, opening up vast possibilities for map design and custom gameplay.
Common Mistakes to Avoid
While configuring particle settings offers great flexibility, there are several common pitfalls that can lead to performance issues or unexpected results.
- Setting an Excessively High Particle Count: Using the
/particlecommand with an extremely high<count>(e.g., 10,000 particles per tick) can lead to severe lag, frame drops, or even cause the game to crash. Always test high particle counts cautiously and optimize for the lowest possible count that still achieves the desired visual effect. - Confusing
deltaValues with Coordinates: A frequent mistake is misunderstanding the role of the<delta_x> <delta_y> <delta_z>arguments in the/particlecommand. These values define the spread or radius of particles around the specified<x> <y> <z>origin coordinates, not additional spawn locations. They determine how far individual particles can randomly spawn from the central point, creating a diffused effect, rather than spawning particles at multiple distinct points. - Underestimating the Performance Impact of Particles: Even seemingly minor particle effects can accumulate and significantly impact performance, particularly in large, automated builds (like complex redstone contraptions or farms) or heavily modded environments. Always be mindful of particle generation in such scenarios and adjust settings accordingly.
- Relying on “Minimal” to Hide All Non-Essential Particles: While the “Minimal” particle setting reduces particle density significantly, it does not guarantee the complete absence of all non-essential particles. Some particles that may appear unimportant might still be displayed due to their classification within the game’s code, so don’t expect a completely particle-free experience with this setting alone.
By understanding these nuances and applying the configuration methods discussed, you can effectively manage particle density in Minecraft, balancing visual fidelity with optimal performance and precise control over your game world’s aesthetics.
Tags:
YOU MAY ALSO LIKE...