Configuring Plot Permissions for Visitors — A Quick Guide
Managing permissions in Minecraft is crucial for maintaining a healthy and enjoyable server or realm environment, especially when it comes to visitors. Properly configured plot permissions ensure that your creations remain safe from unwanted modifications while still allowing for desired interactions. This guide will walk you through the essential steps and considerations for setting up plot permissions specifically for visitors, covering both standard Minecraft Realms/Worlds and more advanced server setups utilizing plugins.
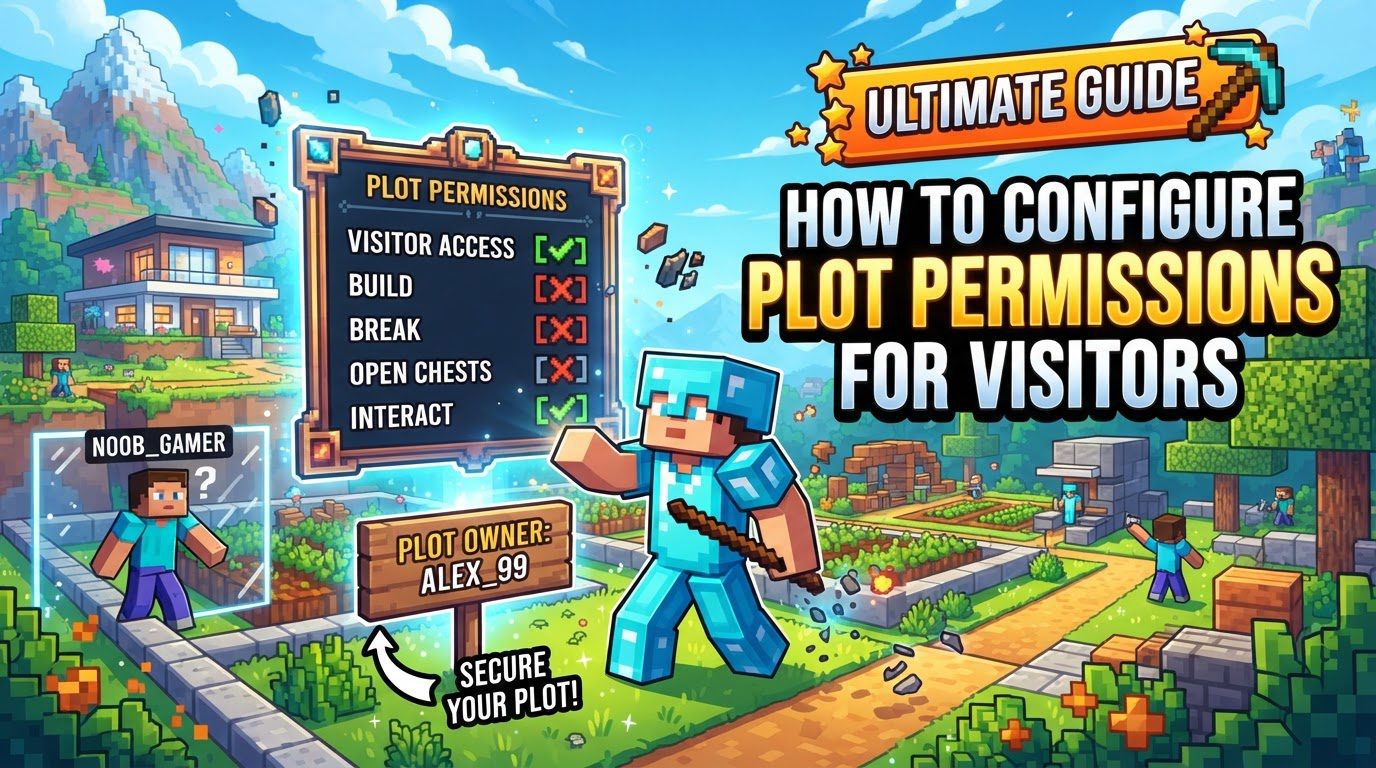
Understanding Key Mechanics of Plot Permissions
Plot permissions are the bedrock of any controlled Minecraft environment. They dictate precisely what actions players are permitted to perform within a designated area. These actions can range from fundamental interactions to more nuanced controls, ensuring that your world operates as intended, whether you’re hosting a small private realm or a large public server.
-
Action Control: Permissions primarily determine whether players can engage in activities such as:
Build: Placing new blocks within the plot’s boundaries.Destroy: Breaking existing blocks within the plot.Switch: Interacting with specific interactive blocks like doors, levers, buttons, and chests. This is a critical permission to manage, as it covers many common interactive elements that can be exploited if left unsecured.Itemuse: Utilizing certain items that can have broader impacts, such as enderpearls for teleportation into restricted areas or buckets for liquid manipulation, which could cause damage.- Interacting with Entities: This also extends to actions like attacking mobs within a plot, which can be important for protecting farms, specific creature setups, or player-owned animals.
-
Management Methods: The way permissions are managed varies depending on your setup:
- In-game Commands: For most server plugins, command-line inputs entered directly into the game chat are the primary method of configuration.
- Server-side Plugins: Advanced server management often relies on dedicated plugins like Towny or PlotSquared. These plugins offer robust systems for defining and enforcing plot boundaries and their associated permissions, allowing for complex configurations.
-
Permission Groups: To simplify management, permissions are often categorized into distinct groups, each with a predefined or customizable set of access levels. These groups help categorize players and apply permissions efficiently. Common groups include:
Visitor: Typically the most restricted group, intended for new or untrusted players who should only observe.Member: A step up from visitors, often allowing more interaction, but still with limitations.Friend: A group for known and trusted individuals, often with significant access, but not necessarily ownership.Resident: Common in economy or town-based plugins, usually for players who own or live in a plot and have primary control over it.Ally: For players aligned with a town or group, often granting limited collaborative access.Outsider: Similar to visitors, often specifically for players not associated with a specific group or plot, clearly defining their lack of access.
-
Granularity: Many permission systems allow for a high degree of control, enabling you to set:
- General Plot Permissions: Broad rules that apply to an entire plot for specific groups of players.
- Individual Player Permissions: Specific overrides or grants for particular players, allowing for fine-tuned access control that can differ from their group’s default.
Step-by-Step Configuration for Different Minecraft Setups
The method you use to configure plot permissions will depend heavily on whether you are managing a standard Minecraft Realm/World or a server enhanced with plugins.
For Minecraft Realms/Worlds (Vanilla Minecraft)
In standard Minecraft Realms or single-player worlds opened to LAN, permission management is handled directly through the game’s interface. This method is simpler but offers less granularity than plugin-based systems, focusing more on overall player roles rather than specific plot permissions.
-
Step 1: Access World Settings:
- While in your world, press the
Optionskey (Escapeby default) to open the game menu. - Alternatively, if you are the owner of a Minecraft Realm, you can access these settings through the Realm’s management interface outside of the game, or via the player list within the game.
- While in your world, press the
-
Step 2: Locate Player Permissions:
- Within the game menu, navigate to the “Player Permissions” or “Default Player Permissions” section. This is where you establish the baseline access level for anyone joining your world or realm for the first time.
- It is highly recommended to set this base access level to a restrictive group, such as “Visitor,” to prevent immediate unauthorized actions from new players. This acts as a global default for new entrants.
-
Step 3: Adjust Individual Player Permissions:
- To modify permissions for a specific player, select their name from the list of players currently in your world or realm.
- You can then choose from predefined presets like “Visitor,” “Member,” or “Operator,” each granting different levels of access and capabilities within the world.
- For more precise control, select the “Custom” option. This allows you to individually toggle specific actions, such as building, mining blocks, or using switches, giving you granular control over what each player can do on your plot or in your world. This custom setting will override the default for that specific player.
For Servers with Plugins (e.g., Towny, PlotSquared)
Servers running plugins like Towny or PlotSquared offer significantly more advanced and flexible permission systems. These systems rely heavily on in-game commands and sometimes graphical user interfaces (GUIs) to manage plots and their access rules, providing extensive control over every aspect of plot interaction.
-
Step 1: View Current Plot Permissions:
- Before making changes, it’s always a good idea to understand the current state of your plot’s permissions. Use a command specific to your plugin, such as
/plot permor a similar variant like/plot info, to display the existing permission settings for the plot you are currently standing on or examining. This command will show which groups have what access to various actions.
- Before making changes, it’s always a good idea to understand the current state of your plot’s permissions. Use a command specific to your plugin, such as
-
Step 2: Define Permissions for Specific Groups and Actions:
- Plugins utilize commands to set permissions. A common syntax might be
/plot set perm [group] [perm] [on/off]. This command allows you to define permissions for different categories of players. - Here,
[group]refers to the permission group you want to modify (e.g.,outsider,friend,ally). [perm]specifies the action you are controlling (e.g.,build,destroy,switch,itemuse).[on/off]determines whether that action is permitted or denied for the specified group.- For instance, to prevent outsiders from building on your plot, you might use
/plot set perm outsider build off. To allow friends to use switches on your plot, you might use/plot set perm friend switch on. This granular control is vital for visitor management.
- Plugins utilize commands to set permissions. A common syntax might be
-
Step 3: Manage Specific Player Access:
- Beyond group permissions, you can also manage access for individual players, overriding group settings or adding specific exceptions. Common commands for this include:
/plot add <player>: Adds a player to your plot, often granting them basic member access or adding them to a specific plot-level group./plot trust <player>: Grants a player trusted status on your plot, typically allowing them more extensive permissions like building and destroying, similar to a friend or co-owner./plot deny <player>: Prevents a specific player from entering or interacting with your plot, effectively banning them from that particular area./plot ban <player>: A more severe denial, often preventing entry and interaction, sometimes with a notification or message upon attempted entry./plot untrust <player>: Revokes trusted status from a player, removing their special plot permissions.
- Beyond group permissions, you can also manage access for individual players, overriding group settings or adding specific exceptions. Common commands for this include:
-
Step 4: Utilizing Graphical User Interfaces (GUIs):
- Some advanced plugins, or server management dashboards, offer a graphical user interface (GUI) for permission management. These interfaces can simplify the process by providing visual toggles, checkboxes, and menus instead of requiring complex command inputs. If available, exploring your server’s dashboard or plugin documentation for GUI options can be very beneficial for easier and more intuitive configuration.
Important Tips for Effective Permission Management
Implementing a robust permission system requires careful thought and ongoing maintenance. Following these tips will help you create a secure and functional environment for your visitors and residents alike.
- Define Visitor Actions Clearly: Before you even begin configuring, take the time to clearly outline what actions you want visitors to be able to perform on your plots. Do you want them to be able to look but not touch? Or interact with specific public elements like public farms or shops? Having a clear policy will guide your permission settings and prevent confusion.
- Understand Plugin-Specific Groups: When using plugins like Towny, be mindful of how different groups are interpreted. For instance, “Friend” is often the designated group type for granting general public plot access to trusted individuals, allowing them to build or interact, rather than “Resident,” which typically refers to plot owners or members of a town with more comprehensive rights. Always consult your plugin’s documentation to clarify group definitions.
- Consider Server-Wide Permission Plugins: For broader server management, especially if you have many plots or complex roles, dedicated permission plugins like LuckPerms are highly recommended. These plugins offer a user-friendly GUI and powerful tools for managing permissions across your entire server, making it easier to assign roles and permissions without relying solely on plot-specific commands, and can integrate with plot plugins.
- Set Default Server-Wide Permissions: To proactively prevent griefing, it is a best practice to set the default server-wide permissions for all new players to “Visitor” or the most restrictive equivalent. This ensures that any new player joining your server cannot immediately build, destroy, or interact with sensitive areas until they are explicitly granted higher permissions, providing a safe initial environment.
- Regular Review and Adjustment: The needs of your server or realm can change over time. Regularly review your plot permissions and adjust them as necessary. This proactive approach helps maintain the desired environment, addresses new challenges, and adapts to your community’s growth and evolving requirements.
Common Mistakes to Avoid When Configuring Permissions
Mistakes in permission configuration can lead to significant issues, from minor annoyances to widespread griefing. Being aware of these common pitfalls can help you prevent them and ensure the security of your builds.
- Confusing Permission Groups: A frequent error is misinterpreting the purpose of different permission groups. For example, using “Resident” when “Friend” is the appropriate group for general visitor access on Towny plots. This can inadvertently grant too much or too little access, potentially exposing your plot or frustrating legitimate visitors. Always verify the specific roles and permissions associated with each group in your chosen plugin’s documentation.
- Forgetting Default Player Permissions: Neglecting to set default player permissions in a server or realm is a critical oversight. If not configured, new players might join with default operator-level access or unrestricted building rights, leading to immediate and widespread griefing before you can intervene. Always establish a restrictive default for new joiners to protect your world.
-
Granting Overly Broad Permissions: Using commands like
/t set perm onfor all groups can be catastrophic. This command often grants full permissions to everyone, including visitors and outsiders, making your plots and builds vulnerable to destruction. Always be specific with your permission grants, targeting only the necessary groups and actions to maintain control. - Overlooking Specific Plugin Permission Nodes: Plugins often have specific “permission nodes” that control very particular actions, sometimes for custom blocks or plugin features. If these are overlooked or misconfigured, players might be unable to perform expected actions even on their own plots, leading to frustration. For example, a player might not be able to interact with a specific plugin-added block if the relevant permission node isn’t granted. Consult plugin documentation for a full list of nodes.
-
Not Understanding Permission Type Actions: It’s crucial to understand what each permission type controls. For instance, the
Switchpermission is not just for light switches; it encompasses interaction with a wide range of interactive blocks, including doors, levers, buttons, and chests. Misunderstanding this can lead to unintended access to private storage or entry into restricted areas, compromising your security. Always know the full scope of each permission you are setting.
By carefully following these guidelines and understanding the nuances of permission systems, you can effectively manage visitor access to your Minecraft plots, ensuring a secure, enjoyable, and well-ordered environment for everyone.
Tags:
YOU MAY ALSO LIKE...