Customizing Tool Parts in Tinkers’ Construct
Understanding Modular Tools in Tinkers’ Construct
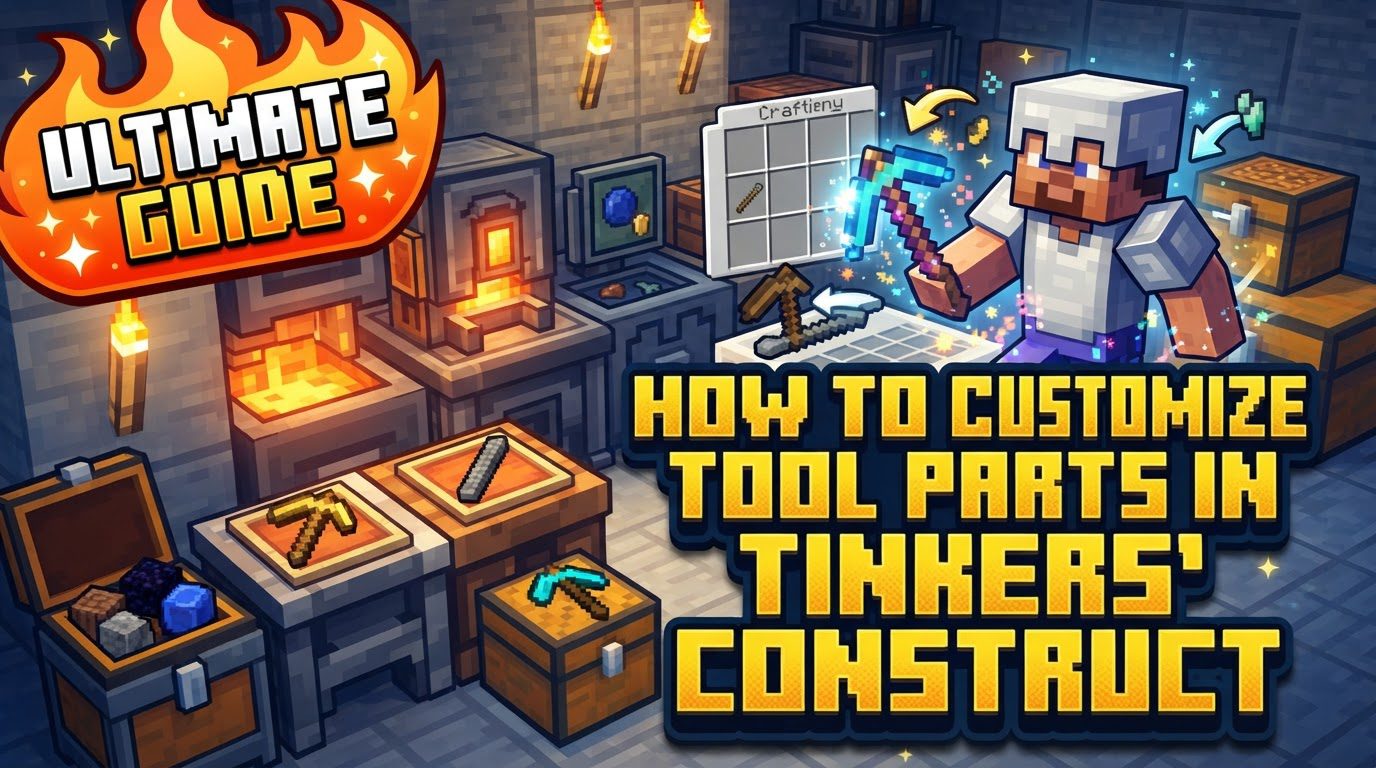
Tinkers’ Construct revolutionizes tool crafting in Minecraft by introducing a modular system where tools are not single, monolithic items but rather assemblies of distinct parts. This innovative approach allows for unparalleled customization, enabling players to fine-tune their tools for specific tasks and preferences. At its core, the system empowers you to select different materials for each component of a tool, with each material contributing unique properties to the final product. This guide will walk you through the comprehensive process of customizing your tools, from initial part creation to advanced modifications, ensuring you can craft the perfect implement for any challenge.
The Foundational Mechanics of Tool Customization
The customization journey begins with understanding the fundamental principles of Tinkers’ Construct tools. Each tool is composed of several integral parts, such as a head, a handle (often referred to as a rod), and sometimes a binding or other structural components depending on the tool type. The material chosen for each of these parts is crucial, as it directly influences the tool’s final statistics and capabilities.
- Material Influence: Every material brings its own set of characteristics to the table. These include vital stats like durability, which dictates how long a tool will last; mining speed, affecting how quickly blocks are broken; mining level, determining which tiers of blocks a tool can harvest; and attack damage, relevant for combat tools. Beyond these numerical values, materials also possess special “material traits,” unique abilities or passive effects that can significantly alter a tool’s performance.
- Modifier Slots: Tools are not static once assembled. They come equipped with “modifier slots,” which are essentially empty spaces that can be filled with enhancements. These slots allow for further customization, enabling players to apply various modifiers that can add durability, increase mining speed, or grant powerful special effects. Examples of such effects include the coveted Silk Touch, the resource-doubling Fortune, or the invaluable Auto-Repair, which slowly mends your tool over time.
- The Role of the Tool Head: The head component of any tool is particularly significant. It is the primary determinant of the tool’s mining level, meaning a pickaxe head made of a higher-tier material will be able to mine stronger ores. Furthermore, the material of the tool head also dictates the material needed for repairing the tool, making its initial selection a long-term commitment.
- The Handle Modifier: The tool rod, or handle, also plays a unique role. It possesses a “handle modifier,” which acts as a multiplier for the total durability of the assembled tool. Choosing a handle material with a high handle modifier can dramatically increase the overall lifespan of your tool, making it a critical consideration for longevity.
Step-by-Step Tool Customization Process
Crafting and customizing tools in Tinkers’ Construct follows a logical progression, involving several dedicated crafting stations.
- Craft Blank Patterns: The first step in creating custom tool parts is to craft Blank Patterns. These are fundamental components made by combining simple sticks and planks in a standard crafting table. Blank Patterns serve as the base from which all specific tool part patterns are derived.
- Create Part Patterns: With your Blank Patterns in hand, you’ll next use a Stencil Table. This station allows you to transform the generic Blank Patterns into specific tool part patterns. For instance, you can create a pickaxe head pattern, a tool rod pattern, or patterns for other tool components as needed. These patterns are reusable templates for crafting the actual tool parts.
- Craft Non-Metallic Parts: For parts made from non-metallic materials such as wood, stone, or flint, you will utilize a Part Builder. By placing a specific part pattern (e.g., a pickaxe head pattern) into the Part Builder along with the chosen non-metallic material, the station will craft the desired tool part. This method is straightforward for basic materials.
-
Craft Metallic Parts (using Smeltery): Crafting parts from metallic materials requires a more advanced setup centered around the Smeltery.
- Build a Smeltery: First, you’ll need to construct a Smeltery. While the notes do not detail its construction, understand that it is a multi-block structure essential for melting metals.
- Create a Reusable Cast: To produce metallic parts, you’ll need casts. These are created by pouring molten metal, typically Aluminum Brass or Gold, over a non-metallic tool part (like a wooden pickaxe head) placed on a Casting Table. This process creates a reusable cast that perfectly replicates the shape of the part.
- Melt Your Desired Metallic Material: Once you have a cast, you’ll melt your chosen metallic material (e.g., iron, copper, cobalt) in the Smeltery.
- Pour Molten Metal: Finally, pour the molten metal from the Smeltery into the corresponding cast placed on a Casting Table. This will solidify the metal into the desired metallic tool part.
- Assemble the Tool: With all the necessary tool parts crafted, it’s time for assembly. Basic tools are put together in a Tool Station, while more advanced or larger tools often require a Tool Forge. At this stage, you will combine the head, handle, and any other required parts. This is also your opportunity to name your newly crafted tool, giving it a unique identity.
- Apply Modifiers: Once your tool is assembled, you can further enhance it by applying modifiers. Place the assembled tool into either a Tool Station or a Modifier Worktable. Then, combine it with specific modifier items, such as diamonds for extra durability, emeralds for certain traits, redstone for speed, or moss for auto-repair. The Modifier Worktable generally offers a more comprehensive interface for managing these enhancements.
Important Tips for Optimal Tool Customization
To truly master tool customization in Tinkers’ Construct, keep the following tips in mind:
- Consult “Materials and You”: Always refer to the in-game “Materials and You” book. This invaluable resource provides detailed information on all materials, their stats, and their unique traits, guiding your material selection process.
- Strategic Material Choice: Do not simply pick the highest-tier materials. Strategically choose materials for each tool part to leverage their unique traits and optimize the tool’s stats for its intended purpose. A balanced approach often yields the best results.
- Adjacent Crafting Stations: For improved efficiency, place your crafting stations – such as the Part Builder, Tinker Station (another name for Tool Station), Modifier Worktable, and even chests – adjacent to each other. This setup connects their inventories, allowing for easier access to materials and parts without constantly opening and closing different interfaces.
- Paper for Modifier Slots: If you find yourself needing more modifier slots, consider using paper for some tool parts. Paper parts are known to provide additional modifier slots, offering more room for enhancements.
- Rare Items for Extra Modifier Slots: Certain rare and valuable items can add a single extra modifier slot to a tool, but this is a one-time application per tool for each item. These include a combination of a Diamond and a Gold Block, an Enchanted Golden Apple and a Diamond Block, or a Nether Star.
- Tinkers’ Construct 1.16+ Specific Slots: In versions of Tinkers’ Construct for Minecraft 1.16 and newer, new types of slots are introduced. A Book and Quill can add an “upgrade slot,” while a Dragon Head can add an “ability slot,” further expanding customization possibilities.
- Utilize the Modifier Worktable: While the Tool Station can apply modifiers, the Modifier Worktable offers more comprehensive options for managing and organizing your tool’s modifiers, making it the preferred station for advanced modifications.
Common Mistakes to Avoid
Even experienced players can fall victim to common pitfalls. Being aware of these can save you time and resources:
- Forgetting to Clear “Scrap”: When using the Part Builder, if you craft a partial item or change your mind mid-craft, “scrap” material might remain in the output slot. Always ensure you clear this scrap before starting a new crafting operation to avoid wasting materials or encountering unexpected issues.
- Upgrading Basic Tool Heads Directly: A common misconception is that basic wooden or stone tool heads can be directly upgraded with modifiers or higher-tier materials. In most cases, these initial, simple heads cannot be upgraded in the same way as parts made from smelted materials or those created with specific add-on mods in older versions. Always aim for smelted or purpose-built parts for long-term tools.
- Accidental Alloying in the Smeltery: The Smeltery can combine different molten metals if they are placed too close together or if certain conditions are met, creating alloys. If you intend to keep metals separate, be mindful of their placement within the Smeltery to prevent unintended alloying, which can consume valuable resources.
- Using the Wrong Crafting Station: Each Tinkers’ Construct station has a specific purpose. Attempting to assemble a large tool in a Tool Station, or applying complex modifiers without the Modifier Worktable, can lead to frustration. Remember to use the appropriate crafting station for each task: the Tool Station for basic assembly and modification, the Tool Forge for larger and more complex tools, and the Modifier Worktable for advanced modifier management.
By understanding these mechanics, following the steps diligently, and heeding the advice provided, you will be well-equipped to craft and customize an arsenal of powerful and efficient tools tailored precisely to your Minecraft adventures.
Tags:
YOU MAY ALSO LIKE...