Designing a Base with Automatic Farms Integrated (Step by Step)
Designing a Base with Integrated Automatic Farms
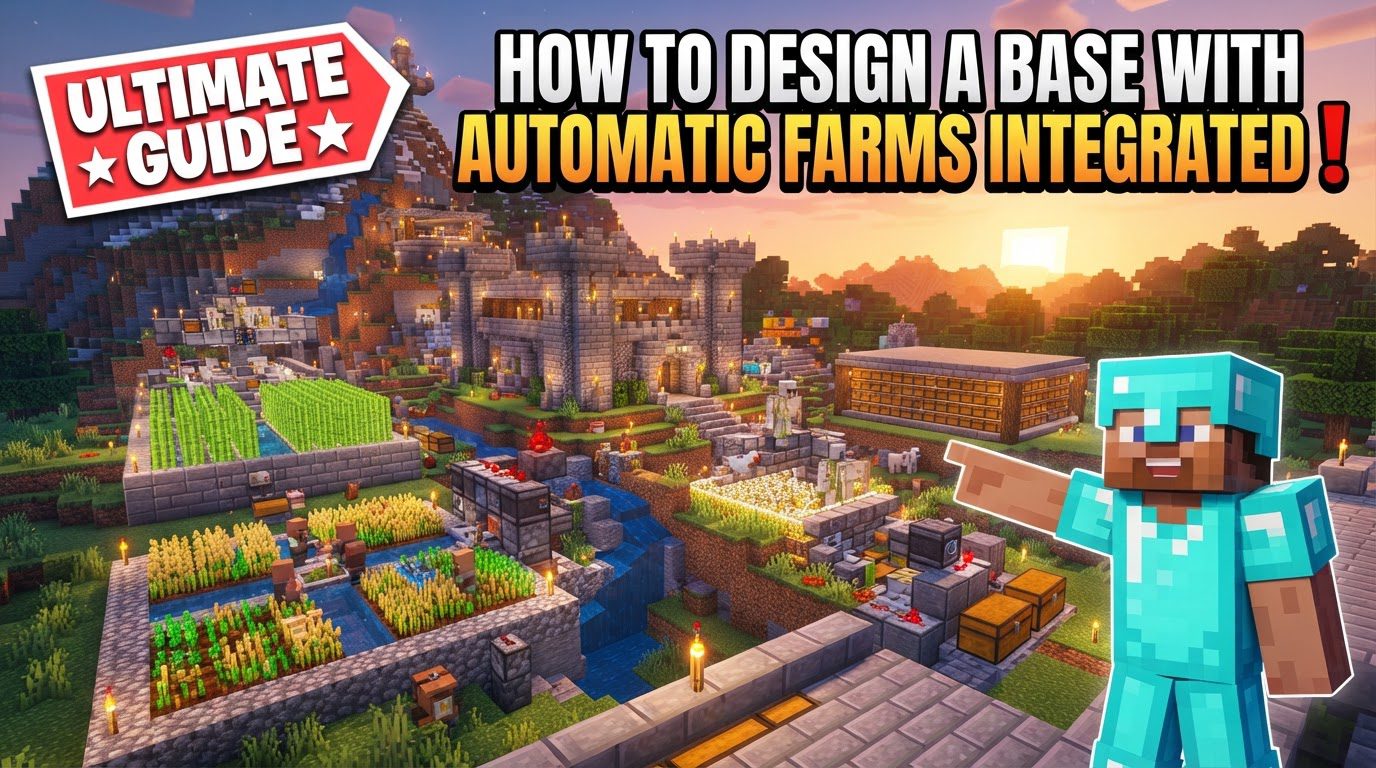
Integrating automatic farms into your Minecraft base is a cornerstone of efficient gameplay, transforming tedious manual labor into a streamlined production line for resources. This guide will walk you through the essential mechanics, a step-by-step design process, crucial tips, and common pitfalls to avoid, ensuring your base is not just a shelter, but a powerful, self-sustaining hub.
Understanding Key Mechanics
To effectively design and build automatic farms, a solid grasp of underlying game mechanics is indispensable. These principles dictate how farms operate and how they can be automated.
- Redstone: At the heart of all automation in Minecraft lies Redstone. It functions as the electrical wiring system, transmitting power and signals across various components. Mastering Redstone involves understanding how to use Redstone dust to connect devices, and how to utilize components such as pistons for pushing blocks or harvesting crops, dispensers for deploying water or projectiles, observers for detecting block updates, and comparators for reading container contents or signal strengths. These components are the building blocks for complex automated systems.
- Growth and Harvesting Mechanics: Automatic farms heavily rely on the specific characteristics of plants and mobs. For crops, this includes understanding their unique growth cycles, which are often influenced by light levels and the presence of water. Automatic harvesting systems leverage these cycles, often using pistons or water streams triggered at optimal times. Mob farms, on the other hand, exploit mob spawning conditions, such as required light levels (often darkness for hostile mobs) and specific block types.
- Item Collection: Once items are harvested or mobs are defeated, an efficient collection system is paramount. Water streams are commonly used to transport items across distances to a central point. Hoppers are vital for picking up items from the ground or transferring them between containers. For larger or more complex systems, hopper minecarts can be employed to collect items over wider areas, especially useful under large farm sections, and then deposit them into a storage system.
- Mob Spawning: Hostile mob farms, such as those for zombies, skeletons, or creepers, are designed around specific mob spawning rules. These farms require creating dark, controlled environments where mobs can spawn freely. A critical factor is the player’s distance; mobs will typically only spawn at least 24 blocks away from the player, but within a certain render distance. Understanding these parameters allows for optimal farm placement and design to maximize spawn rates.
- Villager AI: Villagers offer unique automation possibilities, particularly for crop and iron farms. Their artificial intelligence allows them to plant and harvest crops autonomously, provided they have access to seeds and an inventory slot for the harvested items. In iron farms, the panic behavior of villagers, triggered by hostile mobs or specific conditions, is crucial for prompting the spawning of iron golems, which then become the farm’s primary output.
Step-by-Step Process for Integration
Designing an integrated base requires a methodical approach, from initial planning to final aesthetic touches.
- Identify Resource Needs: Begin by assessing your current and future resource requirements. Consider which materials are consumed most frequently (e.g., food, wood, cobblestone), which are vital for progression (e.g., iron for tools and armor, experience for enchantments), and which rare materials you might need (e.g., gunpowder, Redstone components). This inventory will guide your choice of farms.
- Research Farm Design: Once you’ve identified your resource priorities, delve into researching specific farm designs. Minecraft’s community has developed numerous efficient and compact farm blueprints. Understand the specific game mechanics each design exploits and its optimal setup for your chosen version of the game. Look for designs that align with your base’s scale and aesthetic goals.
- Gather Materials: Before construction begins, accumulate all necessary building blocks, Redstone components (dust, repeaters, comparators, pistons, observers, dispensers), water buckets for collection or crop hydration, and chests for initial storage. Planning your material list carefully will prevent delays during construction.
- Construct Core Mechanism: This step involves building the primary structure that generates or harvests items. For crop farms, this might be piston arrays designed to push water or break crops. For mob farms, it involves creating spawning pads and drop shafts. For iron farms, it means setting up villager compartments and golem spawning platforms. This core mechanism is the functional heart of your farm.
- Implement Redstone Circuitry: With the core mechanism in place, connect the Redstone components to automate the process. This could involve wiring observers to detect crop growth and trigger pistons, setting up clocks for timed harvesting, or creating complex logic gates for advanced systems. Precision in Redstone wiring and timing is critical for reliable operation.
- Design Collection System: After the items are produced or harvested, establish an efficient collection and storage system. This involves placing water streams to guide items, hoppers to pick them up and transfer them, and a network of chests for organized storage. Ensure the collection system can handle the farm’s output volume without overflowing or losing items.
- Integrate Aesthetically: Finally, consider how the farms fit into the overall look of your base. Unsightly farm components can be concealed underground, hidden within walls, or integrated into decorative structures. Alternatively, you can incorporate the farm’s functional elements into your base’s visual theme, making them a visible, yet harmonious, part of the design.
Important Tips
Maximizing the efficiency and longevity of your integrated farms requires adherence to several best practices.
- Master Redstone: A deep understanding of Redstone is fundamental. It allows you to build sophisticated farms, troubleshoot issues when they arise, and customize existing designs to better suit your needs. Practice with basic circuits before tackling complex projects.
- Consider Aesthetics: While functionality is key, don’t neglect the visual aspect. Plan your farms to be visually appealing, or discreetly hide them to preserve your base’s aesthetic. A well-designed base integrates utility seamlessly with beauty.
- Optimize Space: Minecraft worlds are vast, but efficient space utilization within your base is crucial. Employ compact and stackable farm designs where possible to maximize the output from a given area. This is especially important for multi-layered farms.
- Villager Management: For farms relying on villagers, meticulous management is necessary. Ensure villagers are properly contained to prevent escapes. For iron farms, they must have access to beds to establish a village and facilitate golem spawning. Additionally, manage their inventories to ensure they can pick up and replant crops effectively.
- Strategic Mob Farm Placement: To achieve optimal mob spawning rates, hostile mob farms should be placed strategically. Build them at least 128 blocks away from other spawnable areas, or high in the sky/deep underground, to ensure the mob cap is primarily filled by your farm’s spawning platforms.
- Implement Item Sorting: As your farms generate a high volume of various items, integrating item sorters is invaluable. Using hoppers and Redstone, you can automatically sort farm outputs into dedicated chests, keeping your storage organized and easily accessible.
Common Mistakes to Avoid
Even experienced players can make mistakes. Being aware of common pitfalls can save you time and resources.
- Ignoring Game Mechanics: A frequent error is failing to account for fundamental game mechanics. This includes neglecting mob spawning conditions (e.g., light levels, block types), misjudging crop growth rates, or misunderstanding Redstone timings. Such oversights lead to non-functional or highly inefficient farms.
- Poor Collection Systems: An improperly designed collection system can be disastrous. Items might despawn before being collected, hoppers might clog, or chests might overflow, resulting in lost items and wasted farm output. Always build collection systems with redundancy and ample storage capacity.
- Redstone Errors: Redstone is precise. Incorrect placement of dust, improper wiring, or incorrect timing of components can cause farms to malfunction entirely or operate sporadically. Always double-check your Redstone circuits and test them thoroughly.
- Villager Pathfinding and Inventory Issues: Villagers can be finicky. They might get stuck in unintended places, preventing them from performing their tasks. Moreover, if their inventories become full of items they cannot replant, they will stop working. Ensure clear paths and proper inventory management for villager-based farms.
- Mob Cap Interference: The global mob cap limits the number of hostile mobs that can exist in your world at any given time. Building farms without considering this can lead to low spawn rates if other areas of your world are filled with mobs, thereby preventing your desired mobs from spawning within your farm.
- Unwanted Iron Golem Spawns: In iron farms, an improper setup, especially concerning villager placement or village boundaries, can cause iron golems to spawn outside the designated collection area, making them difficult or impossible to harvest.
- Lag Generation: Overly complex or constantly running contraptions, particularly those involving a large number of entities (like items or mobs) or frequently updating Redstone, can cause significant game lag. Design farms with efficiency and minimal entity processing in mind to maintain smooth gameplay.
Tags:
YOU MAY ALSO LIKE...