Designing an Efficient Nether Highway (Step by Step)
Nether highways are an indispensable tool for efficient long-distance travel in Minecraft. Leveraging the unique properties of the Nether dimension, players can significantly reduce travel times between distant locations in the Overworld. This guide will walk you through the process of designing and building an efficient Nether highway, ensuring fast, safe, and reliable transportation.
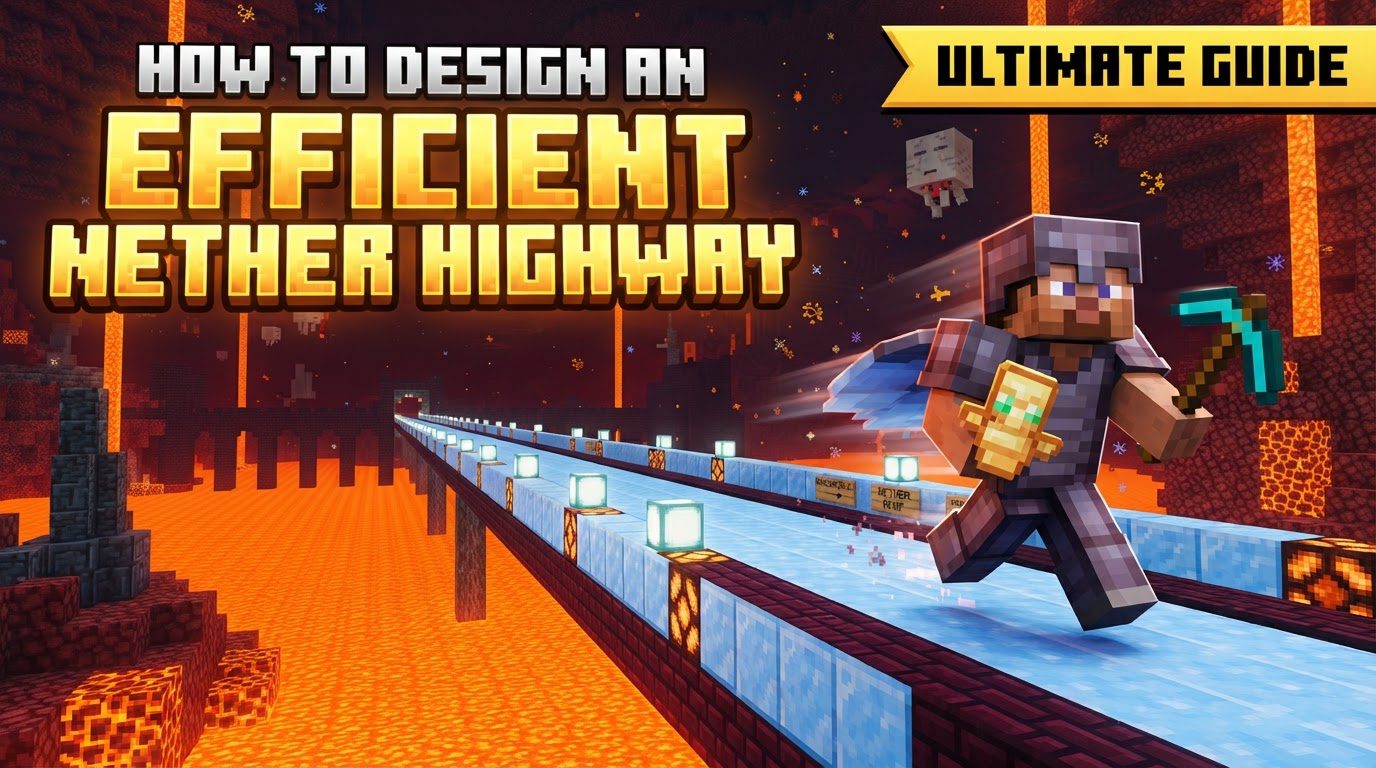
Key Mechanics of Nether Highways
Understanding the fundamental mechanics of Nether travel is crucial for designing an efficient highway system.
- 8:1 Travel Ratio: One block traveled in the Nether is equivalent to eight blocks in the Overworld, making Nether highways ideal for long-distance travel.
- Ice Boat Transportation: Boats on ice are the fastest method of travel in Minecraft, capable of speeds up to 72 blocks per second on blue ice.
- Ice Types:
- Regular Ice: Melts in the Nether due to high light levels and converts to steam. It does prevent mob spawns, but is unsuitable for the main path.
- Packed Ice: Does not melt in the Nether and is faster than regular ice.
- Blue Ice: The fastest ice type, offering the highest travel speed. It does not melt in the Nether. Blue ice is obtained by crafting 9 packed ice blocks or mining in frozen ocean biomes.
- Boat Hitbox: The boat’s hitbox is wider than one block, allowing it to travel across ice blocks spaced one block apart.
Step-by-Step Highway Construction
Building an efficient Nether highway involves careful planning and execution.
- Determine Overworld Coordinates: Note the X and Z coordinates of your desired destination in the Overworld. The Y coordinate is less critical for the portal link itself but important for tunnel placement.
- Calculate Nether Coordinates: Divide the Overworld X and Z coordinates by 8 to find the corresponding Nether coordinates.
- Build Initial Portal: Create and light a Nether portal in the Overworld at your starting point.
- Travel to Nether: Enter the Nether through your original portal.
- Tunnel to Nether Coordinates: Dig or build a tunnel in the Nether to the calculated coordinates.
- Construct Destination Portal: Build and light a new Nether portal at the calculated Nether coordinates, aiming for a safe Y-level like Y=115 or near bedrock.
- Link Portals: Travel through the newly built Nether portal. It should link to your desired Overworld destination. If it creates a new Overworld portal, dismantle any unwanted portals and adjust as needed to ensure correct linking.
- Construct Ice Path: Build a path using packed or blue ice within your Nether tunnel.
- Spawn-Proofing: Place non-spawnable blocks like buttons or slabs on top of the ice or as the floor to prevent mobs from spawning on the path. Glass panes or solid blocks along the sides can also help keep the boat straight. Regular ice also prevents mob spawns.
Important Tips for Optimal Design
Beyond basic construction, several design choices and practices can significantly enhance the efficiency, safety, and longevity of your Nether highway system.
- Optimal Y-Level: Build tunnels around Y=115 or near the bedrock ceiling (Y=127) to avoid most lava lakes and open caves. The Nether roof can also be utilized for shorter paths to further adjacent tunnels.
- Tunnel Dimensions: A common and efficient tunnel design is 2 blocks high and 3 blocks wide, with ice in the middle and air or glass panes on the sides. A 9×9 (11×11 with walls) tunnel width is also suggested for community projects.
- Spawn Prevention: Use slabs, buttons, or string on the ice surface, or glass as flooring, to prevent mob spawns without impeding boat travel. Regular ice also prevents mob spawns.
- Non-Flammable Materials: Construct tunnels with non-flammable blocks like cobblestone, stone bricks, or glass.
- Nether Hubs: Consider building a central Nether hub to connect multiple destinations with branches extending in cardinal directions.
- Marking and Navigation: Use signs, brightly colored blocks, or Dynmap markers (on servers) to label your tunnels and portals.
Common Mistakes to Avoid
Even experienced players can fall prey to common pitfalls when building Nether highways. Being aware of these can save you time, resources, and frustration.
- Not Calculating Coordinates: Incorrectly linking portals by not accurately dividing Overworld coordinates by 8.
- Digging Blindly: Digging straight down or forward in the Nether can lead to falling into lava or encountering dangerous mobs. Always stand back when mining and have blocks in your off-hand to quickly cover lava.
- Ignoring Spawn-Proofing: Failing to prevent mob spawns on your ice path can lead to obstacles and dangers.
- Using Regular Ice in the Open: Regular ice will melt in the Nether. Only packed ice or blue ice should be used for the travel path.
- Not Carrying Supplies: Entering the Nether without sufficient building blocks, tools, armor, food, and flint and steel can leave you stranded or vulnerable.
- Getting Lost: The Nether’s repetitive landscape makes it easy to lose your way. Always mark your portals and paths.
Designing and constructing an efficient Nether highway is a rewarding endeavor that transforms long-distance travel in Minecraft from a tedious chore into a swift and enjoyable journey. By understanding the core mechanics, meticulously planning your routes, and employing best practices, you can create a robust and reliable transportation network that serves your world for countless hours of gameplay.
Tags:
YOU MAY ALSO LIKE...