Enabling a Snapshot or Beta Version, Explained
Understanding Snapshots and Beta Versions
Minecraft, a continually evolving game, offers players the unique opportunity to test upcoming features and provide valuable feedback before official releases. This is primarily done through two distinct programs: Snapshots for the Java Edition and Beta/Preview versions for the Bedrock Edition. These testing versions are crucial for Mojang Studios to refine content, fix bugs, and ensure a smooth experience upon full release.
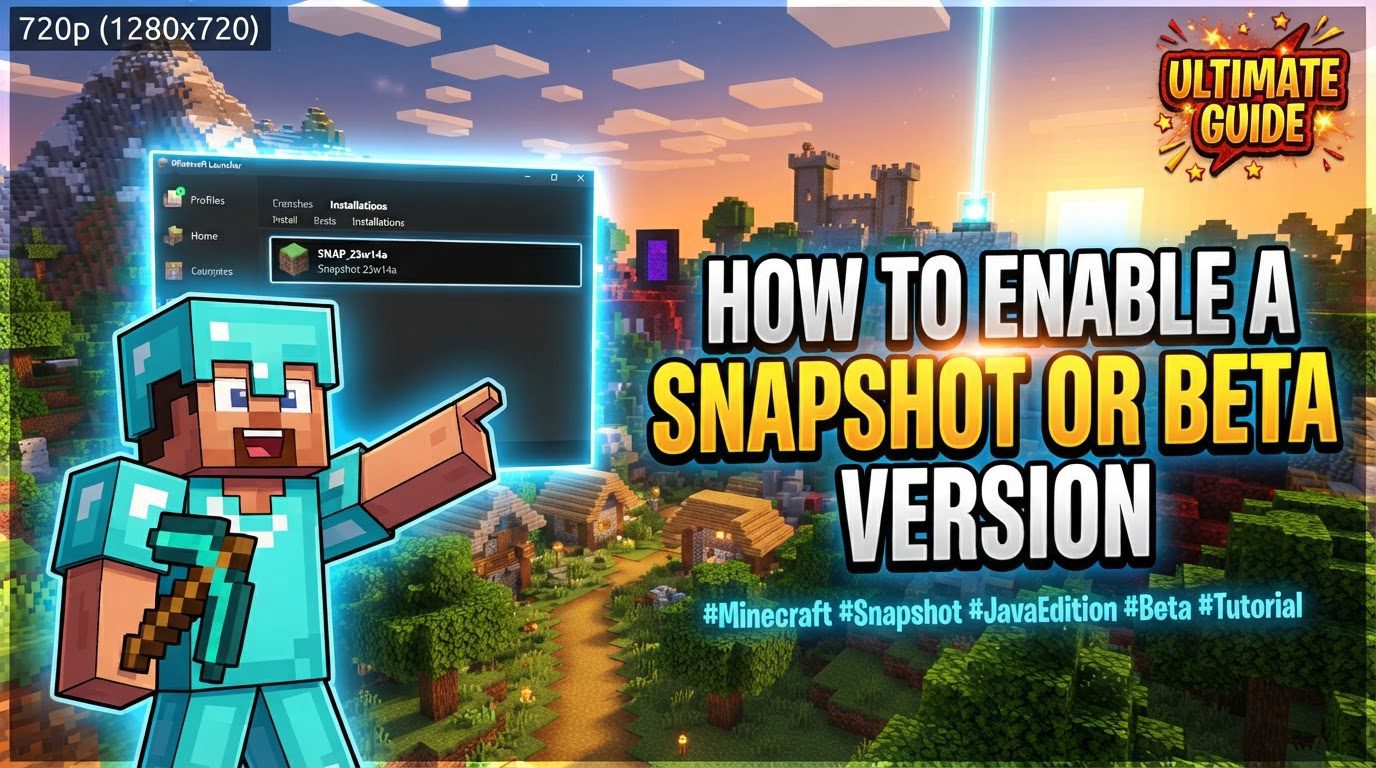
Snapshots (Java Edition): These are preliminary testing versions released periodically, typically once a week, for Minecraft Java Edition. Their primary purpose is to allow players to get an early look at features planned for future updates. Snapshots often include unrefined content, experimental mechanics, and are specifically designed for community feedback and bug reporting. They are not intended for regular gameplay due to their inherent instability but serve as a vital development tool.
Beta/Preview Versions (Bedrock Edition): Similar to Java’s snapshots, Beta or Preview versions are in-development releases for Minecraft Bedrock Edition. These allow players across various platforms such as Windows, Xbox, Android, and iOS to test new features before they are fully integrated into the stable game. Activating experimental features within the game settings is often a prerequisite to accessing the latest content within these versions. They provide a crucial feedback loop for Bedrock Edition’s multi-platform development.
Step-by-Step Process for Enabling Test Versions
For Minecraft Java Edition Snapshots:
Enabling snapshots in Minecraft Java Edition is a straightforward process within the game’s official launcher. It allows you to create a separate installation for testing without affecting your main game files.
- Open the Minecraft Launcher: Begin by launching the official Minecraft Launcher application on your computer. This is your gateway to managing different Minecraft versions.
- Navigate to the “Installations” Tab: Once the launcher is open, locate and click on the “Installations” tab at the top of the launcher window. This section displays all your existing Minecraft installations and allows you to create new ones.
- Tick the “Snapshots” Box: In the “Installations” panel, look for the “Versions” area. Here, you will find a checkbox labeled “Snapshots.” Ensure this box is ticked to make snapshot versions visible and selectable.
- Click “New Installation” (or select “Latest Snapshot”): You have two main options here. You can either click the “New Installation” button to create a dedicated profile for snapshots, or if you prefer a quicker method, you might find “Latest Snapshot” directly available in a drop-down menu near the “Play” button on the main launcher screen. For dedicated management, “New Installation” is recommended.
- Select “Latest Snapshot” from the Version Drop-down: When creating a new installation, a new window will appear. Within this window, there will be a “Version” drop-down menu. Click on it and select “Latest Snapshot.” You also have the option to select specific previous snapshots if you wish to test an older development version.
- Give the Installation a Name and Click “Create”: Provide a descriptive name for your new snapshot installation, such as “My Snapshot World” or “1.20 Snapshot Test.” This helps you easily identify it later. Once named, click the “Create” button.
- Select the New Snapshot Installation and Click “Play”: Return to the main launcher screen or the “Installations” tab. From the version selector next to the “Play” button, choose the snapshot installation you just created. Then, click “Play” to launch the game in the selected snapshot version.
- Enable Datapacks for New Worlds: For significant content updates introduced in snapshots, particularly those involving new gameplay mechanics or items, it is crucial to go to “Datapacks” when creating a new world. Here, you should enable any included datapacks to ensure all new features are active in your testing world.
For Minecraft Bedrock Edition Beta/Preview:
The process for accessing beta or preview versions of Minecraft Bedrock Edition varies depending on your platform.
Windows 10/11 (PC):
- Install “Minecraft Preview” App: For Windows users, the beta program is managed through a separate application. Open the Microsoft Store and search for “Minecraft Preview.” Install this dedicated application.
- Launch the Minecraft Preview App: Once installed, launch the “Minecraft Preview” app. This is distinct from your regular Minecraft for Windows app and will run the beta version of the game.
- Activate Experimental Features: When creating a new world or editing an existing one within the Minecraft Preview app, navigate to the world settings. Under the “Experiments” section, you may need to activate various experimental features to access the latest beta content.
Xbox Consoles:
- Install “Xbox Insider Hub” App: On your Xbox console, go to the Xbox Store and search for and install the “Xbox Insider Hub” application. This app manages participation in various Xbox preview programs.
- Open the App and Select “Minecraft for Windows 10”: Launch the “Xbox Insider Hub.” Navigate to the “Previews” section within the app. Look for an entry related to “Minecraft for Windows 10” or similar, which typically includes the Bedrock Edition beta.
- Click “Join” to Enroll: Select the Minecraft entry and click “Join” to enroll in the “Minecraft Preview” or Beta program. Follow any on-screen prompts to complete the enrollment process.
- Install Minecraft Preview from the Xbox Store: After the enrollment process is complete and approved, you will be able to install “Minecraft Preview” directly from the Xbox Store. This will be a separate application from your standard Minecraft game.
Android Devices:
- Open Google Play Store: On your Android device, open the Google Play Store app.
- Search for “Minecraft” and Open its Page: Use the search bar to find “Minecraft” and then tap on its app page to view its details.
- Scroll to “Join the Beta” and Click “Join”: On the Minecraft app page, scroll down until you find a section titled “Join the Beta.” Tap the “Join” button within this section.
- Launch Minecraft App After Update: The Google Play Store will then download and install the latest beta version of Minecraft onto your device. Once the update is complete, you can launch your Minecraft app, which will now be running the beta.
iOS Devices:
- Consult Apple TestFlight Page: Minecraft Preview on iOS is managed through Apple’s TestFlight program. This program typically has limited capacity. To join, you will need to refer to the official Apple TestFlight page for Minecraft Preview to check for availability and follow the instructions provided there.
Important Tips for Testing Versions
When venturing into the world of snapshots and beta versions, it’s crucial to follow certain best practices to protect your game data and enhance your testing experience.
- Backup Worlds: This is perhaps the most critical tip. Snapshots and beta versions are inherently unstable and can lead to world corruption. Always create a backup of your existing worlds before loading them into a testing version. This ensures that if anything goes wrong, you have a stable copy to revert to.
- Separate Game Directory/Profile: For Java Edition, consider creating a new profile or using a separate game directory specifically for snapshots. This prevents the unstable files from interfering with your main game installation and its associated worlds, keeping your primary gaming experience safe and clean.
- New Worlds for Testing: It is highly recommended to start a new save file when playing in a snapshot or beta. Worlds created or heavily played in an unstable version may not be compatible with older, stable versions of the game. Starting fresh for testing mitigates the risk of corrupting your primary saves and ensures you experience new features as intended.
- Enable Experimental Features: For Bedrock Edition, remember that many new beta features are hidden behind “Experimental Features” toggles within world settings. Make sure to activate these to fully access and test the latest content. Similarly, for Java Edition, enable any relevant datapacks when creating a new world to ensure all new features are active.
- Report Bugs: The primary purpose of these testing versions is to gather feedback and identify bugs. If you encounter any issues, glitches, or unexpected behavior, take the time to report them to Mojang Studios. Your reports are invaluable in helping developers refine the game.
Common Mistakes to Avoid
While testing new Minecraft features is exciting, several pitfalls can lead to frustration and data loss. Being aware of these common mistakes can save you a lot of trouble.
- World Corruption: One of the most significant risks is world corruption. Playing an unstable snapshot or beta version on a world that was created in a stable release can permanently damage that world, leading to irreversible data loss. Always use backups or new worlds for testing.
- Lack of Stability: Remember that snapshots and betas are not finished products. They are often unstable and prone to bugs, crashes, and unexpected behavior. Some of these bugs can be serious, affecting gameplay, progression, or even rendering the game unplayable at times. Do not expect a polished experience.
- Loss of Progress: Without proper and frequent backups, you risk losing significant progress. If a snapshot or beta corrupts your world, or if a bug prevents you from accessing it, all your hard work could be lost. Backup frequently, especially before and after playing in testing versions.
- Incompatible Versions in Multiplayer: When playing a snapshot or beta in multiplayer, it is crucial that all players have the exact same version installed. Mismatched versions between client and server (or between players) will inevitably lead to errors like “outdated server” or “outdated client,” preventing connection.
- Bedrock Beta Client Replacement (Android): On Android devices, joining the beta program will replace your normal Minecraft client with the beta version. This means your primary game will become the beta. It is essential to back up your worlds before joining, as the installation change can sometimes lead to data loss.
- Leaving Bedrock Beta Complications: When you decide to leave the Bedrock beta program, your app will eventually switch back to the regular, stable version. However, this process sometimes requires a full reinstallation of the game. If you haven’t backed up your worlds, this reinstallation can result in data loss.
- Older Beta Limitations: Be aware that if you are testing older beta versions (which is less common with modern preview programs but still possible), they may have significant gameplay differences and limitations compared to modern Minecraft. These could include the absence of features like sprinting, fewer building blocks, different mob mechanics, and a general lack of quality-of-life features present in current stable releases. They will also likely contain more bugs.
Tags:
YOU MAY ALSO LIKE...