Exporting a Build As a Schematic File — A Quick Guide
Understanding Minecraft Schematic Files
Minecraft schematic files are an invaluable tool for builders, allowing for the preservation, duplication, and sharing of structures within the game. Essentially, a schematic file captures a specific portion of your Minecraft world, encompassing all the blocks and, in some cases, entities within a defined area. This functionality enables players to save complex creations and effortlessly transfer them to different worlds or servers, significantly streamlining the building process and fostering creative collaboration.
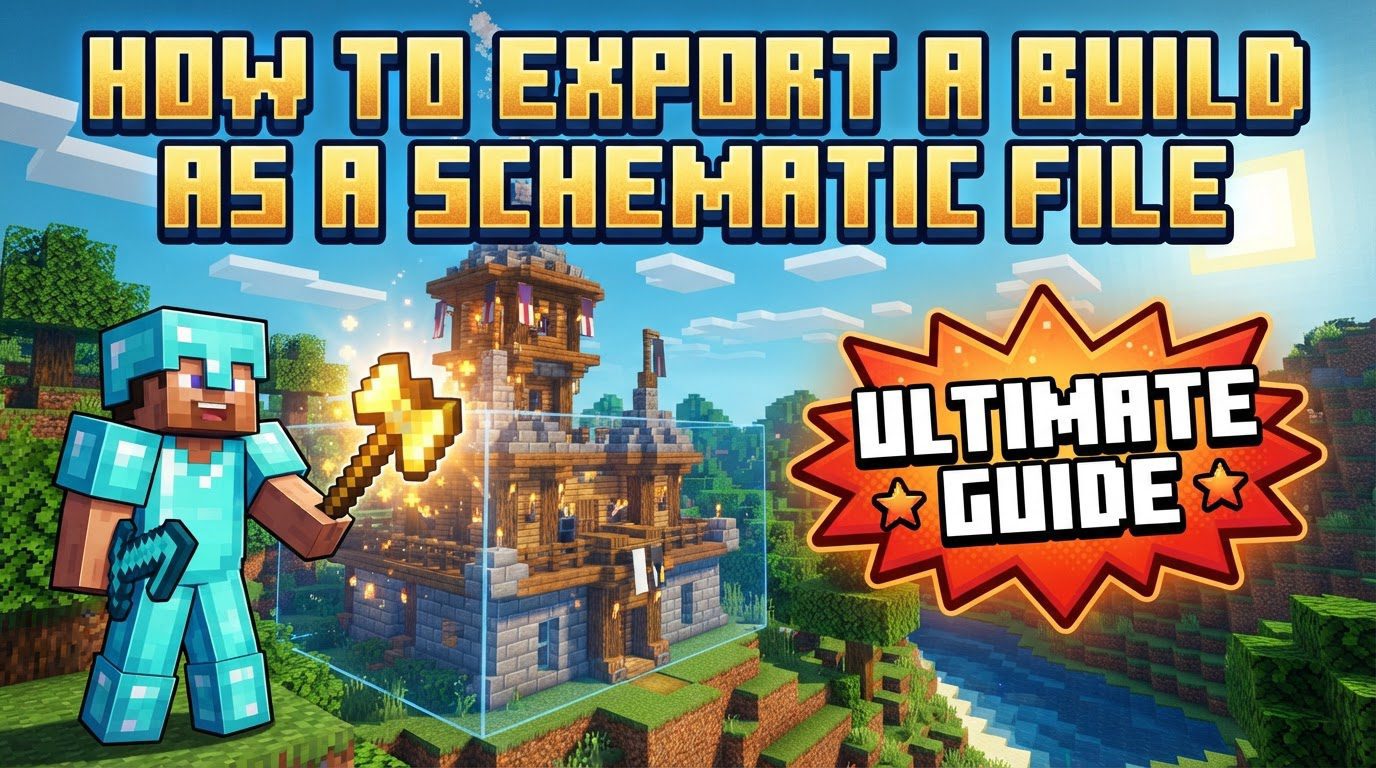
Various schematic file formats exist to cater to different tools and Minecraft editions. Common formats include .schematic and .schem, which are often associated with the powerful WorldEdit mod. Litematica, another popular mod, uses its own format, .litematic. For vanilla Minecraft, structure blocks generate .nbt files, while the Bedrock Edition utilizes .mcstructure files. To interact with these files – whether selecting, exporting, or importing – specialized tools and mods are always required.
Prerequisites: Installing a Schematic Mod
To begin the process of exporting your Minecraft build as a schematic, the first crucial step is to install a mod that provides this capability. The two most common and recommended mods for this purpose are WorldEdit and Litematica.
- WorldEdit: This mod is highly versatile and can be used on both servers and in single-player worlds. For single-player use, WorldEdit requires a mod loader such as Forge or Fabric. On servers, it’s typically installed as a plugin.
- Litematica: A popular client-side mod, Litematica is specifically designed for client-side use, meaning it’s installed directly into your game client. It also requires a mod loader like Fabric or Forge to function. Litematica offers advanced features and a visual overlay, making it a favorite for precise placement and building assistance.
Ensure that the chosen mod is installed correctly and is compatible with your specific Minecraft version and mod loader (e.g., Fabric, Forge, NeoForge).
Step-by-Step Guide to Exporting Your Build
1. Selecting the Build Area
Once your chosen mod is installed and active, the next step is to accurately define the boundaries of the build you wish to export. Precision in this step is key to avoid either cutting off parts of your creation or including unnecessary surrounding terrain.
- Using WorldEdit:
- Equip the WorldEdit wand, which is typically a wooden axe by default.
- Left-click one corner of your build to set the first position.
- Right-click the diagonally opposing corner of your build to set the second position.
- After defining the two corners, type
//copyinto the chat. This command copies the selected area into your WorldEdit clipboard, preparing it for saving.
- Using Litematica:
- Activate Litematica’s area selection mode. This is often done using a keybind (the default is ‘M’) to open the Litematica menu, then navigating to ‘Area Editor’. Alternatively, you can use a stick as a tool to define selections.
- Define the boundaries of your build by setting two corners of a selection box.
- Carefully adjust the selection to ensure it precisely encloses your entire build without including unwanted blocks. Litematica often provides visual aids to help with this.
2. Exporting the Schematic File
With the desired area selected, you can now proceed to export it as a schematic file.
- Using WorldEdit:
- After copying the selection (using
//copy), type/schem save <filename>into the Minecraft chat. - Replace
<filename>with a descriptive name for your schematic file. For example,/schem save MyGrandCastle. This command will save the contents of your WorldEdit clipboard to a schematic file.
- After copying the selection (using
- Using Litematica:
- Open the Litematica menu (default key ‘M’).
- Navigate to the ‘Area Editor’ section.
- Look for and select the ‘Save schematic’ option.
- A prompt will appear asking you to provide a name for your schematic. Enter a clear and descriptive name for easy identification later.
3. Locating the Exported File
Once the schematic has been saved, you’ll likely want to access the file outside of Minecraft, perhaps to share it or move it to a different location. The location of the saved file depends on the mod you used.
- WorldEdit:
- Schematic files saved with WorldEdit are typically found in the
worldedit/schematicsfolder. - The exact path can vary based on your setup:
- For Bukkit/Spigot/Paper servers, it’s often within the server’s
plugins/WorldEdit/schematicsfolder. - For Forge/NeoForge/Fabric single-player installations, it might be in your Minecraft instance’s
config/worldedit/schematicsor directly in.minecraft/schematics.
- For Bukkit/Spigot/Paper servers, it’s often within the server’s
- Schematic files saved with WorldEdit are typically found in the
- Litematica:
- Litematica schematic files are generally saved in a consistent location on Windows:
%appdata%\.minecraft\schematics. - On other operating systems, this path will correspond to the main Minecraft application data directory.
- Litematica schematic files are generally saved in a consistent location on Windows:
Important Tips for Schematic Exporting
To ensure a smooth and effective schematic export process, keep the following tips in mind:
- Choose the right tool: Litematica excels with advanced features like a visual overlay for placement, auto-building capabilities, and detailed configuration options, making it ideal for client-side building and precision. WorldEdit, on the other hand, is renowned for its powerful and quick selections and commands, particularly useful on multiplayer servers for large-scale operations.
- Precise Selection: Always take your time to ensure that the selection box perfectly encompasses your entire build. An imprecise selection can lead to missing parts of your structure or including unwanted surrounding blocks and terrain.
- Name Schematics Clearly: Adopt a consistent and descriptive naming convention for your schematic files. This practice will save you time and confusion when trying to locate and identify specific builds later on.
- Include/Exclude Entities: Most schematic mods offer options to include or exclude entities (such as mobs, item frames, chests with their contents) when saving a schematic. Adjust this setting according to your specific needs for the exported build.
- Set a Manual Origin (Litematica): When working with Litematica, setting a manual origin point for your schematic can be highly beneficial. This origin acts as a reference point, helping to orient the build correctly and predictably when you later paste it into another world.
- Format Conversion: If you need to use a schematic file in a different tool or another Minecraft edition, you might encounter format incompatibility. Consider using online converters or dedicated software like Bloxelizer or ObjToSchematic. These tools often support conversion between various formats, including .schematic, .litematic, .nbt, and .mcstructure.
Common Mistakes to Avoid
Even experienced builders can sometimes encounter issues when exporting schematics. Being aware of common pitfalls can help you prevent them:
- Incorrect Mod Installation: A frequently overlooked issue is ensuring the mod is installed correctly. Verify that it’s compatible with your specific Minecraft version and the mod loader you are using (e.g., Fabric, Forge). An incorrectly installed mod will not function as expected.
- Incomplete or Over-Selection: Failing to accurately define the boundaries of your build is a common error. This can result in either missing crucial blocks from your structure or, conversely, including unnecessary surrounding terrain and blocks that you didn’t intend to export.
- Lack of Permissions: On multiplayer servers, you might encounter situations where you do not possess the necessary administrative privileges to execute WorldEdit commands like
/schem save. In such scenarios, a client-side mod like Litematica, which operates independently of server permissions, often serves as a viable alternative for exporting your client-side builds. - Forgetting to Save: After meticulously selecting an area, it’s easy to forget the final step: executing the save command (for WorldEdit) or clicking the save button within the mod’s interface (for Litematica). Always ensure you complete the saving action.
- Misplacing Schematic Files: When importing a schematic at a later time, it’s crucial to ensure the file is placed in the correct directory that the mod expects. Misplaced files will not be recognized by the mod, making them unavailable for import.
- Format Incompatibility: Attempting to use a schematic file in a tool that does not support its specific format is a common mistake. For example, trying to load a .litematic file with a tool that only recognizes .schematic without prior conversion will lead to failure. Always check the supported formats for your tools.
Tags:
YOU MAY ALSO LIKE...