How to Find Void Blossom Bosses of Mass Destruction
Many adventurers, eager to conquer the formidable foes introduced by the ‘Bosses of Mass Destruction’ mod, often stumble at their first encounter with the Void Blossom, making one critical error that almost guarantees defeat. This guide will illuminate the path to successfully challenging and overcoming this unique, plant-like titan, ensuring you don’t fall victim to its regenerative power.
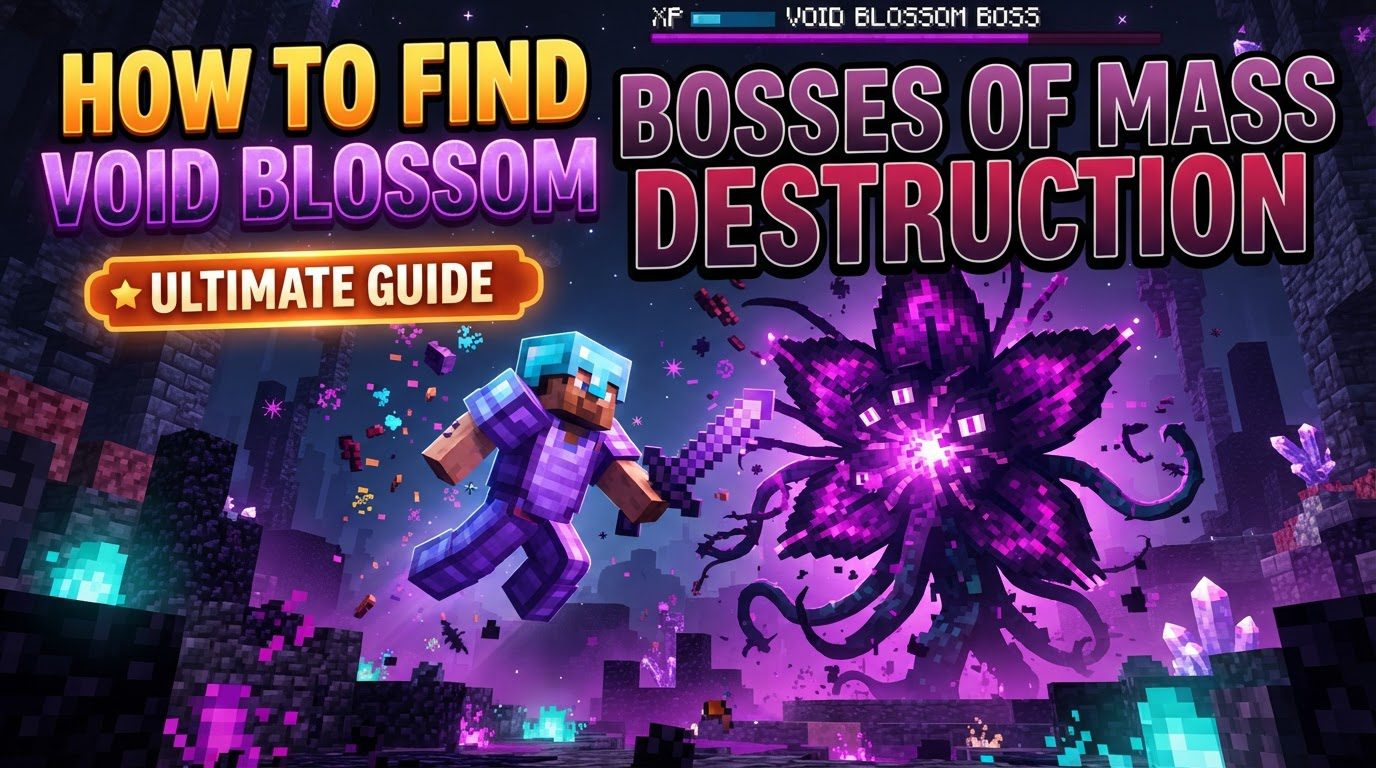
Unveiling the Void Blossom: A Rooted Menace
The Void Blossom stands as one of the four distinct boss challenges within the “Bosses of Mass Destruction” mod for Minecraft. Unlike many mobile adversaries, this boss is a colossal, stationary, flower-like entity, deeply entrenched in the Overworld’s subterranean layers. Its immobility, however, belies a complex set of offensive and defensive mechanics, demanding careful strategy and execution from any player daring to face it.
Establishing Your Foothold: Mod Installation and Void Lily Crafting
Before you can even dream of confronting the Void Blossom, you must first integrate its essence into your Minecraft world. The “Bosses of Mass Destruction” mod needs to be properly installed. Primarily designed for Fabric mod loaders, unofficial ports may exist for Forge, so ensure compatibility with your chosen game client. Once the mod is active, your journey truly begins with the creation of a crucial item: the Void Lily.
- To craft a Void Lily, combine a common Lily of the Valley with an Amethyst Shard. This seemingly innocuous flower holds the key to locating the boss’s hidden lair.
The Scent of Danger: Locating the Void Blossom’s Cavern
With your Void Lily in hand, the next step is to pinpoint the boss’s arena. The process is remarkably intuitive, yet requires attention to detail:
- Plant the Void Lily: Place your newly crafted Void Lily on any Dirt or Grass Block. It doesn’t matter where, as long as it’s in the Overworld.
- Follow the Particles: Upon planting, small, ethereal particles will emanate from the Void Lily. These particles serve as your compass, subtly pointing in the direction of the nearest Void Blossom cavern.
- Descend Deep: The Void Blossom’s arena generates deep underground, typically nestled at the very bottom levels of the world. As you follow the particles and dig downwards, keep an eye out for tell-tale signs. The boss’s lair is often identifiable by the presence of Amethyst spikes, giving the cavern a distinct, crystalline glow.
- Initiating the Confrontation: The fight is not triggered by a direct interaction. Instead, once any player gets within 40 blocks of the Void Blossom’s layer, the battle automatically commences. Be prepared the moment you sense you’re getting close.
The Void Blossom’s Offensive Arsenal: Understanding Its Mechanics
The Void Blossom is not a simple slugfest. It possesses 350 health points and a formidable 20 armor points, segmented into four distinct bars on its boss health display. As its health depletes, it will trigger special phases at 75%, 50%, and 25% health thresholds, intensifying the battle. Understanding its attacks is paramount to survival:
- Thorns: The boss can manifest thorns in two primary ways. Firstly, damaging thorns may sprout directly under your feet, demanding quick sidestepping. Secondly, a larger radius of thorns can protrude outwards from the boss, requiring agile dodging to avoid being impaled.
- Spore Attack: A particularly nasty ability, the Void Blossom fires a vibrant green spore. This projectile will explode after a few seconds, inflicting significant damage and, more critically, applying a long-duration poison effect. Managing this poison is crucial.
- Blade Attacks: The boss can launch razor-sharp petal projectiles. These require constant awareness and dodging to avoid consistent damage.
- Blossom Attacks: The main Void Blossom can summon additional, smaller blossom entities. While these might seem like minor nuisances, they play a critical role in the boss’s regeneration capabilities.
The Regenerative Nightmare: Countering the Void Blossom’s Healing
This is where many adventurers falter. The Void Blossom possesses a powerful healing ability. While it cannot regenerate health into the next segment of its boss bar, it can rapidly restore health within its current segment. The source of this regeneration is key:
- Smaller Void Blossoms: The smaller blossom entities summoned by the main boss are not just distractions; they actively heal the primary Void Blossom.
- Special Flower Blocks: Beyond the smaller blossoms, unique flower blocks will also spawn within the arena. These are potent healing sources for the main boss.
- The Imperative to Destroy: To effectively damage the Void Blossom, you MUST prioritize and destroy these healing entities as soon as they appear. Failing to do so will result in the boss seemingly out-healing all your damage, making it appear invincible. Some healing blossoms may even be protected behind Bramble Walls, which you’ll need to break through to access and eliminate the healing source.
- Poison Immunity: Do note that the Void Blossom itself is immune to poison effects, making poison-tipped arrows or weapons ineffective against the main boss, though they might be useful for smaller mobs if any.
Strategic Preparation: Gear and Tactics for Victory
Conquering the Void Blossom requires more than just raw damage; it demands thoughtful preparation and execution. Here are essential tips for success:
- Ranged Supremacy: Due to the boss’s stationary nature and dangerous close-range attacks, a ranged weapon like an enchanted bow with plenty of arrows is highly effective. Prioritize enchantments like Power, Punch, and Infinity.
- Mobility is Key: Constant movement is your best defense. Bring Speed potions to enhance your agility, allowing you to quickly sidestep thorns, dodge spore explosions, and avoid petal projectiles. Never stand still for long.
- Health Management and Poison Cure: The long-lasting poison from the spore attack can quickly deplete your health. Always carry several buckets of milk to instantly cure poison. Health regeneration potions or Golden Apples are also invaluable for sustaining your health throughout the fight.
- Comprehensive Potion Preparation: As with all bosses in the “Bosses of Mass Destruction” mod, a full suite of potions is crucial. Consider Strength for increased damage, Fire Resistance if lava is present, and Night Vision for better visibility in the deep cavern.
- Eliminate Healing Sources Relentlessly: This cannot be stressed enough. Your primary target, especially in the early stages of the fight, should be the smaller Void Blossoms and special flower blocks that spawn. Destroy them the moment they appear to prevent the main boss from regenerating.
- Patience and Precision: Rather than mindlessly attacking, focus on dodging the boss’s abilities and finding safe moments to unleash your attacks. It’s a dance of avoidance and targeted strikes.
- Arena Awareness: Be mindful of your surroundings. While the arena is custom-generated, sometimes environmental hazards like lava can spawn in the deep caves. Avoid falling into such traps while dodging attacks.
Common Pitfalls: Mistakes That Lead to Defeat
Learning from the errors of others can save you a lot of frustration. Avoid these common blunders when facing the Void Blossom:
- Ignoring the Healers: This is the number one mistake. If you don’t destroy the smaller healing blossoms and flower blocks, the main boss will regenerate health faster than you can deal damage, making the fight unwinnable.
- Static Combat: Standing in one place makes you an easy target for thorns, spores, and petal projectiles. Lack of mobility will quickly lead to your demise.
- Insufficient Preparation: Going into the fight without proper gear (enchanted weapons and armor), a full inventory of potions, and milk will make the encounter significantly harder, if not impossible.
- Underestimating Poison: The Void Blossom’s spore attack inflicts a potent, long-lasting poison. Underestimating its cumulative damage and not bringing milk for quick cures will drain your health rapidly.
- Close-Quarters Danger: While technically possible, engaging the Void Blossom in close combat is far more dangerous due to its immediate thorn attacks and the proximity to spore explosions. Ranged combat is strongly advised for safety and efficiency.
The Fight Unfolds: A Step-by-Step Engagement
Once you’ve installed the mod, crafted your Void Lily, and located the Amethyst-spiked cavern, the fight begins automatically as you approach. Here’s a concise flow for the battle:
- Initial Approach: Be ready for combat as you near the 40-block activation radius. Have your ranged weapon equipped and potions ready.
- Prioritize Healers: Immediately identify and destroy any smaller Void Blossoms or special flower blocks that spawn. This is your most critical task throughout the fight.
- Dodge and Weave: Constantly move to avoid thorns, spore explosions, and incoming petal projectiles. Utilize Speed potions to enhance your evasion.
- Manage Poison: If you get hit by a spore, immediately drink milk to cure the poison before it significantly damages you.
- Sustain Damage: Once healing sources are temporarily dealt with, focus your ranged attacks on the main Void Blossom. Continue this cycle of destroying healers, dodging attacks, and dealing damage.
By understanding its unique mechanics, preparing meticulously, and executing a disciplined strategy focused on eliminating its healing sources and maintaining mobility, the Void Blossom will eventually wither, leaving you victorious against one of the “Bosses of Mass Destruction” mod’s formidable challenges.
Tags:
YOU MAY ALSO LIKE...