Fixing a Black Screen on Game Launch
Troubleshooting a Black Screen on Minecraft Launch
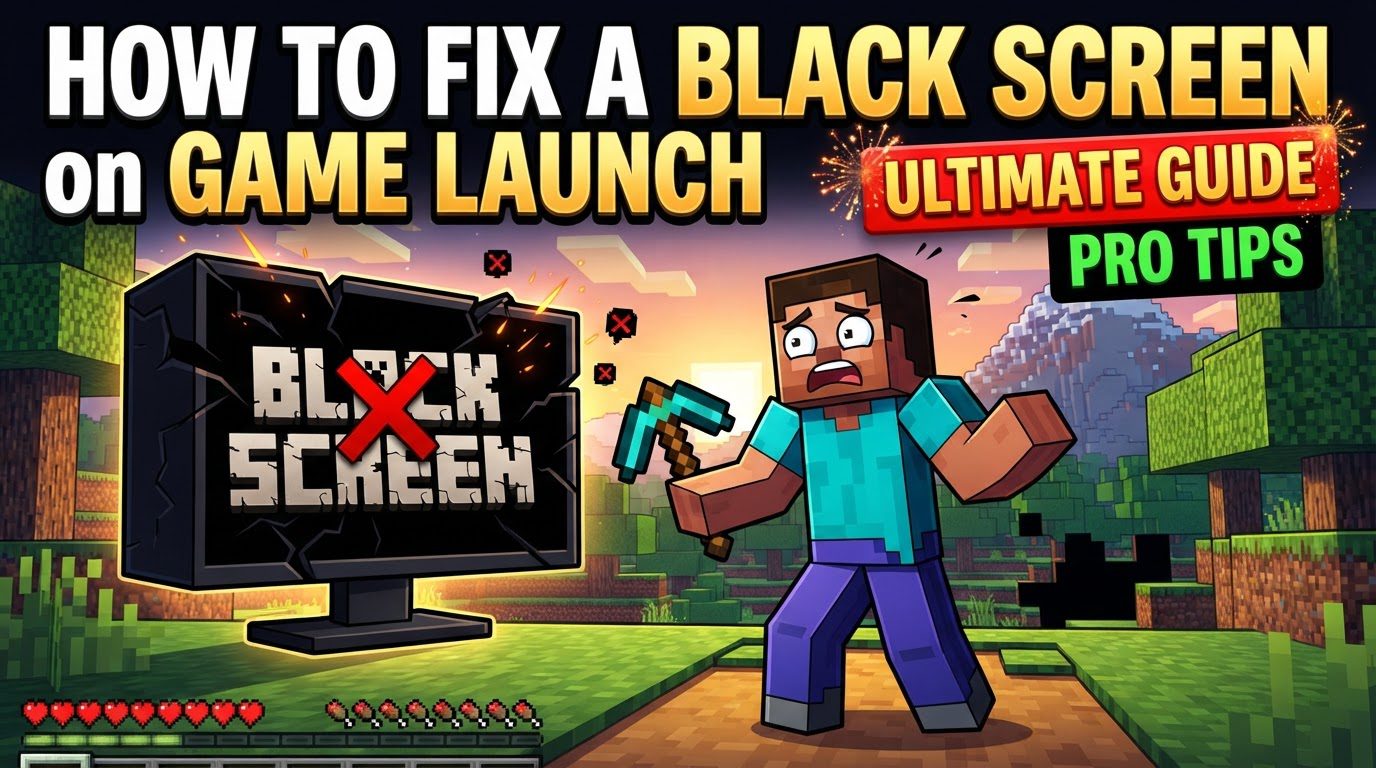
Encountering a black screen when launching Minecraft can be a frustrating experience, halting your adventures before they even begin. This issue often stems from a combination of factors including outdated software, incorrect game configurations, or system-level interferences. Resolving it typically involves a systematic approach, focusing on driver updates, memory allocation adjustments, and meticulous game file troubleshooting.
Understanding the Root Causes
A black screen at launch is a symptom, not the problem itself. Several underlying issues can lead to this display malfunction:
- Outdated or Corrupted Graphics Drivers: These are a very common culprit. Your graphics card relies on drivers to communicate with your operating system and applications like Minecraft. If they are old or damaged, they can fail to render the game correctly, resulting in a black screen.
- Insufficient RAM Allocation (Java Edition): Minecraft Java Edition can be quite demanding on memory, especially with mods or high render distances. If the game isn’t allocated enough RAM, it might struggle to load assets, leading to a black screen as it tries to start.
- Antivirus Software Interference: Security software, while essential, can sometimes be overzealous. It might incorrectly identify Minecraft’s executable files as a threat, blocking their operation and preventing the game from launching properly.
- Outdated Java Version (Java Edition): Minecraft Java Edition relies heavily on Java. An outdated or incorrect 32-bit version can prevent the game from running efficiently or even launching at all.
- Incompatible Mods, Resource Packs, or Shaders: Add-ons can significantly enhance your gameplay, but if they are incompatible with your current game version or each other, they can cause conflicts that manifest as display issues, including black screens.
- Incorrect In-Game Video Settings: Specific video settings, such as anti-aliasing levels or a display resolution that conflicts with your monitor’s capabilities, can sometimes prevent the game from initializing its display.
- Outdated Operating System: An older operating system might lack critical updates or components that Minecraft needs to run smoothly, potentially leading to startup failures.
- Corrupted Game Files or Launcher Cache: Essential game files can become damaged over time, or the launcher’s temporary cache files can become corrupted, hindering the game’s ability to load.
- External Input Device Interference: Less common, but certain external devices connected via USB (like controllers or specialized peripherals) can occasionally cause conflicts during game launch.
- Incorrect GPU Preference (Dual Graphics Cards): Systems with both integrated and dedicated graphics cards might default to the less powerful integrated GPU for Minecraft, which can struggle to run the game, leading to a black screen.
Step-by-Step Troubleshooting Process
To systematically address the black screen issue, follow these steps:
1. Update Graphics Drivers
Given that outdated or corrupted graphics drivers are a common cause, this should be your first step. Visit the official website of your graphics card manufacturer (NVIDIA, AMD, or Intel) to download the latest drivers specific to your model. Avoid relying solely on Windows Update for this, as manufacturer websites often have more current versions. After installation, it’s crucial to restart your computer to ensure the new drivers are fully integrated.
2. Allocate More RAM (Minecraft Java Edition)
Insufficient RAM can prevent Minecraft Java Edition from loading correctly. To adjust this:
- Open the Minecraft Launcher and navigate to the “Installations” tab.
- Hover over the specific game installation you use and click the three vertical dots that appear, then select “Edit.”
- In the edit profile window, click “MORE OPTIONS” to reveal advanced settings.
- Locate the “JVM ARGUMENTS” field. You’ll see a string of text, including a part that looks like “-Xmx#G” (e.g., “-Xmx2G”). The number represents the gigabytes of RAM allocated.
- Change this number to allocate more RAM (e.g., “-Xmx4G” or “-Xmx6G”). A good starting point is half of your system’s total RAM, but avoid allocating too much.
- Click “Save” to apply the changes. Note that third-party launchers like CurseForge often provide a more user-friendly slider for RAM allocation.
3. Update Java (Minecraft Java Edition)
Minecraft Java Edition requires a specific Java runtime environment. Ensure you have the latest 64-bit version of Java 17 or Java 21 installed on your system. Using a 32-bit Java installation will cap your allocated RAM significantly, regardless of your launcher settings.
4. Check Antivirus Settings
Your antivirus software might be mistakenly blocking Minecraft. Add the Minecraft Launcher and its associated executables (like `javaw.exe` for Java Edition) as exceptions or exclusions within your antivirus program’s settings. This tells your security software to allow these programs to run without interference.
5. Clear Launcher Cache
A corrupted launcher cache can prevent the game from starting. To clear it:
- Completely close the Minecraft Launcher. Use Task Manager (Ctrl+Shift+Esc) to ensure no background processes related to the launcher are running.
- Press the `Windows key + R` simultaneously to open the Run dialog.
- Type `%appdata%` and press Enter. This will open your Roaming folder.
- Navigate into the `.minecraft` folder.
- Inside `.minecraft`, locate and delete either the `launcher_profiles.json` file or the `launcher_cef` folder. Deleting these will force the launcher to regenerate them upon next startup.
6. Run in Compatibility Mode
Sometimes, running the launcher or game in compatibility mode can resolve startup issues, especially on newer operating systems. To do this:
- Right-click on the Minecraft Launcher icon.
- Select “Properties” from the context menu.
- Go to the “Compatibility” tab.
- Check the box next to “Run this program in compatibility mode for.”
- From the dropdown menu, select “Windows 8.”
- Click “Apply” and then “OK.”
7. Reset Video Settings
Incorrect in-game video settings can sometimes cause a black screen before the game fully loads. You can reset a problematic setting externally:
- Close Minecraft completely.
- Open the Run dialog (`Windows key + R`), type `%appdata%`, and press Enter.
- Navigate to the `.minecraft` folder.
- Find and open the `options.txt` file with a text editor like Notepad.
- Look for the line that starts with `gfx_msaa:`. This relates to anti-aliasing.
- Change its value to `4` (e.g., `gfx_msaa:4`).
- Save the `options.txt` file and close it.
8. Verify GPU Preference (Dual Graphics Cards)
If your system has both an integrated and a dedicated graphics card, ensure Minecraft is set to use the more powerful dedicated GPU:
- Go to Windows Settings > System > Display > Graphics settings.
- Browse and add Minecraft (or `javaw.exe` for Java Edition, usually found in `C:\Program Files\Java\jre-17.0.x\bin\javaw.exe` or similar path) to the list.
- Once added, click on it and set its preference to “High performance.”
9. Disable Mods, Resource Packs, or Shaders
If you’ve recently installed any add-ons, they could be the source of the problem. Temporarily remove or disable all recently installed mods, resource packs, or shaders. Test the game, and if it launches, reintroduce them one by one to identify the problematic addition.
10. Reinstall Minecraft
As a last resort, if all other solutions fail, a clean reinstallation might be necessary. This involves completely uninstalling Minecraft, deleting any remaining game files (especially the `.minecraft` folder in `%appdata%`), and then downloading and installing a fresh copy of the game. This ensures all corrupted files are removed and replaced with clean versions.
Important Tips for Prevention and Resolution
- Always Restart: After updating drivers or making significant system changes, always restart your computer. This ensures changes are fully applied.
- Keep OS Updated: Regularly update your operating system to the latest version. OS updates often include critical bug fixes and performance improvements that can benefit game compatibility.
- Close Background Programs: Before launching Minecraft, close any unnecessary background programs. This frees up system resources (CPU, RAM) that Minecraft can utilize, reducing the chance of resource-related black screens.
- Meet System Requirements: Ensure your computer meets or ideally exceeds the minimum system requirements for Minecraft. Running on underpowered hardware can lead to various issues, including black screens.
- Disconnect External Devices: Temporarily disconnect external input devices like controllers or other USB peripherals to rule out any potential interference they might cause during game launch.
- Bedrock Edition Note: For Minecraft Bedrock Edition, manual RAM allocation is not supported. If you experience issues, focus on lowering render distance within the game settings and closing background applications.
- Launcher Updates: Keep your Minecraft launcher itself updated. Launcher updates often include bug fixes and improvements that can prevent startup issues.
Common Mistakes to Avoid
- Over-allocating RAM: While allocating more RAM can help, giving Minecraft more than half of your total system RAM can lead to system instability and even crashes for other applications or the operating system itself.
- Using 32-bit Java: For Minecraft Java Edition, using a 32-bit Java installation will severely limit the amount of RAM that can be allocated to the game (typically capped at 1.5-2 GB), regardless of your launcher settings. Always ensure you have a 64-bit Java version installed.
- Ignoring Antivirus: Neglecting to check or configure antivirus settings can leave you chasing other solutions when the real problem is your security software blocking the game.
- Skipping Restarts: Failing to restart your computer after installing driver updates or making major system configurations can mean the changes haven’t fully taken effect, leading to continued issues.
Tags:
YOU MAY ALSO LIKE...