How to Fix A JNI Error Has Occurred in Minecraft
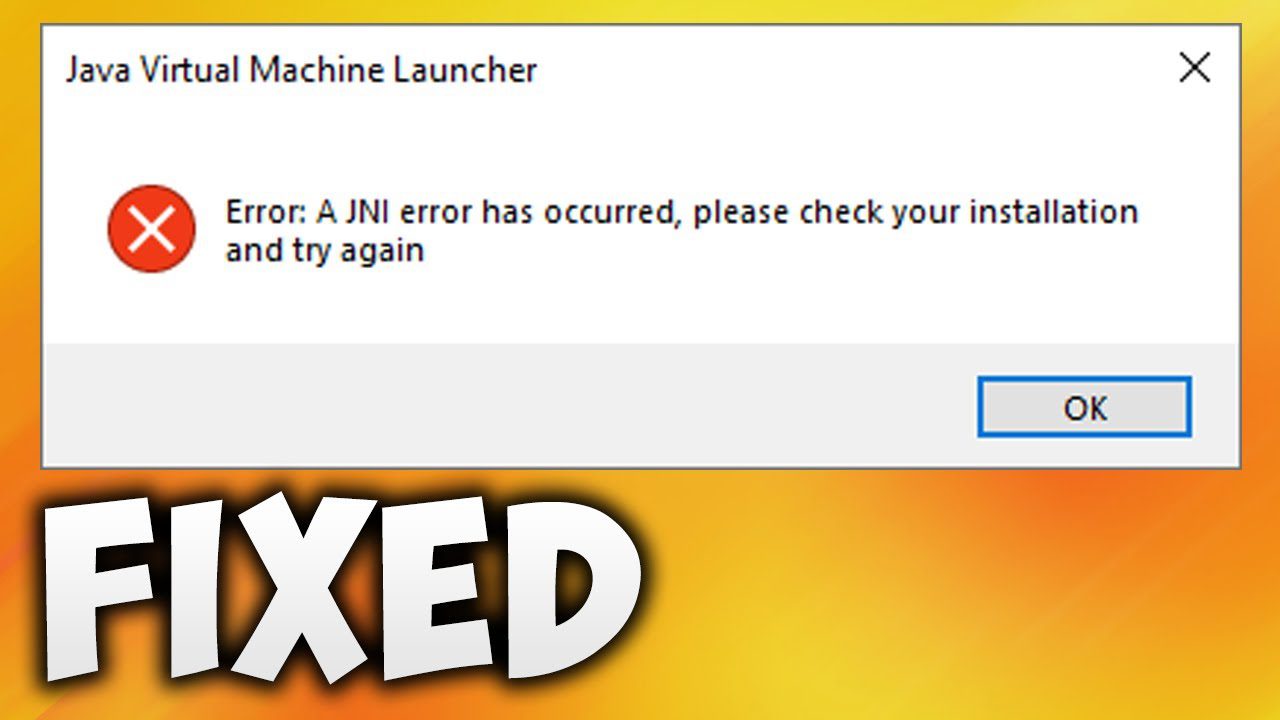
Some Minecraft users see the JNI error Minecraft server message that appears when trying to start the client or server: “A JNI error has occurred, please check your installation and try again“. This issue mainly occurs in Minecraft version 21w19a and newer.
Why does this “a JNI error has occurred” error occur? Here are possible reasons:
- The version of Java is old: Previous versions of Minecraft came with server software that was compatible with older versions of Java. However, this is not the case with the latest Minecraft update, which now requires Java to get up and running properly.
- The corrupted system path for Java: The system variable path for Java is corrupted and tricks the Minecraft launcher into thinking that Java is not actually installed on your PC.
Whatever the cause of this problem, the solutions below will help you fix it in no time.
Solution 1: Install the Latest Java Version
This a JNI error has occurred Minecraft server error occurs when you try to start Minecraft or a Minecraft server on a PC that does not have the latest version installed. To fix this, you just need to update your current Java to the latest version.
You can complete the installation of Java’s latest version of Minecraft by following these steps:
Tip: Make sure the Minecraft launcher (Tlauncher or any other) is completely closed.
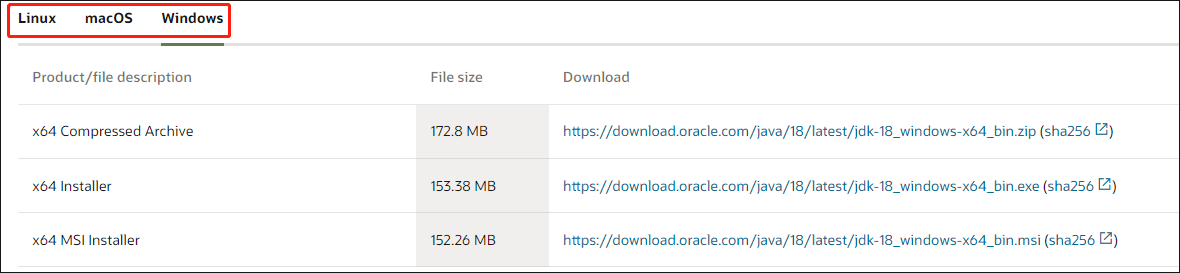
Step 1: Go to the official website to download the latest version of Java. Here you need to download the installation package you need correctly. For Windows users, they may choose to download the file ending with .exe.
Step 2: After downloading Java, install the software on your computer. You just double-click the downloaded executable and allow the installer to make changes when asked.
Step 3: Follow the on-screen instructions to finish the installation.
After that, you can check if the “a JNI error has occurred” error still appears.
Solution 2: Remove Broken System Path Variables for Java
If the first method doesn’t work, then this “a JNI error has occurred Minecraft” error is due to a corrupted system path variable for Java.
In this case, you can fix the problem by visiting the System Properties screen and modifying the environment variables in a way that removes the Java environment variables.
To do so, here is the guide:
- Step 1: Press the Win + R key to open the Run dialog box. Then type sysdm.cpl in it and press Enter.
- Step 2; In the System Properties window, switch to the Advanced tab, and then click on the Environment Variables button.
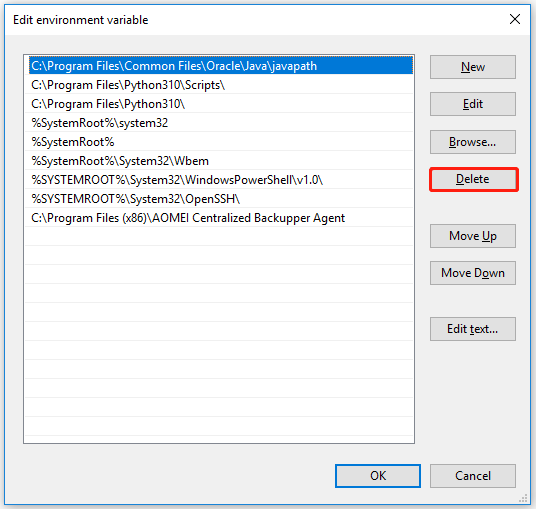
- Step 3: Once enter the System Variables window, under the System variables section, select Path and click on the Edit button.
- Step 4: In the next window, find the environment variables for Java. Then click it and click Delete.
After removing the offending environment variable, restart your PC, then start Minecraft again and see if the “a JNI error has occurred ” issue is fixed.

