Fixing Broken Shaders After the 26.1 Rendering Changes — A Quick Guide
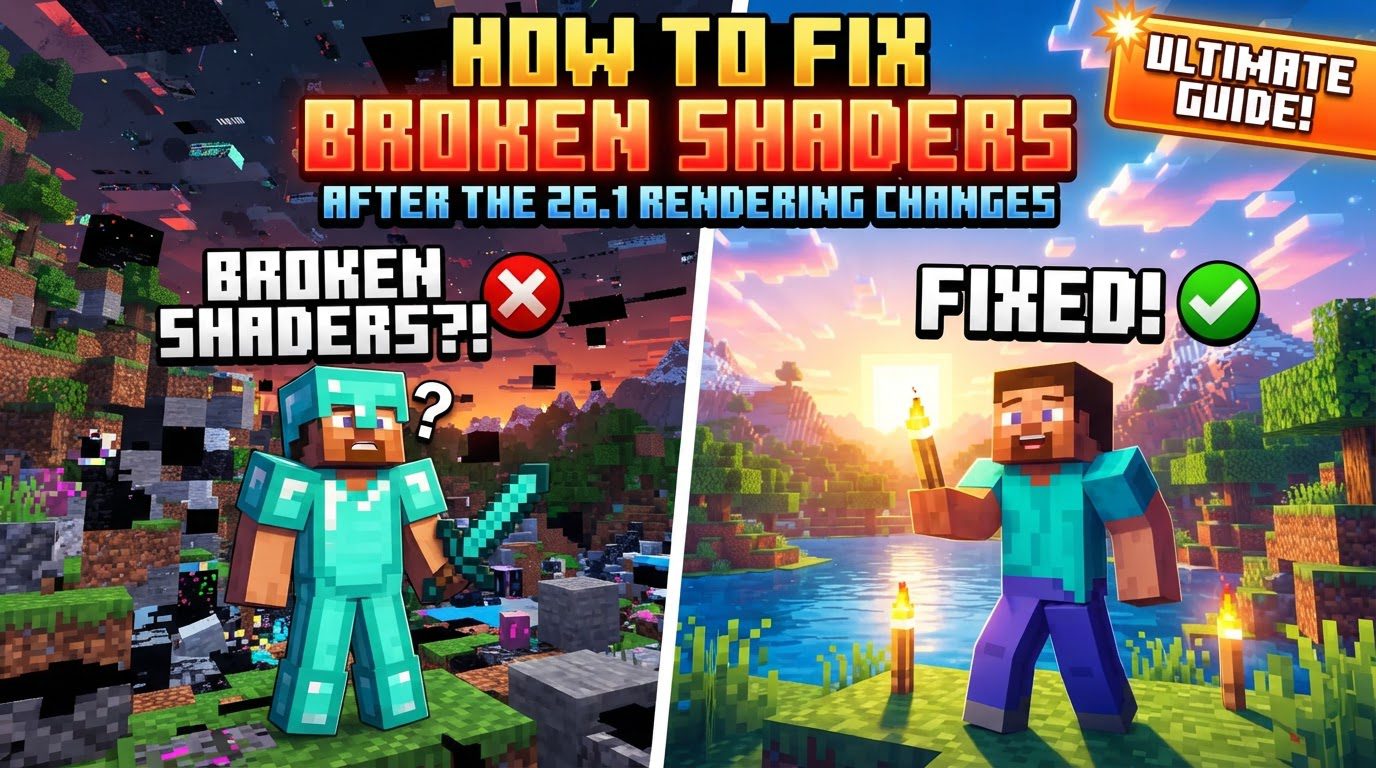
Minecraft’s 26.1 update introduced significant rendering changes that have impacted how shaders function, leading to many players experiencing broken or non-functional visual enhancements. This comprehensive guide will walk you through the necessary steps and considerations to restore your beloved shaders, ensuring compatibility and optimal performance in the wake of these architectural shifts. The key to resolving these issues lies in understanding the interplay between your Minecraft version, the shader loader you use, and the shader packs themselves, all while acknowledging the game’s evolving rendering pipeline.
Understanding the Core Mechanics Behind Shaders in Minecraft 26.1
-
Mod Loaders: The Gateway to Shaders
Shaders are not a native feature of Minecraft and require a dedicated mod loader to inject their visual enhancements into the game. For Minecraft 26.1 and subsequent versions, the landscape of mod loaders has shifted. Iris Shaders, frequently bundled with the performance-enhancing mod Sodium, has emerged as the recommended and often superior solution. This combination offers significantly better compatibility and performance for newer Minecraft updates compared to older alternatives. OptiFine, while historically popular, has been slower to update for recent Minecraft versions, and its underlying architecture may struggle with the rendering engine changes (such as the potential shift from OpenGL to Vulkan) that are occurring within the game. This can lead to reduced performance, visual glitches, or complete incompatibility when using OptiFine with 26.1 and modern shader packs.
-
Version Compatibility: A Crucial Alignment
For shaders to work correctly, a critical principle must be observed: all components involved must be compatible with each other. This means your Minecraft game version (specifically 26.1 in this context), your chosen shader loader (Iris/Sodium or OptiFine), and the shader pack itself must all be designed to work in harmony. An incompatibility in any one of these elements will likely result in errors, visual artifacts, or the shaders simply failing to load.
-
Graphics Drivers: The Foundation of Visuals
Beyond software compatibility, your system’s hardware drivers play a pivotal role. Up-to-date graphics drivers are absolutely crucial for proper shader functionality. Outdated drivers can lead to a multitude of problems, including crashes, severe visual glitches, poor performance, or the inability for shaders to render at all. Ensuring your graphics card drivers are current is a fundamental step in troubleshooting and maintaining a stable shader experience.
A Step-by-Step Guide to Restoring Your Shaders After 26.1
Follow these steps meticulously to get your shaders up and running again:
-
Step 1: Update Minecraft to 26.1
Ensure your Minecraft game client is fully updated to version 26.1. This is the foundational requirement for using shader loaders and shader packs designed for this specific update. Launch your Minecraft Launcher and verify that you are running the correct game version.
-
Step 2: Install Java on Your PC
Java is an essential prerequisite for most Minecraft mod loaders to function. Confirm that a compatible version of Java is installed on your computer. If you’re unsure, or if you encounter issues, consider reinstalling the latest recommended Java version for your operating system.
-
Step 3: Install a Compatible Mod Loader (Iris Recommended)
This is arguably the most critical step for 26.1 compatibility:
- Download and Install Iris Shaders: Navigate to the official Iris Shaders website. Download the installer, which often bundles Sodium for performance. Run the Iris installer, ensuring you select your Minecraft 26.1 version during the installation process.
- Initial Minecraft Launch: Before installing the mod loader, it’s good practice to launch Minecraft at least once with the standard 26.1 profile. This ensures that all necessary game files and directories are created, which the mod loader installer will then utilize.
- Select Modded Profile: After successful installation, open your Minecraft Launcher. You should now see a new profile available, typically named “Iris” (or “OptiFine” if you chose that route). Select this profile before clicking “Play” to start the game with your chosen mod loader enabled.
-
Step 4: Download Compatible Shader Packs
Now that your mod loader is in place, you need shader packs that are designed for or known to be compatible with Minecraft 26.1 and your chosen loader (preferably Iris). Search for shader packs online, paying attention to their listed compatibility. While some older shaders may still function, newer versions or those explicitly updated for 26.1 will offer the best experience. Download your desired shader packs, which will typically come in a `.zip` file format.
-
Step 5: Install Shader Packs into Minecraft
With your shader packs downloaded, it’s time to place them in the correct location:
- Access Shader Settings In-Game: Launch Minecraft with your Iris (or OptiFine) profile. From the main menu, navigate to “Options” -> “Video Settings” -> “Shader Packs”.
- Open Shader Pack Folder: Within the “Shader Packs” menu, locate and click the “Open Shader Pack Folder” button. This will open the correct directory on your computer where shader packs should be stored.
- Place Shader Files: Drag your downloaded shader `.zip` files directly into this newly opened folder. It is crucial that you do not extract the contents of the `.zip` files; they must remain compressed.
-
Step 6: Activate Your Chosen Shaders
Once the shader files are in the correct folder, return to the Minecraft game window. The shader packs should now appear in the list within the “Shader Packs” menu. Select your desired shader pack from the list, and then click “Apply” to activate it. The game world should then reload with the new visual effects.
Essential Tips for Optimal Shader Performance and Stability
-
Allocate More RAM to Minecraft
Shaders, especially high-quality ones, are resource-intensive. If you experience stuttering, lag, or crashes, allocating more RAM to your Minecraft installation can significantly improve performance. This can typically be done through the Minecraft Launcher settings under “Installations” by editing your chosen profile (e.g., Iris 26.1 profile) and adjusting the JVM arguments for memory allocation.
-
Adjust In-Game Shader Settings
Every shader pack comes with its own set of configurable options, which can be accessed from within the “Shader Packs” menu after selecting a shader. If you encounter performance issues or visual anomalies, delve into these settings. Lowering quality options such as shadow resolution, render distance, water quality, or disabling certain effects can drastically improve your framerate without necessarily compromising the overall aesthetic too much.
-
Restart Minecraft After Changes
Sometimes, particularly after installing new shaders, changing significant settings, or encountering minor glitches, a simple restart of Minecraft can resolve lingering issues. This allows the game to properly reinitialize all components and apply changes cleanly.
-
Consider Switching Shader Loaders (Iris over OptiFine)
If you are persistently facing problems with OptiFine and shaders on Minecraft 26.1, it is highly advisable to switch to Iris Shaders with Sodium. As mentioned, Iris/Sodium generally offers superior support, better performance, and greater compatibility for newer Minecraft versions due to their more modern approach to rendering integration.
-
Check for Specific Community Fixes
For unique or persistent bugs, such as specific texture glitches or rendering errors with certain shader packs, the Minecraft community often discovers workarounds. These might include specific loading sequences, such as loading the game with shaders on, closing it, and then relaunching without disabling them, or particular in-game settings adjustments. Consulting community forums or the shader pack’s documentation can provide insights into these specific fixes.
Common Pitfalls to Avoid When Fixing Shaders
-
Not Installing a Mod Loader
This is a fundamental error. Shaders are not a native Minecraft feature. Without a compatible mod loader like Iris Shaders or OptiFine, the game has no mechanism to interpret or apply the shader pack files, resulting in non-functional shaders.
-
Incorrect Shader Pack Placement
Placing your shader `.zip` files in the wrong directory, outside of the designated `shaderpacks` folder, will prevent Minecraft from recognizing them. Always use the “Open Shader Pack Folder” button in-game to ensure you’re using the correct path.
-
Extracting Shader Archives
Shader packs must remain in their original `.zip` file format when placed into the `shaderpacks` folder. Extracting them will break the pack’s structure, making it unreadable by the game and the mod loader.
-
Outdated Graphics Drivers
Playing Minecraft with outdated graphics drivers is a common cause of shader-related issues. Old drivers can lead to poor performance, visual artifacts, crashes, or the complete inability to render advanced shader effects. Always ensure your drivers are up-to-date.
-
Incompatible Versions
Using a shader pack or mod loader version that is not compatible with your specific Minecraft 26.1 version is a recipe for failure. Always double-check version requirements for all components to ensure they align, preventing errors or non-functional shaders.
-
Insufficient RAM Allocation
Failing to allocate enough RAM to Minecraft when using demanding shaders can lead to severe performance bottlenecks, constant stuttering, or even game crashes. Shaders require significant memory, so ensure your game has access to adequate RAM.
Tags:
YOU MAY ALSO LIKE...