Generating an Amplified World Type — A Quick Guide
Understanding the Amplified World Type
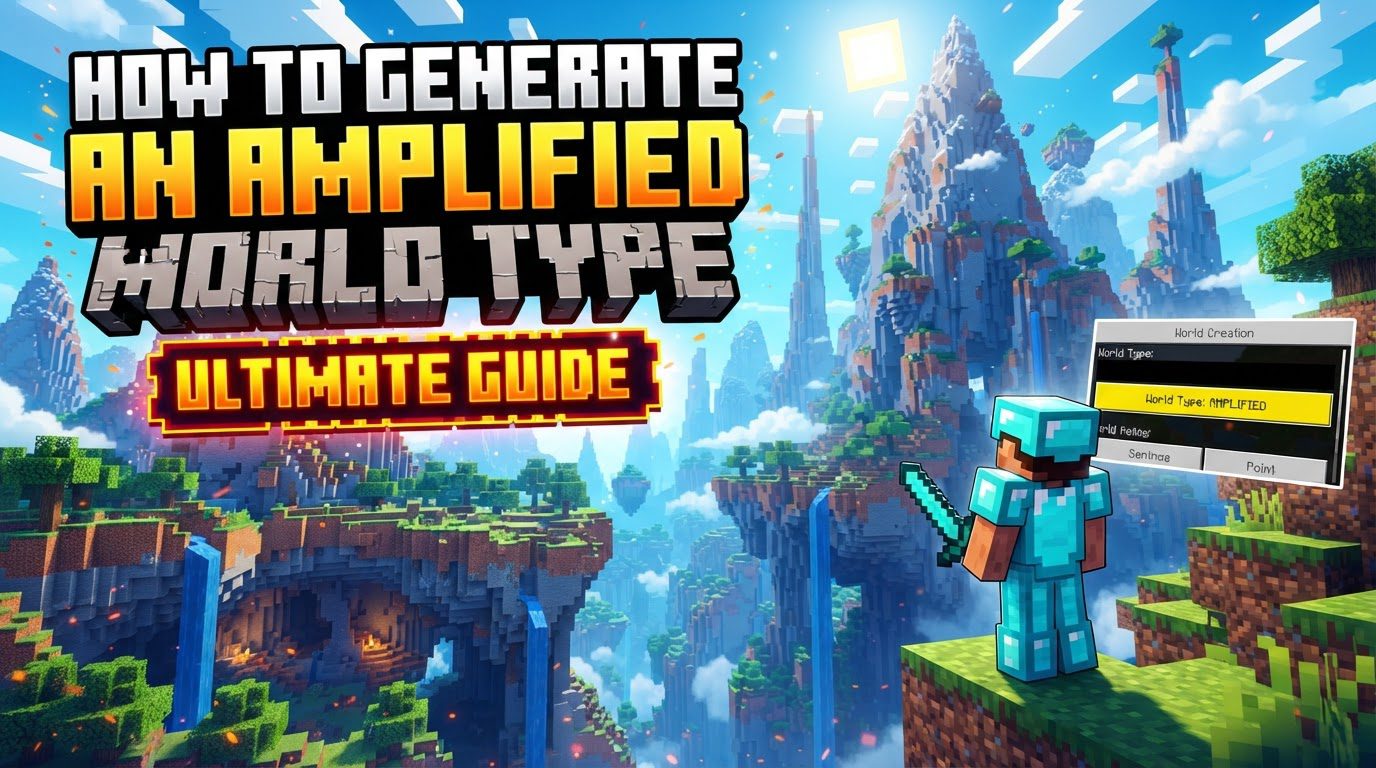
The Amplified world type in Minecraft offers a dramatically different and often breathtaking landscape compared to the game’s standard generation. It transforms the familiar Overworld into a realm of extreme verticality and geological grandeur. At its core, Amplified generation is defined by its incredibly large hills and mountains. These colossal formations frequently ascend to the world height limit, making the default world types seem flat and unassuming by comparison. This vertical emphasis isn’t limited to upward growth; deep caverns also frequently cut through the terrain, extending all the way down to the bedrock layer, creating vast subterranean networks.
It is crucial to understand that this unique generation style is exclusively applied to the Overworld dimension. The Nether and The End dimensions remain unaffected, generating precisely as they would in a standard Minecraft world. This means that while your surface world will be a spectacle of towering peaks and yawning chasms, your adventures in other dimensions will retain their familiar layouts.
However, such a magnificent and complex world comes with significant technical demands. Amplified worlds are notoriously resource-intensive. Generating and rendering these intricate landscapes requires a powerful computer to ensure a smooth gameplay experience. Players attempting to run an Amplified world on less capable hardware are likely to encounter intense lagging and prolonged loading times, which can severely diminish enjoyment. The sheer scale and detail of the terrain place a heavy burden on a system’s processing power and memory.
Beyond the immense mountains and deep caves, Amplified generation also has the potential to create spectacular floating islands. These detached landmasses, suspended high above the ground, add another layer of visual interest and navigational challenge to the world. While the terrain is drastically altered, standard game structures like villages, strongholds, and other points of interest still generate. However, due to the extreme topography, these structures may appear in bizarre or glitched ways. A village might find itself precariously perched on a cliff edge, or a temple could be partially embedded within a mountainside, adding an unpredictable element to exploration.
An important historical note for players is that the Amplified world type was removed for new chunk generation in Minecraft 1.18 and subsequent versions. This means that if you create a new world in Minecraft 1.18 or later, you will not be able to select Amplified generation. However, any Amplified worlds created in older versions of the game can still be played and loaded in newer versions, allowing existing adventures to continue within these unique landscapes.
Generating an Amplified World in Java Edition
For players using Minecraft: Java Edition, creating an Amplified world is a straightforward process, though it requires navigating through a few specific menu options. Follow these steps to set up your new, vertically expansive world:
-
Start Minecraft and select “Singleplayer.” Begin by launching your Minecraft client. From the main menu, select the “Singleplayer” option. This will take you to the screen where you manage your saved worlds.
-
Click “Create New World.” On the Singleplayer worlds screen, locate and click the “Create New World” button. This action initiates the process of setting up a new game world, prompting you to configure various settings.
-
Select “More World Options.” After clicking “Create New World,” you’ll see a screen with various settings like world name, game mode, and difficulty. Look for and click on the “More World Options” button. This is where you’ll find advanced generation settings, including the World Type selector.
-
Repeatedly click on the “World Type” button until “Amplified” is displayed. Within the “More World Options” menu, you will find a button labeled “World Type.” By default, it usually shows “Default” or another common type. Click this button repeatedly. With each click, the world type will cycle through available options such as “Flat,” “Large Biomes,” “Amplified,” and potentially others, depending on your game version. Continue clicking until “Amplified” is clearly displayed as the selected world type.
-
Click “Done” and then “Create New World.” Once “Amplified” is selected, click the “Done” button to confirm your world type choice and return to the main new world creation screen. Finally, click “Create New World” to begin the generation process. Minecraft will then start creating your extraordinary Amplified landscape, which may take a little longer than usual due to the complex terrain generation.
Generating an Amplified World in Bedrock Edition
Players of Minecraft: Bedrock Edition will find that the direct generation of Amplified worlds is not natively supported within the Bedrock client itself. The “Amplified” world type option, as seen in Java Edition, is simply not present in Bedrock’s world creation menu. This can be a source of disappointment for Bedrock players hoping to explore these unique terrains directly.
However, there is a known workaround for those who are determined to experience Amplified generation on Bedrock platforms. This method involves leveraging a specific legacy version of Minecraft: Legacy Console Edition. Specifically, if you have access to Minecraft on an older console platform, such as the Xbox One Edition or PlayStation 4 Edition, you can utilize this to generate your desired world.
-
Generate in Legacy Console Edition: The first step is to create an Amplified world within the Legacy Console Edition of Minecraft. These older console versions typically include the Amplified world type as an option during world creation. You would follow a similar process to the Java Edition steps, selecting “Amplified” from the world type options available in that specific game version.
-
Transfer to Bedrock Edition: Once the Amplified world has been successfully generated and saved in the Legacy Console Edition, it can then be transferred to the respective console’s Bedrock Edition. Most console platforms that transitioned from Legacy to Bedrock Edition provided a mechanism or an in-game option to import or transfer existing saved worlds from the older game version to the newer Bedrock client. This transfer process effectively migrates the world data, including its Amplified terrain, into the Bedrock environment, allowing you to play it there. It’s important to note that the exact steps for world transfer can vary slightly depending on the specific console platform.
Important Tips for Surviving in Amplified Worlds
Navigating an Amplified world presents unique challenges that require specific strategies and tools. The extreme terrain can be both awe-inspiring and incredibly dangerous. Here are some essential tips to help you thrive:
-
Carry a water bucket: This is perhaps the most crucial item for early-game survival in an Amplified world. The towering mountains mean frequent, steep falls are almost inevitable. A water bucket allows you to quickly place a small pool of water at your feet just before impact, effectively softening your landing and preventing fatal fall damage. Mastering this technique is vital for safe vertical traversal.
-
Use Potions of Slow Falling: As you progress and gain access to brewing, Potions of Slow Falling become invaluable. These potions provide a more passive and reliable defense against fall damage compared to the active skill required for water bucket saves. Activating a Potion of Slow Falling before a planned or accidental long drop ensures a safe descent, making exploration of high peaks and deep chasms much less risky.
-
Ensure you have a sturdy pickaxe: Efficient traversal and mining in the extreme terrain of an Amplified world rely heavily on a good pickaxe. You’ll frequently need to mine through solid rock to create paths, dig into cliff faces for shelter, or simply access valuable resources embedded deep within the massive mountains. A durable, efficient pickaxe will save you considerable time and frustration.
-
Consider building numerous bridges and staircases: The natural landscape often presents insurmountable obstacles or requires lengthy, dangerous detours. Investing time in constructing bridges across chasms and staircases up steep inclines will dramatically improve your mobility and safety. These player-made structures transform impassable terrain into navigable routes, making exploration and resource gathering much more practical.
-
Lower render and simulation distances: If your computer struggles to maintain a smooth framerate in an Amplified world, adjusting your video settings is a must. Lowering both your render distance (how far chunks are rendered) and simulation distance (how far game mechanics like mob spawning and crop growth are processed) can significantly reduce the strain on your system. This trade-off in visual range can make the game much more playable, preventing intense lagging and ensuring a more enjoyable experience.
Common Mistakes to Avoid
While the allure of an Amplified world is strong, certain pitfalls can lead to a frustrating or broken gameplay experience. Being aware of these common mistakes can save you a lot of trouble:
-
Do not attempt to convert an existing world to Amplified by editing the `level.dat` file directly: Some players might be tempted to manually alter their world’s data file (`level.dat`) in an attempt to switch an existing world to Amplified generation. This is a critical mistake. While such an edit might technically change the world type setting, it will only affect newly generated chunks. The result will be harsh, unnatural boundaries where the old, standard terrain abruptly meets the new, Amplified landscape. This creates visually jarring and often unplayable transitions, making the world feel disjointed and artificial rather than naturally generated.
-
Avoid playing on a computer with insufficient processing power or RAM: As previously mentioned, Amplified worlds are incredibly demanding. Attempting to play on a machine that lacks adequate processing power or sufficient RAM will inevitably lead to a poor gameplay experience. You will encounter significant lag, frequent stuttering, and excessively long loading times every time new chunks need to be generated or rendered. This constant performance struggle detracts from the wonder of the terrain and can make even basic tasks feel like a chore, diminishing any enjoyment you might derive from the world.
-
Do not expect standard Minecraft gameplay: Entering an Amplified world with the expectation of a typical Minecraft experience is a recipe for frustration. The extreme terrain fundamentally alters core aspects of the game. Traversal becomes a much more challenging endeavor, requiring constant planning, resource management, and ingenuity to navigate. Survival is also significantly more difficult due to the increased risks of fall damage, the difficulty of establishing a safe base on uneven ground, and the sheer scale of the world making exploration more time-consuming. Embrace the challenge and adapt your playstyle, rather than expecting the game to behave as it would in a flat, default world.
Tags:
YOU MAY ALSO LIKE...