How to make and use a conduit in Minecraft?
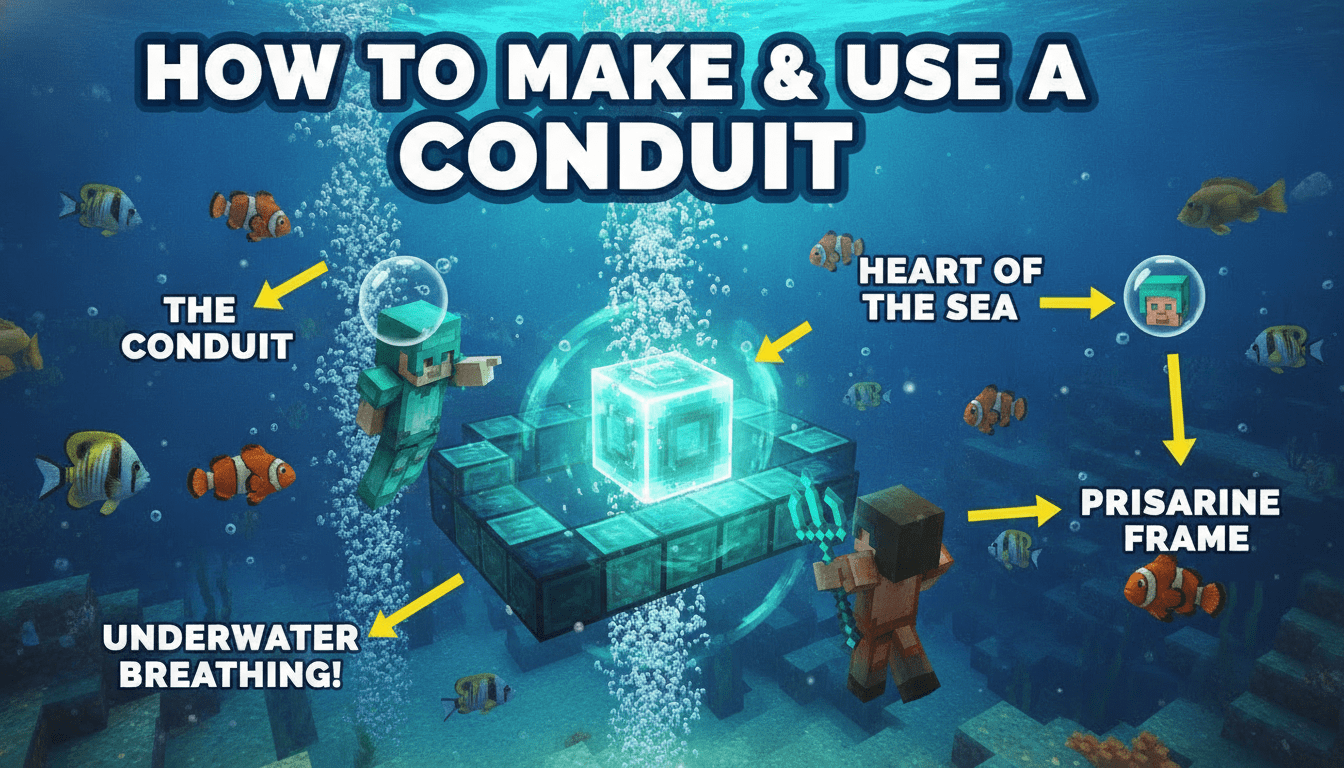
Learning how to make and use a conduit in Minecraft is a game-changer for any underwater adventurer, providing essential buffs and making ocean exploration much safer and more efficient. This guide will walk you through every step, from gathering rare ingredients to building and activating your powerful underwater beacon.
What You’ll Need
To craft and fully utilize a conduit, you’ll need to gather a specific set of rare and common items. Here’s a breakdown:
- 1x Heart of the Sea: This incredibly rare item is found exclusively in buried treasure chests. To locate these chests, you’ll first need to find a treasure map. Treasure maps are typically found in shipwrecks or ocean ruins. Once you have a map, follow it to the red ‘X’ marking the treasure’s location. Alternatively, you can feed a dolphin raw cod or salmon, and it may lead you directly to the nearest buried treasure, shipwreck, or ocean ruin.
- 8x Nautilus Shells: These shells are less rare than the Heart of the Sea but still require some effort to acquire.
- Fishing: You can occasionally catch Nautilus Shells while fishing. Using a fishing rod enchanted with Luck of the Sea will significantly increase your chances.
- Drowned: Drowned, the underwater zombies, have a small chance to drop a Nautilus Shell if they spawn holding one in their off-hand. This chance is 3% in Java Edition and 8% in Bedrock Edition.
- Wandering Traders: Wandering Traders sometimes offer Nautilus Shells for 5 emeralds each, with a maximum of five in stock per trade. This trade has a 1.4% chance of appearing.
- 42x Prismarine-type blocks (for full power): These blocks are essential for activating and maximizing the conduit’s power. You’ll need a combination of:
- Prismarine: Drops from Guardians and Elder Guardians in Ocean Monuments. You can also craft it from Prismarine Shards (dropped by Guardians).
- Dark Prismarine: Crafted from 8x Prismarine Shards and 1x Ink Sac on a crafting table.
- Prismarine Bricks: Crafted from 9x Prismarine Shards on a crafting table.
- Sea Lanterns: Crafted from 4x Prismarine Shards and 5x Prismarine Crystals on a crafting table. Prismarine Crystals are also dropped by Guardians.
- Note: While only 16 blocks are needed for basic activation, 42 blocks are required for maximum range and effects. It’s best to aim for 42 from the start.
- Water Source Blocks: You’ll need a significant amount of water to create the 3x3x3 central volume and potentially the larger area for the activation frame. Buckets are useful for transporting water.
Step-by-Step
Creating and activating a conduit involves two main stages: crafting the conduit itself and then building its activation frame underwater.
Stage 1: Crafting the Conduit
- Open your Crafting Table: Place your crafting table on the ground and right-click to open its 3×3 crafting grid.
- Place the Heart of the Sea: Put the single Heart of the Sea in the very center slot of the crafting grid (the middle slot of the middle row).
- Surround with Nautilus Shells: Place one Nautilus Shell in each of the remaining eight slots around the Heart of the Sea, completely filling the crafting grid.
- Retrieve the Conduit: Once the recipe is complete, the conduit item will appear in the output slot on the right. Drag it into your inventory.
Stage 2: Building the Conduit Activation Frame
The conduit needs a specific structure built around it underwater to activate and grant its powers. This structure is a three-dimensional frame made of Prismarine-type blocks.
- Find an Underwater Location: Choose a suitable spot underwater where you want your conduit to provide its buffs. This could be near an Ocean Monument, an underwater base, or a busy ocean resource area.
- Create a 3x3x3 Water Volume: The conduit must be placed in the center of a 3x3x3 cube of water source blocks.
- Start by placing a temporary block on the ocean floor.
- Place a water source block on top of it.
- Build a 3×3 platform of temporary blocks around this water source, one block below the water level.
- Fill the 3×3 area with water source blocks.
- Build up two more layers of water source blocks, ensuring you have a perfect 3x3x3 cube of water.
- Crucially: The conduit itself must be waterlogged (surrounded by water), and no other blocks should directly touch it within this central 3x3x3 area.
- Place the Conduit: Break the central temporary block and place your crafted conduit in its place. It should now be surrounded by water on all sides.
- Construct the Activation Frame (First Layer):
- The frame is a series of three intersecting 5×5 open squares (rings), one for each axis (X, Y, and Z), centered on the conduit.
- Start with the horizontal layer. Imagine the conduit is at the center of a 5×5 square. Build a 5×5 square outline (a ring) of Prismarine-type blocks directly around the central 3x3x3 water volume. This means there will be a 1-block gap between the conduit’s 3x3x3 water cube and this 5×5 ring.
- This first ring will use 16 blocks (5 on each side, minus the 4 corners counted twice: 5+5+5+5 = 20, but the corners are single blocks, so it’s 4*5 – 4 = 16 blocks for the outer perimeter).
- Important: Ensure this entire structure remains underwater.
- Construct the Activation Frame (Second and Third Layers):
- Now, you need to build two more 5×5 rings, one vertical along the X-axis and one vertical along the Z-axis, both passing through the conduit’s center.
- Visualize the conduit as the center of a 5x5x5 cube. You’ve built the middle horizontal slice. Now build the middle vertical slice from front to back, and the middle vertical slice from side to side.
- The simplest way to think about it is to build a 5×5 square of Prismarine blocks on the same horizontal plane as the conduit. Then, from the center of this square, build a 5-block tall vertical column upwards and downwards, and a 5-block wide horizontal column left and right, ensuring they connect to the initial 5×5 square.
- A fully powered conduit uses 42 Prismarine-type blocks. If built correctly, you will have three intersecting 5×5 rings, all centered on the conduit.
- Crucial: Only full blocks of Prismarine, Dark Prismarine, Prismarine Bricks, or Sea Lanterns count towards the frame. Prismarine slabs, stairs, and walls cannot be used.
- Verify Activation: Once you have placed at least 16 valid frame blocks in the correct configuration, the conduit will activate. You’ll see a distinctive particle effect emanating from it, and it will begin to glow brightly. For maximum power, ensure you have 42 frame blocks.
Conduit Power and Its Benefits
When activated, the conduit grants the “Conduit Power” effect to all players in contact with water or rain within its spherical range. This effect provides several significant advantages for underwater exploration and building:
- Infinite Water Breathing: This is perhaps the most crucial benefit. As long as you are within the conduit’s range and in water (or rain in Bedrock Edition), your oxygen bar will remain full, eliminating the need for potions or resurfacing.
- Underwater Night Vision: The conduit provides a clear vision buff, allowing you to see perfectly underwater even in the deepest, darkest trenches. This is invaluable for spotting resources, navigating shipwrecks, and exploring ocean ruins.
- Haste: Your underwater mining speed is significantly increased. In Java Edition, Conduit Power II provides Haste I (16.7% faster mining). In Bedrock Edition, it provides Haste II, making underwater excavation much quicker.
- Light Emission: Conduits emit a light level of 15, the brightest in the game, whether activated or not. This helps illuminate your underwater projects.
- Offensive Capability (Fully Powered): A fully powered conduit (with 42 frame blocks) also acts as a defensive turret. It damages hostile mobs (such as Drowned, Guardians, and Elder Guardians) within an 8-block radius, dealing 2 hearts of damage every 2 seconds. This is excellent for protecting your underwater bases or clearing out areas around Ocean Monuments.
Range of Conduit Power
The range of the Conduit Power effect depends on the number of Prismarine-type blocks used in its activation frame:
- 16 frame blocks (minimum): Grants Conduit Power in a 32-block radius.
- Increasing Range: For every 7 additional frame blocks you add beyond the initial 16, the radius of the Conduit Power effect increases by 16 blocks.
- 42 frame blocks (full power): Achieves the maximum range of a 96-block radius, providing a vast area of effect for your underwater activities.
Tips for Efficiency
- Gathering Prismarine: The most efficient way to get Prismarine-type blocks is to raid an Ocean Monument. Be prepared for a challenging fight against Guardians and Elder Guardians, but the reward in Prismarine Shards and Crystals is substantial.
- Dolphin Assistance: When hunting for the Heart of the Sea, feeding a dolphin can save you a lot of time searching aimlessly. It will reliably lead you to underwater structures or buried treasure.
- Temporary Blocks for Building: Use easily breakable blocks like dirt, sand, or gravel to create temporary platforms and guides for building your conduit frame. This makes precise placement much easier underwater.
- Waterlogging with Signs/Doors: If you’re struggling to place water source blocks precisely, remember that signs, doors, and other waterloggable blocks can help contain water flow and create source blocks more easily.
- Consider a “Conduit Hub”: If you have multiple underwater projects or bases, consider building a central conduit hub that covers a large area, rather than building many smaller conduits. The 96-block radius of a fully powered conduit is quite extensive.
- Bedrock Edition Specifics: If you play Bedrock Edition, remember that Conduit Power lasts for 12 seconds above water and can be activated by rain. This offers slightly more flexibility for moving between water and land during underwater projects.
FAQ
Q: Can I use slabs or stairs for the conduit frame?
A: No, only full blocks of Prismarine, Dark Prismarine, Prismarine Bricks, or Sea Lanterns will count towards activating the conduit and extending its range. Slabs, stairs, and walls will not work.
Q: What happens if I break a block in the conduit’s frame?
A: If you break enough frame blocks to fall below the 16-block minimum, the conduit will deactivate. If you break blocks but remain above 16, its range might decrease if you fall below a 7-block increment threshold.
Q: Do I need to be in the water to get Conduit Power?
A: Yes, in Java Edition, you must be in contact with water to receive the Conduit Power effect. In Bedrock Edition, you can also receive the effect while standing in rain.
Q: Can I build multiple conduits in one area?
A: Yes, you can build multiple conduits. However, their effects do not stack (e.g., you won’t get “Conduit Power II”). One fully powered conduit is usually sufficient for a large area due to its 96-block radius.
Q: What’s the difference between Java and Bedrock Edition for conduits?
A: The main differences are the Drowned Nautilus Shell drop rate (3% Java, 8% Bedrock), Conduit Power lasting above water in Bedrock (12 seconds) and activating in rain (Bedrock only), and the Haste level provided (Haste I Java, Haste II Bedrock).
With your new conduit up and running, the oceans of Minecraft are yours to explore without fear, making underwater adventures more enjoyable and productive than ever before!

