How to migrate a world save between Minecraft versions
Understanding Minecraft World Migration
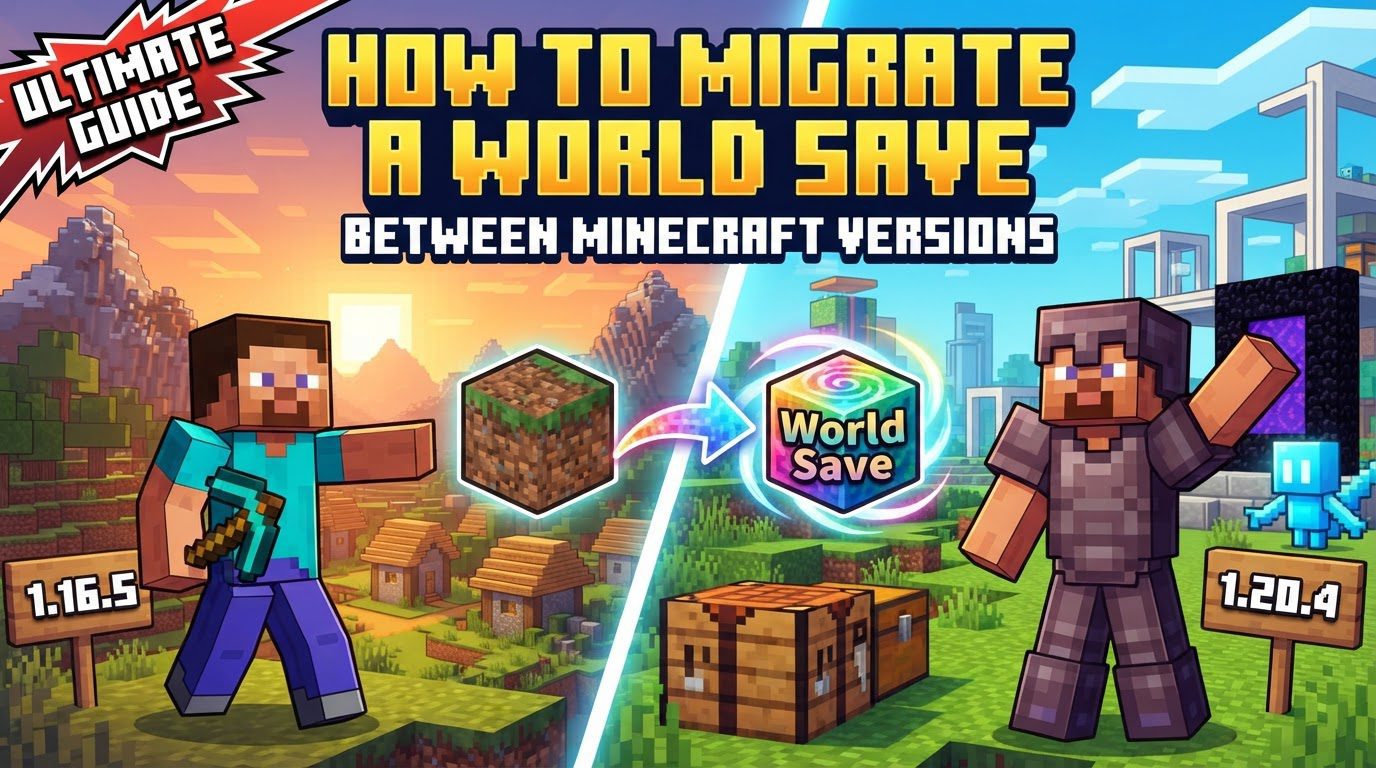
Migrating a Minecraft world save is an essential process for players who wish to transfer their cherished creations between different computers, game versions, or even across game editions. This comprehensive guide will walk you through the various methods of world migration, ensuring your builds, progress, and adventures can continue seamlessly, regardless of your platform or desired game version.
At its core, Minecraft stores world saves in dedicated folders on your computer, entirely separate from the game’s core installation files. This separation is crucial, as it allows for easy transfer and backup. The method for transferring a world varies significantly depending on whether you are using Java Edition or Bedrock Edition. For Java Edition, the process typically involves directly copying the world’s folder from a specific “saves” directory. Bedrock Edition offers a different approach, often utilizing an export feature to create an .mcworld file or leveraging Minecraft Realms for cloud-based transfers between devices. It is also important to note that direct migration between Java and Bedrock editions is not possible without the use of specialized third-party conversion tools, such as Chunker.
Migrating Java Edition World Saves
Transferring a Java Edition world, whether to another location on the same computer or to an entirely new device, follows a straightforward set of steps. This method is applicable for moving worlds between different installations of Java Edition Minecraft.
-
Locate your Minecraft “saves” folder:
The first step is to pinpoint where Minecraft stores its world saves. The location varies slightly depending on your operating system:
- For Windows users, navigate to
%appdata%\.minecraft\saves. - For macOS users, the path is
~/Library/Application Support/minecraft/saves. - For Linux users, you will find it at
~/.minecraft/saves/.
You can usually access these folders by typing the path directly into your operating system’s file explorer or finder search bar.
- For Windows users, navigate to
-
Identify the world folder:
Once inside the “saves” directory, you will see a list of folders, each corresponding to one of your Minecraft worlds. These folders are typically named after your worlds. Identify the specific folder that contains the world you intend to migrate.
-
Copy the entire world folder:
Select the identified world folder and copy it. It is crucial to copy the entire folder, as it contains all the necessary data for your world, including region files, player data, and advancements.
-
Paste the copied world folder:
Navigate to the “saves” directory of the target Minecraft installation (on the same computer or a new one) and paste the copied world folder there. If you are transferring to a new computer, you might use external storage like a USB drive or a cloud service like Google Drive to move the copied folder.
-
Launch Minecraft and select the world:
After pasting the world folder, launch the Minecraft Java Edition game. The migrated world should now appear in your single-player worlds list. Select it to load and continue your adventure.
Migrating Bedrock Edition World Saves Using Realms
For Bedrock Edition players, particularly when transferring worlds between different devices, Minecraft Realms offers a convenient cloud-based solution. This method requires an active Realms subscription.
-
Ensure active Realms subscription and updated devices:
Before initiating the transfer, verify that you have an active Minecraft Realms subscription. Additionally, ensure that both the device hosting the world and the destination device are updated to the latest available version of Minecraft Bedrock Edition to prevent compatibility issues.
-
Upload the world to a Realm slot:
On the device where your world currently resides, access your Realms settings. You will need to upload the world you wish to transfer to one of your available Realm slots. This effectively stores a copy of your world in the cloud.
-
Download the world on the destination device:
On the destination device, sign in to Minecraft using the same Microsoft account associated with your Realms subscription. Access the Realm where you uploaded your world. From there, you will have the option to download the world directly to your device. Once downloaded, it will appear in your local world list.
Cross-Edition Migration (Java to Bedrock or Vice-Versa)
Directly moving a world between Java and Bedrock editions is not possible due to their fundamental differences in game engines and world formats. However, third-party conversion tools can bridge this gap. Chunker is a widely recognized example of such a tool.
-
Upload your world file to a conversion tool:
Begin by accessing a cross-edition conversion tool, such as the Chunker website. You will need to upload your existing world file to the platform. For Java Edition, this means uploading the entire world folder. For Bedrock Edition, it typically involves exporting the world as an
.mcworldfile first. -
Select desired output version and edition:
Within the conversion tool, you will be prompted to specify the desired output format. This includes selecting the target edition (e.g., Bedrock) and a specific game version (e.g., Bedrock 1.18.30). Choose the options that best suit your needs for the destination game.
-
Configure advanced settings (if needed):
Many conversion tools offer advanced settings. These might include options to prune chunks (remove unexplored areas to reduce file size) or adjust block mapping to handle differences in block IDs or properties between editions. While not always necessary, these settings can be useful for optimizing the converted world.
-
Convert and download the new world file:
Once all settings are configured, initiate the conversion process. The tool will process your world file and generate a new one compatible with the target edition. After the conversion is complete, download this new world file to your computer.
-
Import the downloaded world file:
Finally, import the newly downloaded world file into the respective Minecraft edition. For Bedrock Edition, this usually involves opening the
.mcworldfile, which will automatically import it into the game. For Java Edition, you would place the converted world folder into the “saves” directory, similar to the standard Java migration process.
Important Tips for Successful Migration
To ensure a smooth and successful world migration, keep the following crucial tips in mind:
- Always back up your world: This is the golden rule of world migration. Before attempting any transfer or version change, always create a complete backup of your world. This safeguard prevents irreversible data loss or corruption if something goes awry during the process.
- Understand chunk borders with version changes: When moving a world to a newer version of Minecraft, any chunks you have already loaded will retain their original generation features from the older version. However, any new chunks generated beyond your explored areas will use the new version’s world generation rules. This can lead to visible “chunk borders” where the terrain abruptly changes between old and new generation.
- Utilize external storage or cloud services: For transferring world files between different computers, external storage devices like USB drives or cloud services such as Google Drive or Dropbox are invaluable. They provide a convenient and reliable way to move large world folders.
- Maintain consistent Minecraft versions: Whenever possible, try to keep the Minecraft version consistent between the origin and destination when transferring worlds within the same edition. While newer versions can often open older worlds, maintaining consistency minimizes the potential for unexpected issues or incompatibilities.
-
Copy settings separately if desired: World saves do not typically include game settings like keybinds, video settings, or resource packs. These are stored separately (e.g., in
options.txtfor Java Edition). If you wish to transfer these settings, you will need to locate and copy them independently.
Common Mistakes to Avoid
Being aware of common pitfalls can save you significant frustration and potential data loss during world migration:
- Not backing up your world: As mentioned, this is the most critical mistake. Failing to back up your world before a migration means any error, corruption, or accidental deletion could result in permanent loss of your progress.
- Loading a newer world with an older game version: Attempting to open a world created or last saved in a newer Minecraft version with an older game client is highly risky. This can lead to world corruption, crashes, or unplayable saves due to incompatible features or data formats. Always update your game client to match or exceed the version of the world you are loading.
- Expecting direct compatibility between Java and Bedrock editions: These are distinct game engines with different underlying codebases. Expecting a direct drag-and-drop transfer between them without using a specialized conversion tool will always lead to failure, as their world formats are incompatible.
- Ignoring mod compatibility for modded worlds: If your world contains modded blocks, items, or features, transferring it between versions or installations (especially if the target doesn’t have the same mods) is complex. Modded worlds may not transfer smoothly, or may become corrupted, if mod compatibility is not carefully considered and managed.
- Overwriting existing worlds: When pasting a migrated world into a “saves” folder, be cautious not to accidentally overwrite an existing world with the same name. Always ensure you are placing the migrated world into a new or intended save slot, or rename the folder before pasting to prevent accidental deletion of another world.

