

Planning a Build Using a Block-count Calculator — A Quick Guide
Planning Your Minecraft Masterpiece with a Block-Count Calculator
Embarking on a grand building project in Minecraft requires meticulous planning, especially when dealing with vast quantities of materials. A block-count calculator is an invaluable tool that streamlines this process, moving you from conceptual design to a clear material shopping list. This guide will walk you through leveraging these calculators to ensure your next build is a seamless and resource-efficient endeavor.
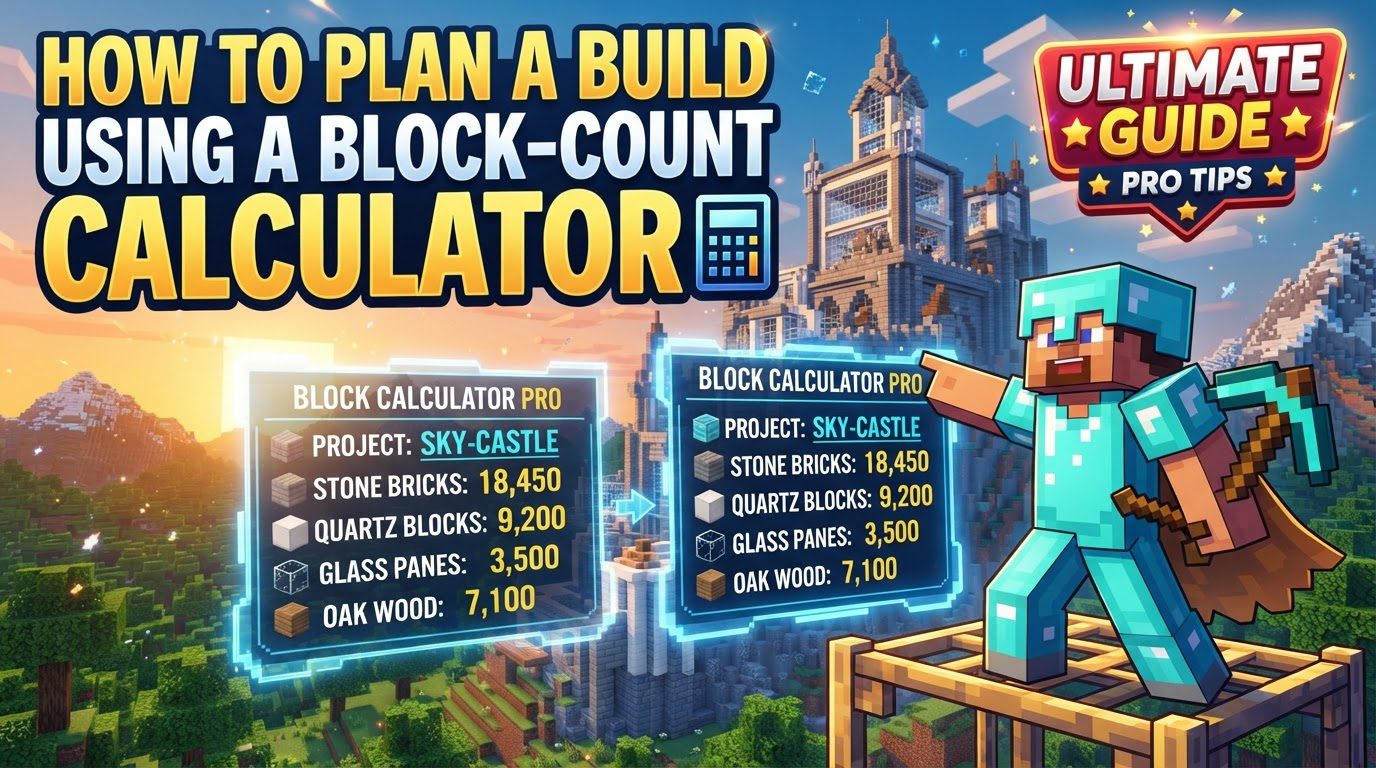
Understanding Block-Count Calculator Mechanics
At its core, a block-count calculator provides an estimate of the total number of blocks required for a given structure. This estimation is crucial for efficient inventory management, as calculators often convert the raw block count into more manageable units:
- Stacks: Typically 64 blocks per stack, making it easy to visualize inventory space.
- Shulker Boxes: Often calculated as 27 stacks or 1,728 blocks, providing an estimate for long-term storage and transportation needs.
These tools are versatile, capable of calculating material needs for various structural shapes and configurations:
- Solid Cuboids: For filling an entire volume.
- Hollow Structures (Shells): Ideal for the exterior walls, floor, and ceiling of a building without filling the interior.
- Walls: Specifically for calculating only the vertical perimeters.
- Floors: For horizontal surfaces.
- Outlines: For basic frames or wireframes of a structure.
The precision of these calculations varies depending on the shape:
- Rectangular Shapes: Calculators typically use exact mathematical formulas for precise block counts.
- Curved Shapes: For complex forms like spheres and circles, calculators often employ a voxel counting method, meticulously counting each individual block within the defined shape.
It’s important to note that dimensions for shapes are usually capped (e.g., 256 blocks, in line with older Minecraft build limits) and are always rounded to whole numbers. More sophisticated calculators can even go a step further by accounting for intermediate crafting steps, providing a breakdown of the raw materials needed for crafted blocks (e.g., how much wood for planks, how much stone for polished stone).
Step-by-Step Process for Planning Your Build
Using a block-count calculator effectively involves a systematic approach:
- Identify Build Components: Begin by dissecting your overall build into smaller, distinct, and measurable parts. For instance, a castle might be broken down into its foundation, main walls, roof, individual towers, and gatehouse. This modular approach simplifies the calculation process.
- Select Shape and Input Dimensions: For each identified component, choose the most appropriate shape option within the calculator. For example, if you’re planning the main structure of a building, “Hollow cuboid” would be suitable for its shell. If you’re only calculating the perimeter, “Walls only” might be better. Carefully input the length, width, and height dimensions for that specific part.
- Record Block Counts: After inputting the dimensions, the calculator will provide the estimated number of blocks. Make sure to note down the total blocks required, and importantly, the breakdown into stacks and shulker boxes. This information is critical for each section of your build.
- Account for Different Materials: Most builds incorporate a variety of block types. If your structure uses different materials for different sections (e.g., stone for the main walls, glass for windows, wood for the roof), you must run the calculator for each material separately. Calculate the stone for the walls, then the glass for the windows, and so on.
- Sum Totals: Once you have calculated the block counts for all individual parts and all different material types, aggregate these numbers. Add up all the stone blocks, all the glass blocks, all the wood blocks, and so forth, to arrive at a grand total for each material needed for the entire project.
- Add a Buffer: This is a critically important step. Always include a 10-20% buffer to your final material estimates. This extra allowance accounts for inevitable mistakes, misplacements during construction, or even unexpected design changes that might arise as you build. It’s far better to have too many blocks than too few.
- Plan Material Gathering: With your final, buffered quantities in hand, analyze your material list. Identify “scarcity blocks” – materials that are rare, difficult to obtain in large quantities, or require specific farming setups. This allows you to plan dedicated mining trips, farming sessions, or trading routes well in advance, preventing delays during construction.
Important Tips for Effective Planning
Beyond the calculator, several practices can significantly enhance your building experience:
- Visualize and Sketch: Before you even touch a calculator, take the time to visualize your build. Sketch out a blueprint, even a rough one, to establish the build’s overall footprint, proportions, and general aesthetic. This preliminary step helps solidify your vision and provides concrete dimensions for the calculator.
- Consider Y-levels: Always be mindful of Minecraft’s build height limits. In newer versions (like 1.21+), this limit is 320 blocks. Ensure your planned structure fits within these vertical constraints, especially for tall builds or those incorporating extensive underground sections.
- Use Phase Milestones: For large projects, break the construction into manageable phases. Common milestones include the foundation, main walls, roof, interior detailing, and exterior decoration. Tracking progress by phases can make a daunting project feel more achievable.
- Don’t Forget Lighting: Plan for adequate lighting from the outset. This isn’t just about aesthetics; it’s a parallel checklist item crucial for preventing hostile mob spawns within and around your build. Incorporate light sources into your design early on.
- Document Coordinates: Once your build is complete, or even during significant construction milestones, record the final coordinates (X, Y, Z) of your build. This ensures you can easily return to your creation, especially in large worlds.
- In-game Tools: For advanced users, mods like Litematica can be incredibly useful. These tools allow you to select an area in-game and display the exact block types and quantities used within that selection. Some mods also offer in-game block counting capabilities via commands, providing real-time data.
- Layer-by-Layer Guides: Certain planning tools can export printable layer-by-layer instructions, or even step through the build block by block with voice-over, offering a highly detailed construction guide.
Common Mistakes to Avoid
Even with careful planning, certain pitfalls can derail a project. Being aware of these common mistakes can save you time and frustration:
- Underestimating Materials: This is arguably the single biggest reason why builds stall. Running out of a specific block partway through construction can halt progress and force time-consuming resource gathering trips.
- Neglecting a Buffer: Closely related to underestimation, failing to add that crucial 10-20% buffer to your material estimates can leave you critically short. Errors happen, designs evolve, and a buffer provides a safety net.
- Ignoring Material Specificity: Not calculating different block types separately will inevitably lead to incorrect totals for each material. Treating all blocks as generic “building blocks” will result in a surplus of some and a severe deficit of others.
- Overlooking Crafting Steps: Forgetting that certain blocks require intermediate crafting steps (e.g., crafting planks from logs, stone bricks from stone) can lead to a miscalculation of your raw material needs. Always factor in the initial resources required for crafted items.
- Poor Village Planning: In builds that incorporate villages or villager mechanics, a common failure is villagers losing workstation links. This often stems from improper bed and workstation placement relative to the villagers, disrupting their pathfinding and functionality.
By diligently following these steps and heeding these tips, you can transform your ambitious Minecraft visions into tangible realities with efficiency and confidence, ensuring your next build is a monumental success.
Tags:
YOU MAY ALSO LIKE...


