How to port forward a router for a Minecraft server
To enable players outside your home network to connect to your Minecraft server, you need to configure your router and computer’s firewall through a process known as port forwarding. This essential step redirects incoming internet traffic from a specific port to your local server’s IP address, effectively allowing external connections to reach your Minecraft server.
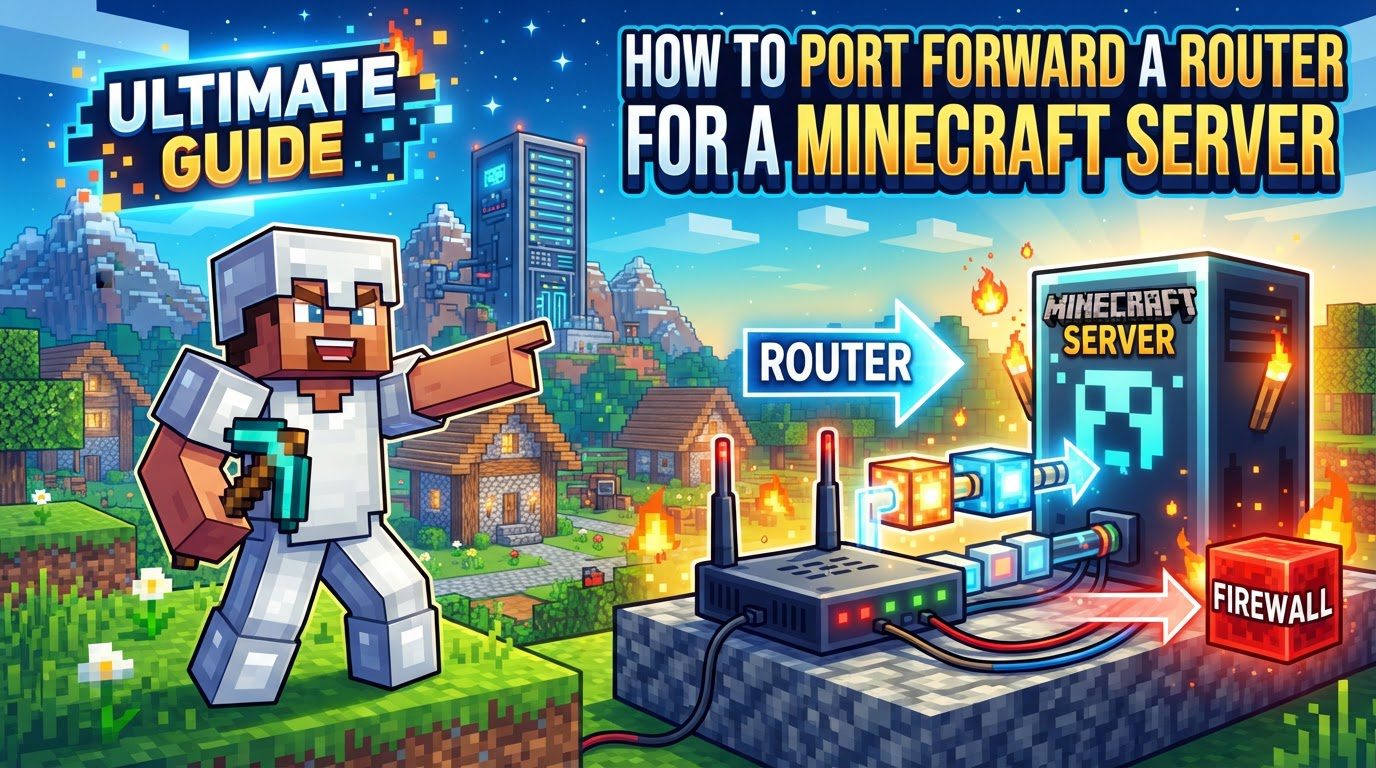
Key Mechanics of Port Forwarding
- External Access: Port forwarding serves as a crucial mechanism that allows external users to bypass the protective firewall of your router and directly connect to a specific device situated on your local network. Without this configuration, your router would typically block all unsolicited incoming traffic.
- Minecraft Java Edition Ports: For those hosting a Minecraft Java Edition server, the primary communication protocol used is TCP, and it operates on port 25565. This is the default port that must be configured for forwarding to ensure Java players can join.
- Minecraft Bedrock Edition Ports: If you are running a Minecraft Bedrock Edition server, the communication relies on UDP, utilizing a range of ports from 19132 to 19133. Both of these ports within this range need to be considered when setting up port forwarding for Bedrock.
- Router as a Barrier: Your router inherently acts as a robust barrier, designed to block any incoming traffic that it doesn’t explicitly recognize or isn’t in response to an outgoing request. Therefore, a specific, custom rule must be established within your router’s settings to permit Minecraft-related traffic to pass through.
Step-by-Step Guide to Port Forwarding Your Minecraft Server
Follow these detailed steps to successfully configure your router for Minecraft server access:
- 1. Prepare the Minecraft Server:
Before proceeding with router configurations, ensure your Minecraft server application is correctly installed and actively running on your local computer. It is critical to verify that the
server-portsetting within yourserver.propertiesfile is accurately configured. For Minecraft Java Edition, this is typically set to the default value of 25565. Additionally, for most home network setups, theserver-ip=field should be left entirely blank. This prevents potential startup issues and allows the server to bind to all available network interfaces. - 2. Find Your Local IP Address:
The next crucial step involves identifying the internal IP address of the computer hosting your Minecraft server. This address is essential as it tells your router where to direct incoming traffic. On a Windows machine, open the Command Prompt and type
ipconfig, then press Enter. Look for the IPv4 Address. For macOS or Linux systems, you can use commands likeifconfigorip addrin your terminal. The IPv4 address you find will be referred to as the “Internal IP” when you configure the port forwarding rule in your router settings. - 3. Access Your Router’s Admin Interface:
To begin configuring your router, open any web browser (such as Chrome, Firefox, or Edge) and enter your router’s IP address into the address bar. Common default router IP addresses include
192.168.0.1,192.168.1.1, or10.0.0.1. If these do not work, you can often find your router’s IP address (also known as the default gateway) using the sameipconfigcommand you used to find your server’s local IP. Once you reach the login page, enter your router’s administrative username and password. These credentials are frequently found on a sticker located on the router itself, or in the router’s manual. - 4. Locate Port Forwarding Settings:
Once logged into your router’s administrative interface, you will need to navigate through the menus to find the port forwarding configuration section. The exact naming of this section can vary significantly between different router manufacturers and models. Look for tabs or categories labeled “Port Forwarding,” “NAT” (Network Address Translation), “Virtual Servers,” “Apps and Gaming,” or sometimes it might be located under “Advanced Settings.” Take your time to explore the interface if you don’t immediately find it.
- 5. Create a New Port Forwarding Rule:
This is the core of the port forwarding process. You will need to create a new rule or entry to allow Minecraft traffic. Fill in the following details carefully:
- Service Name: Assign a descriptive name to your rule, such as “Minecraft Server” or “Java Minecraft.” This helps you identify the rule later.
- External/Internal Port: For Minecraft Java Edition, set both the external (or “WAN”) port and the internal (or “LAN”) port to
25565. If you are hosting a Minecraft Bedrock Edition server, you will need to specify the port range19132-19133for both external and internal ports. Some routers may require you to create separate rules for each port in a range, or they might accept a hyphenated range. - Protocol: Select the correct protocol for your server type. For Minecraft Java Edition, choose “TCP”. For Minecraft Bedrock Edition, select “UDP”. Some routers offer a “Both” or “TCP/UDP” option, which can be used if you are unsure or want to cover both, though specifying the correct one is generally preferred.
- Internal IP Address: Enter the local IPv4 address of your server computer that you identified in step 2. This tells the router exactly which device on your network the incoming traffic should be sent to.
- Status: Ensure that the port forwarding rule is enabled or active. Most routers have a checkbox or a toggle switch to activate the rule once created. Save your changes before exiting the router configuration.
- 6. Configure Your Computer’s Firewall:
Even after configuring your router, your server computer’s operating system firewall might still block incoming connections. You must create an exception for Minecraft:
- Windows: Open “Windows Defender Firewall with Advanced Security.” In the left pane, select “Inbound Rules,” then click “New Rule…” in the right pane. Choose “Port,” specify “TCP” (and optionally “UDP” if you’re forwarding both or Bedrock) for port
25565(or19132-19133for Bedrock), and ensure “Allow the connection” is selected for all profiles (Domain, Private, Public). - Linux (UFW): If you are using Uncomplicated Firewall (UFW) on Linux, open a terminal and execute the commands:
sudo ufw allow 25565/tcpandsudo ufw allow 25565/udp. - macOS: For macOS, you will typically need to allow incoming connections for the specific Java application that is running your Minecraft server. This can usually be managed through the “Security & Privacy” settings under the “Firewall Options.”
- Windows: Open “Windows Defender Firewall with Advanced Security.” In the left pane, select “Inbound Rules,” then click “New Rule…” in the right pane. Choose “Port,” specify “TCP” (and optionally “UDP” if you’re forwarding both or Bedrock) for port
- 7. Set a Static Local IP (Recommended):
Your server computer’s local IP address can sometimes change due to DHCP (Dynamic Host Configuration Protocol). If it does, your port forwarding rule will become invalid. To prevent this, it is highly recommended to configure your server computer with a static local IP address. Alternatively, you can use your router’s DHCP reservation feature, which assigns the same IP address to your server computer’s MAC address every time it connects. This ensures the internal IP address remains consistent, maintaining the integrity of your port forwarding rule.
- 8. Find Your Public IP Address:
This is the address your friends will use to connect to your server. To find it, simply open a web browser on any device connected to your home network and search for “what is my IP” on Google. Alternatively, you can visit websites specifically designed for this purpose, such as
whatismyip.com. This public IP address represents your entire home network to the outside world. - 9. Test the Connection:
After completing all the above steps, it’s crucial to verify that your port forwarding is working correctly. Use an online port checker tool, such as
canyouseeme.org, and enter port25565(or19132for Bedrock) to confirm that it is reported as open. Finally, the ultimate test is to have a friend attempt to connect to your Minecraft server using the public IP address you found in step 8. Ensure your Minecraft server application is running during this test.
Important Tips for Your Minecraft Server
- Security Best Practices: Your public IP address should only be shared with individuals you implicitly trust. Beyond this, it is highly advisable to implement additional server security measures. This includes setting up whitelists on your Minecraft server to control who can join, using strong authentication methods if available, and consistently updating your server software to patch any vulnerabilities. For an enhanced layer of security, consider filtering your port forwarding rule to specifically allow connections only from the public IP addresses of your trusted players, if your router supports such granular control.
- Dynamic DNS (DDNS) for Changing IPs: If your Internet Service Provider (ISP) frequently changes your public IP address (which is common for residential connections), sharing a constantly changing numerical IP with friends can be cumbersome. Dynamic DNS (DDNS) services provide an excellent solution by allowing you to associate a consistent, easy-to-remember hostname (e.g.,
myserver.ddns.net) with your ever-changing public IP address. Your router or a small client application on your server can periodically update the DDNS service with your current IP. - Server Configuration –
server-ip=: When configuring yourserver.propertiesfile, it is generally recommended to leave theserver-ip=field blank. For most typical home network setups, specifying an IP address here can sometimes lead to “failed to bind port” errors or other startup issues, especially if the server’s local IP changes. Leaving it blank allows the server to listen on all available network interfaces. - Hosting Multiple Servers: If your intention is to host more than one Minecraft server, each server will require a unique external port to be forwarded. Each of these unique external ports must then be directed to the corresponding server’s internal IP address and its specific internal port. For example, one server might use external port 25565 forwarded to internal port 25565 on IP A, while another uses external port 25566 forwarded to internal port 25565 on IP B (or even on IP A if it’s a different internal port).
- Alternatives to Port Forwarding: In situations where traditional port forwarding proves unfeasible, perhaps due to ISP restrictions like Carrier-Grade NAT (CGNAT) which prevents direct external access, several excellent alternatives exist. These tunneling services bypass the need for direct router configuration. Popular options include LocalXpose, Playit.gg, Tailscale, or NGROK, all of which can establish a secure tunnel for your server, making it accessible to the internet without direct port forwarding on your router.
Common Mistakes to Avoid During Port Forwarding
- ISP Restrictions (CGNAT/Double NAT): A significant hurdle can be your Internet Service Provider’s network configuration. Many ISPs employ Carrier-Grade NAT (CGNAT), which means your home network shares a public IP address with many other customers, effectively preventing traditional port forwarding. You can check if you’re under CGNAT by comparing your router’s WAN IP address (visible in its admin interface) with your public IP address found via “whatismyip.com.” If your router’s WAN IP is in a private range (e.g., 100.64.x.x), port forwarding will not work. Similarly, having two routers in your network (Double NAT) can also cause connectivity issues, as traffic would need to be forwarded through both.
- Incorrect Port or Protocol: One of the most frequent errors is specifying the wrong port number or protocol. Remember, Minecraft Java Edition exclusively uses TCP on port 25565. Minecraft Bedrock Edition, on the other hand, uses UDP on ports 19132-19133. Using UDP instead of TCP for Java, or vice versa, will result in connection failures. Always double-check these details in your router settings.
- Firewall Blocking: Even if your router is correctly configured, your server computer’s operating system firewall (Windows Defender Firewall, Linux UFW, macOS Firewall) or any installed third-party antivirus software with firewall capabilities can still block the forwarded port. Ensure you have created explicit inbound rules to allow traffic on the specified Minecraft port(s) through your computer’s firewall, as detailed in the step-by-step process.
- Dynamic Local IP Address: If your server computer’s internal IP address changes (which can happen if it’s assigned dynamically by your router’s DHCP server), your existing port forwarding rule will become invalid. The rule is tied to a specific internal IP. This is why setting a static local IP address or using DHCP reservation for your server is a critical recommendation to maintain consistent connectivity.
- Sharing Local IP Instead of Public IP: A common misunderstanding is providing your server’s local IP address (e.g., 192.168.1.100) to friends. Friends outside your home network cannot directly access a local IP. You must provide them with your public IP address, which is the internet-facing address of your entire network.
- Server Not Running: It might seem obvious, but for the port to be considered “open” and for players to connect, your Minecraft server application must be actively running on your computer. If the server is not launched, or if it crashes, the port will appear closed, and connections will fail.
- Using DMZ (Demilitarized Zone): While the DMZ feature on your router might seem like an easy way to get around port forwarding complexities, it is a significant security risk and should be avoided. Placing your server computer in the DMZ exposes all its ports directly to the internet without any firewall protection from the router, making it highly vulnerable to attacks.
- Port Conflicts: If another application on your server computer is already using the default Minecraft port (25565), your Minecraft server will fail to start, often displaying a “failed to bind port” error message. Ensure that no other services are occupying the required port. If a conflict exists, you might need to change the port Minecraft uses in its
server.propertiesfile and adjust your port forwarding rule accordingly.
Tags:
YOU MAY ALSO LIKE...